We are reader-supported. When you buy through links on our site, we may earn an affiliate commission.
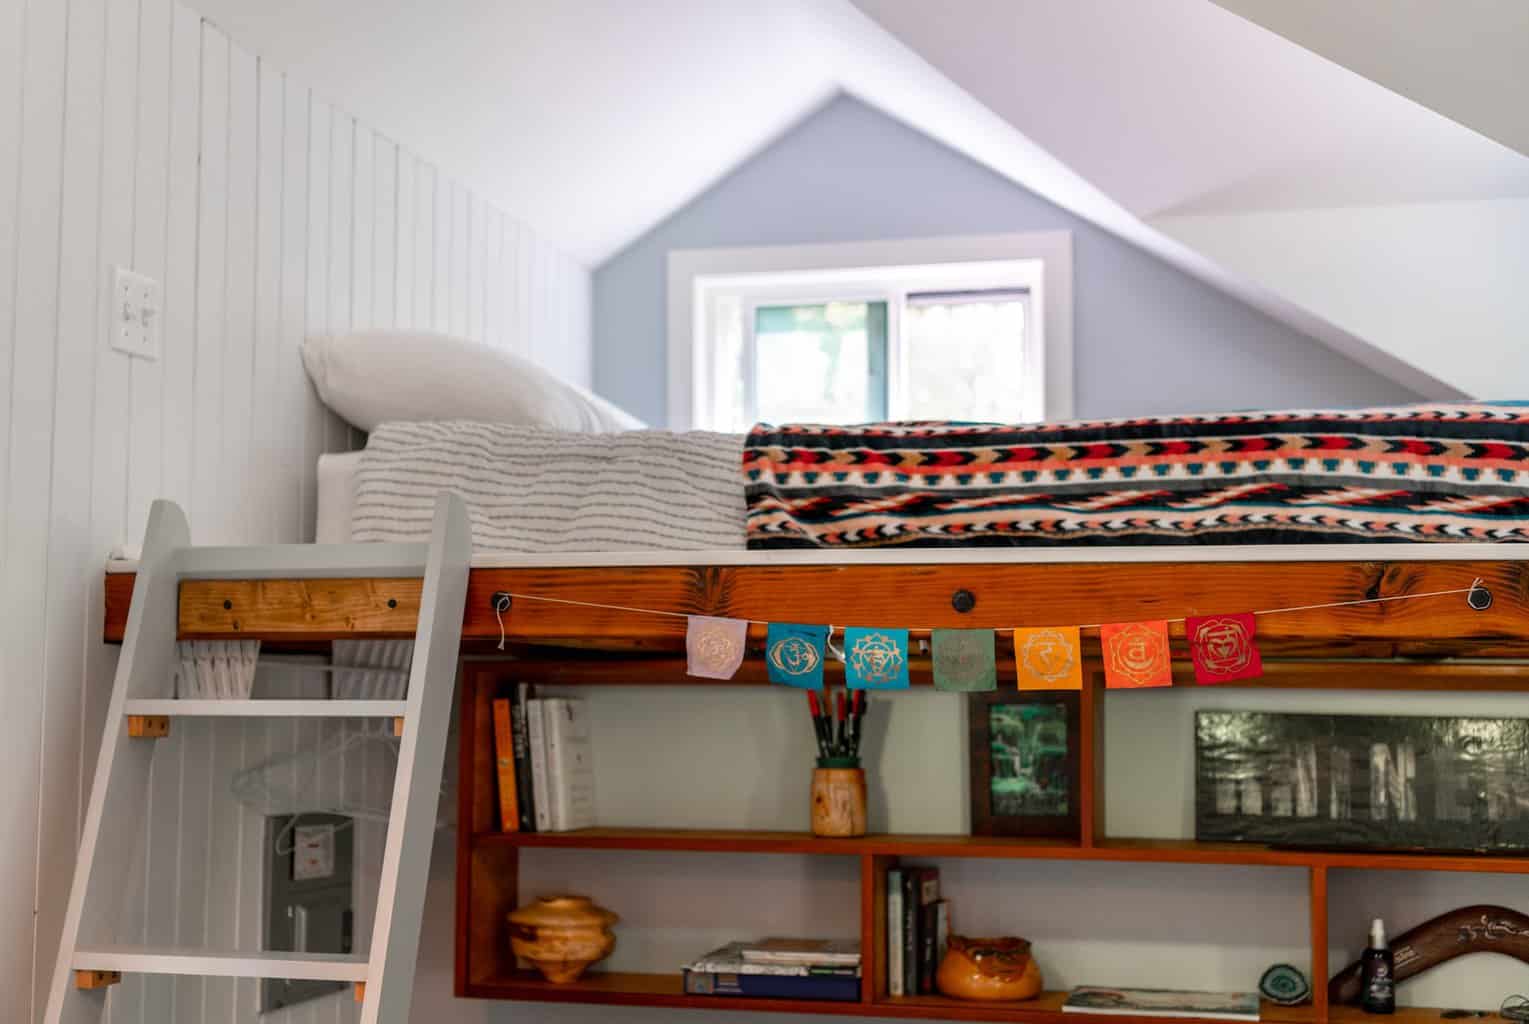
Loft beds are popular bedroom furniture because they maximize your vertical space. You could place your work desk, hobby supplies or your child’s playset under the bed to double the room’s usability. Check out this guide to learn how to build a loft bed without any woodworking experience.
Step 1: Collect Your Supplies
No one can start or finish a project without the right supplies. A customized loft bed plan will tell you everything you need to collect before starting your latest project. Consider if you want to build a bed for an adult or a child before browsing various design plans and finding the perfect match.
The various supplies and tools will change according to a loft bed plan’s intensity, but you can count on needing things like a circular saw, a drill, universal fitting safety glasses and a carpenter’s square. Each plan will also outline exactly how many wooden boards you need and which sizes are best for your bed.
You can stock up on these tools or check your tool kit since you may already have them if you’ve recently renovated your themed kitchen or another room in your home. Sandpaper, screws and hinges could also be essential to your upcoming shopping trip.
Step 2: Measure and Cut Your Wood
Take notes while reviewing your bed plan and cut your wood according to the instructions. You’ll need exact measurements to create slat rails, leg supports, frames and spacer blocks. A tape measure and pencil will help you quickly accomplish this step.
Step 3: Assemble Your Pieces
After cutting each wooden piece, it’s time to assemble them with wood screws or any other hardware outlined in your bed plan. Although you may want to jump into this step immediately, pausing to reflect can save the day.
You may want to assemble your pieces in the room that will get your loft bed. It’s much easier to move pieces into your finished attic or carry them to the second floor than lugging an entire bed up a stairwell. Once they’re in a suitable location, you can use your compact drill or driver kit to put the legs, braces, frame and ladder together.
Step 4: Sand and Stain or Paint
As you’re learning how to build a loft bed, it’s crucial to remember that you shouldn’t skip sanding the entire piece. Whoever uses the bed will need to grip it while climbing on and off the raised mattress. Splinters will render the bed essentially unusable.
Use a sheet or two of sandpaper to smooth every surface of the loft bed. Once it’s safe to run your hands over, you can stain or paint it if desired. Let it dry overnight to ensure it’s ready to use in the morning.
Step 5: Attach Desk if Desired
At this point, you’ll have a loft bed with a space underneath. If you want to install a stationary or hinged desk in that space, now is the time. Use the remaining wood and hardware to attach the supplies to the bed frame. Everything should fit flush under the mattress and still have room for a desk chair and potential drawers underneath.
Enjoy Your New Loft Bed
Anyone can learn how to build a loft bed, so get started by picking your bed plan. Once you find a design that matches your preferences or the interior design of the bedroom, you can create a loft bed that fits everything you need underneath without spending hundreds of dollars.


