

We are reader-supported. When you buy through links on our site, we may earn an affiliate commission.
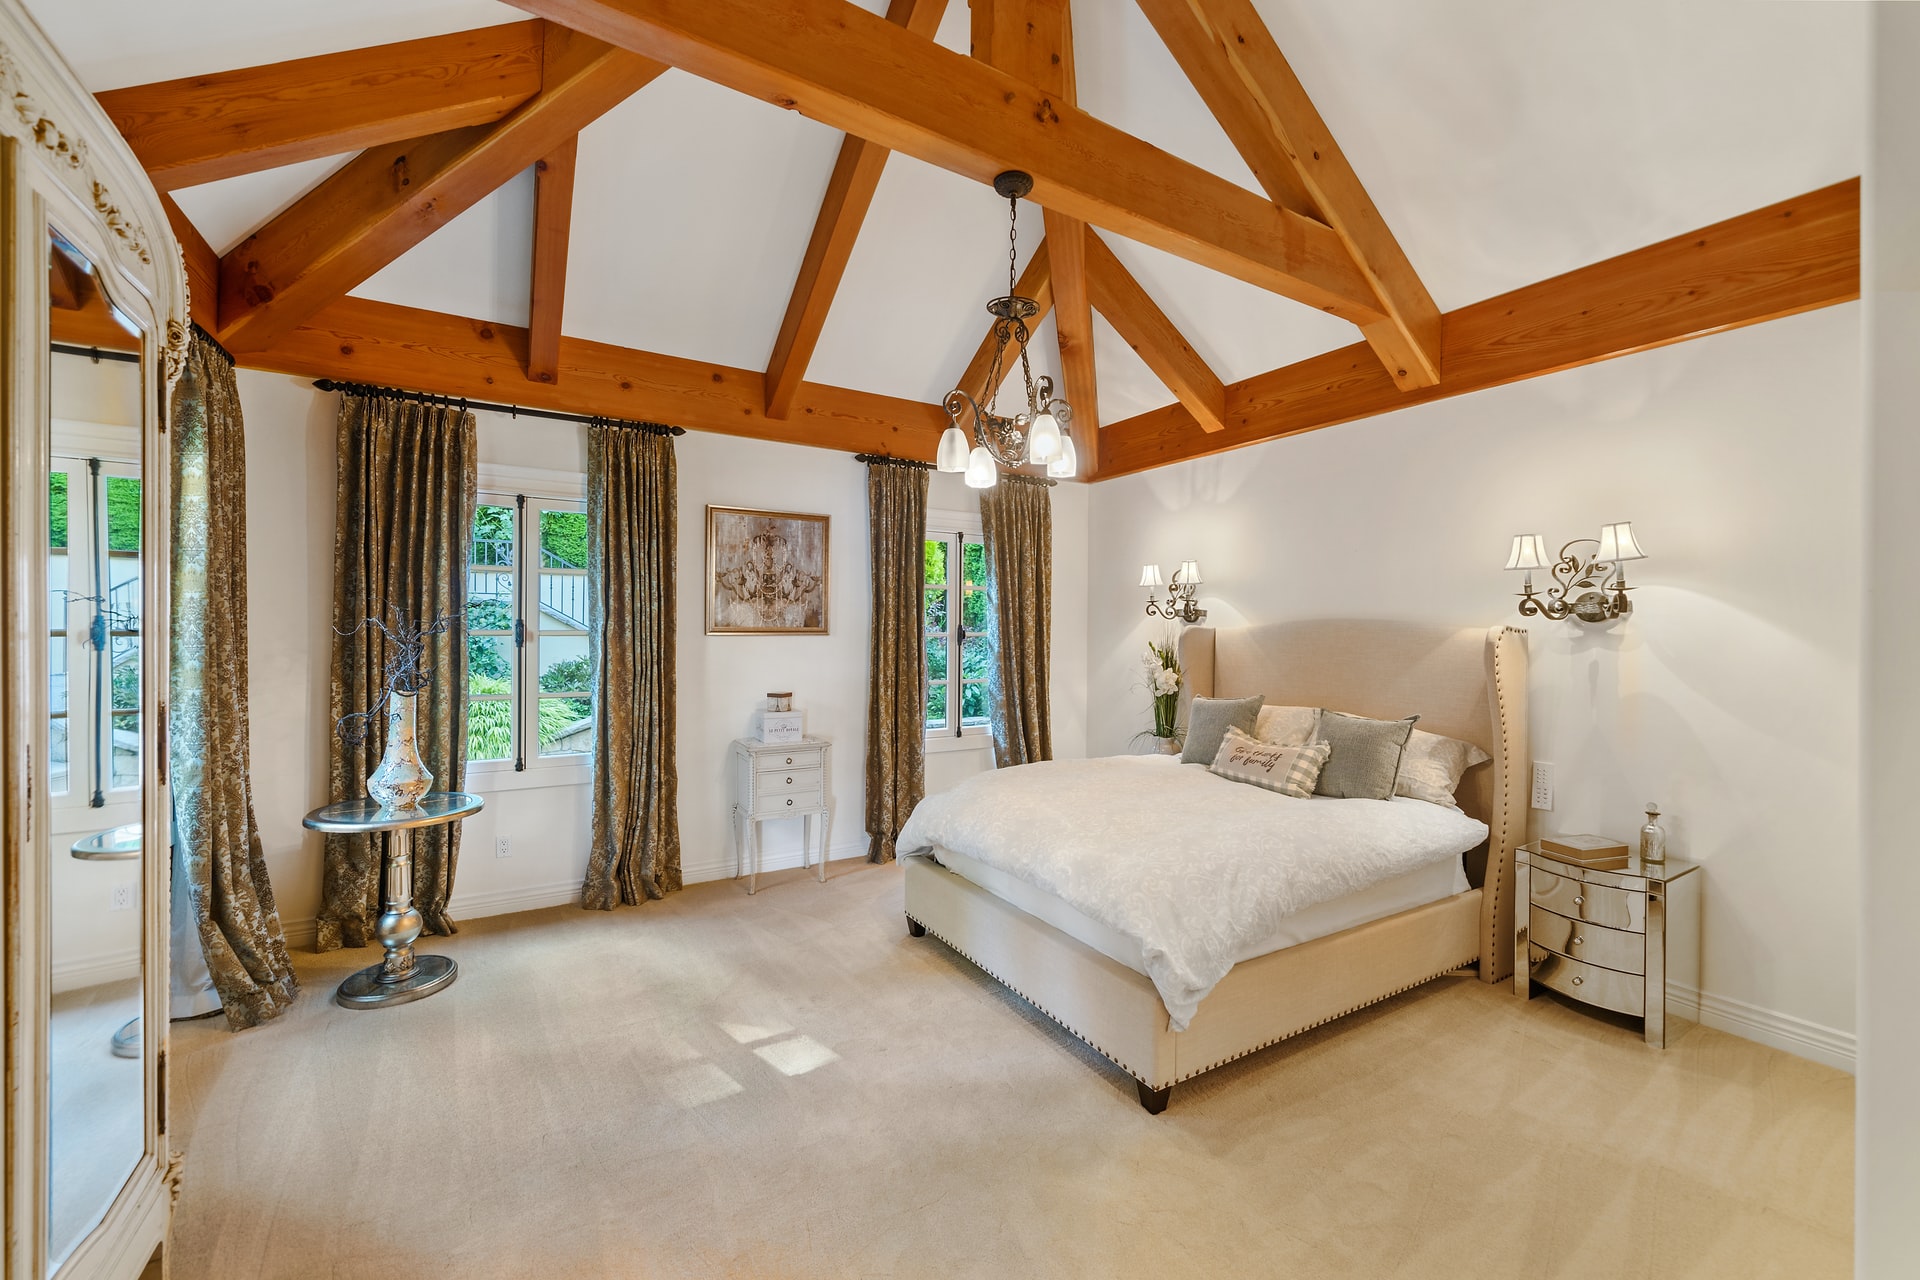
What do you do when you outgrow your house but love it? You don’t necessarily have to move or spend a fortune on an addition. Look at the space you already have and how you can convert it into livable areas. An attic is a perfect place to start the transformation and expand your living quarters.
If you do a lot of the work yourself, you can cut costs even more. Here are some tips for turning your attic into an extra room.
Before looking into the steps to converting an attic, it’s important to consider the cost. Home Advisor lists the costs of an attic conversion between $20,000 and $95,000, depending on size and scope. Before starting, consider what you want to use your attic space for and what you’ll need for it.
The intended use can determine what you’ll need for your conversion. For instance, a rental unit may require a kitchenette and bathroom, which would likely lead to your highest cost. A bedroom may require an egress window for safety compliance, whereas you may not need to add one for a home office.

If you’ve lived in your house any length of time, your attic may be filled to the brim with stuff. Spend a few weekends pulling everything out and getting rid of what you no longer need. Donate to a charity or sell it. For the things you must keep, find a new spot for storage, such as a garage or crawl space.
Then, you can determine what kind of headroom you’re working with. Depending on your location, there may be certain room size requirements for an attic conversion to be approved. You’ll likely need 70 square feet of floor space, 7 feet in any direction, and at least half the floor space needs to have a ceiling height of 7 feet or more.
Before investing a lot of money into plans, talk to a structural engineer to make sure the space will support the added weight of living space. If you must add additional beams or supports, the cost of the project rises. It’s worth your time to ensure you can use the area for your needs.
Even if you use a program to draw your plans for the attic space, talk to an architect before finalizing plans. They may have ideas for better use of space or notice glaring issues harmful to your project or make it cost more money. Most freelance architects charge by the hour, so the cost to have plans tweaked is less than having them drawn up from scratch.

Depending upon where you live, you may have to follow certain codes and pull permits when turning your attic into living space. Talk with your contractor about what you’ll need to do and follow any instructions to the letter. If you install an illegal attic, the city may force you to tear it out when you get ready to sell, reducing the value of your home and making your renovation for nothing.
Is your attic wired for living space? It probably lacks outlets and enough light fixtures. Before you begin putting up walls, have your electrician prep the area. If you plan to add another bathroom, this is also the time to run plumbing.
Check that you have enough heat registers and air returns for comfort. Remember, an attic can be hotter in the summer and colder in the winter. Now is the time to add any additional lighting. If you don’t have a traditional ceiling, get one in place. Most codes call for seven-foot ceilings.
If you get to your attic via a ladder, you’ll want to install a functional staircase for easy access. If you’re limited in space, look into a spiral staircase. Otherwise, find a wall to place the entry and exit point to the attic.
If you plan to add dormers, do so before you begin the interior finish work. Windows bring more light into the space and make it easier to perfect drywall and paint. Adding dormers is one of the more extensive parts of the task, too.

Most attics are only beams when used for storage. They might have some loose plywood in place. You’ll want to install secure subflooring. Next, add wall frames showing the layout of the space. Your attic now has sections, and you may start to envision what the finished project looks like.
Drywall isn’t effortless. If you aren’t sure what you’re doing, practice on some spare pieces until you can tape, mud and sand to perfection. Your best choice is to hire a professional to complete the drywall in your attic addition.
Put the finishing touches in place. Paint, install flooring and decorate. High end finished can drive the costs up.
Yes. Building permits are required for attic conversions in virtually every jurisdiction. Skipping permits can void your homeowner’s insurance, create problems when selling, and result in fines. Permit fees typically range from $500 to $2,000.
Attic conversions typically recoup 67% at resale. A bedroom conversion adds more value than a home office or bonus room. The return is best when your home already has limited bedrooms and the attic increases functional living space.
You can DIY some tasks (demolition, painting, installing flooring), but structural work, electrical, plumbing, and HVAC require licensed professionals in most jurisdictions. Structural engineering and permits are also required.
4-12 weeks, depending on complexity.
There are a few things making attic living a bit easier. First, have cleaning supplies on the same floor, so you don’t have to drag heavy vacuums and other items up and down the stairs. If you plan to use the space for sleeping, create a laundry shoot to avoid dragging laundry up and down the stairs. Think about the little daily things you use.
Note: This article was first published on October 22, 2021, and was revised on August 27, 2026 to reflect the most current information.