
We are reader-supported. When you buy through links on our site, we may earn an affiliate commission.
Are you tired of your cabinets but unsure how to go about painting them? Although it’s pretty straightforward, you’ll do plenty of prep work. Luckily, this guide can help you learn how to paint kitchen cabinets.
It can be tempting to grab some paint, slap it on the cabinets and call it good, but you’ll need plenty of other things to get started. You can get tools to make prep work easier or help your work last longer, so it’s worth it to consider loading up on supplies.
You’ll need a few things for prep work or painting:
This list isn’t exhaustive, but it mainly covers the essentials. You may only need some of these things if you have alternatives or are skipping steps, but they come in handy for most painting projects.
Even if you figure out your supplies, you must decide which paint you will use. There are many different texture and appearance options, each with pros and cons.
Before you decide on a paint type, consider the timeline of your project. Each type has a different drying time and requires various prep work. On top of looking different, each needs different care after you finish your project. For example, high-gloss paints can look amazing, but are you willing to constantly wipe away fingerprints and touch-up small scratches? Your paint choice isn’t as simple as choosing a color.
Picking your cabinet color might be the most fun part of the entire experience. You might think you’re limited to what you see on home renovation shows or in magazines, but you can make any color look good.
Lighter colors can make your kitchen look bigger because the light reflects off them and opens up the room. White, grey and eggshell are traditional, but you can choose lighter shades of whatever you’d like.
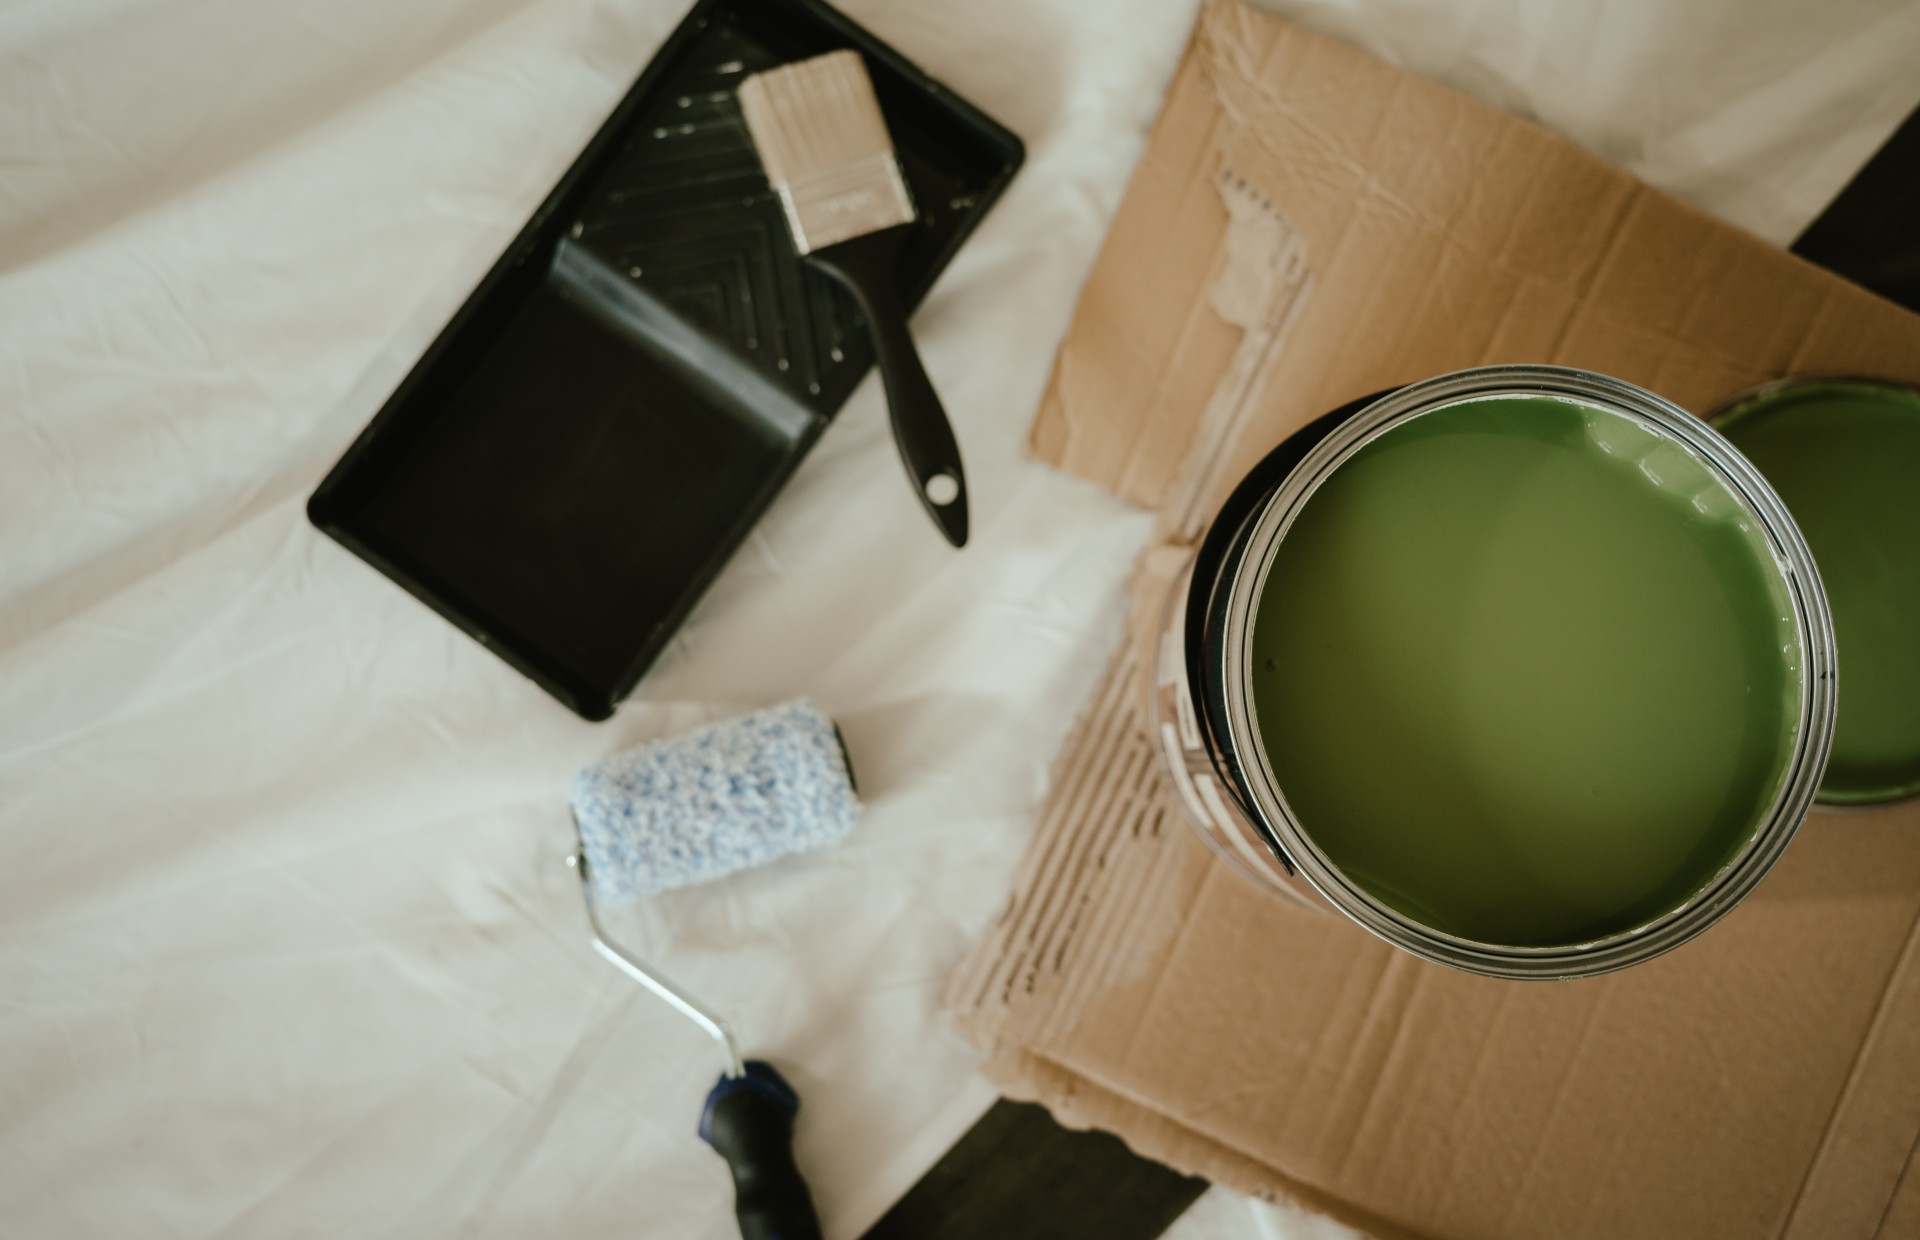
Also, consider using nontraditional colors like pink, green or orange. Each color causes changes in mood, so you can make your space feel a certain way just by picking a particular option. You don’t have to use the brightest, loudest variation you can find, either. A pale or desaturated color can look like it belongs in the space without being too overwhelming.
Do you want to do something different? You aren’t tied to any imaginary painting rules when redoing your kitchen, so you can get as creative as you want. Consider painting cabinets in different colors to make your space more unique.
Some people have already done this with a two-tone kitchen, where they paint different colors on the bottom and top cabinets. Since darker colors look more prominent to the human eye, you could make the bottom cabinets darker to make your room look taller.
You may have to sand and seal before you begin to protect your cabinets. For example, latex paint requires sanding and sealant before you can paint. In addition, older houses have specific steps to follow because you might unknowingly deal with lead paint.
Most construction or renovation projects used lead-based paint before 1978, so it might be on your cabinets if you have an older home. You should hire someone certified to test them before you proceed. It’s safer to call a professional and risk having to get new cabinets than it is to sand something that might contain lead.
After you get supplies and have everything set up, you’re ready to get painting. Technically, though, there are a few more steps before you can paint your cabinets.
Take the hardware out of each cabinet so you don’t accidentally get paint on them. Remove every door before you begin. Not only do you want airflow since you’ll be breathing in paint fumes, but the paint will look nicer when it dries if you have a proper setup. You can lay them on a table or a tarp on the ground. Be mindful of anything that could get stuck in the paint while it dries.
This step might not be necessary if your cabinets are already painted and in good condition, but it can be useful. It’s pretty frustrating to spend a lot of time priming and painting only to find out there are a few apparent nicks and bumps, so it can help to sand everything until it feels smooth. It also may help the paint stick, which makes it last longer.
You can try a stripping substance if you’re not a fan of sanding or you want to save time. All you have to do is follow the instructions, coat your cabinets and wait for the paint to peel off. Various types are available at hardware stores or online.
Many people don’t think priming is a necessary step. You may not have to if you buy particular paint, but it’s a good idea to use it anyway because it helps the paint stay better and last longer.
It can also cover the cabinet color if you decide not to strip the old paint, which is helpful. Lightly sanding the primer after it dries makes the surface feel smooth, which may help with painting.
Use a high-quality applicator and go in repetitive strokes in the same direction. Keep your brush or roller loaded with paint from a nearby supply. Some paint types require more coats or delicate strokes than others — like satin or high-gloss paint — so the time this takes you will vary.
Since the whole point of cabinets is to open, it might be worth painting the inside since you’ll see a lot of it. Just wait until one side is entirely dry and flip the doors over to paint the other. That being said, it makes the project much quicker if you only do the outside.
Make sure the paint is dry — so you don’t get any drips — and reinstall the cabinets. It’s a time-consuming process, but it’s the last thing you must do before you can stand back and admire your work.
You’ll have a lot of choices to make before you can paint, but the actual process is pretty easy. Waiting for the paint to dry will take a while, but you’ll have a beautifully renovated kitchen in no time.