We are reader-supported. When you buy through links on our site, we may earn an affiliate commission.
Whether you love the whimsical look of tiny houses and trails or want to share a fun activity with your kids, learning how to make a fairy garden is entertaining. You can purchase items, use natural materials or create a mix of the two styles.
What Should Be in a Fairy Garden?
Miniature gardens can range from a small setup in a flower pot to a larger layout. You can create them in a garden bed or at the edge of the woods. What you put in your fairy garden depends on you available space. You should also consider your budget for accessories or ability to make them.
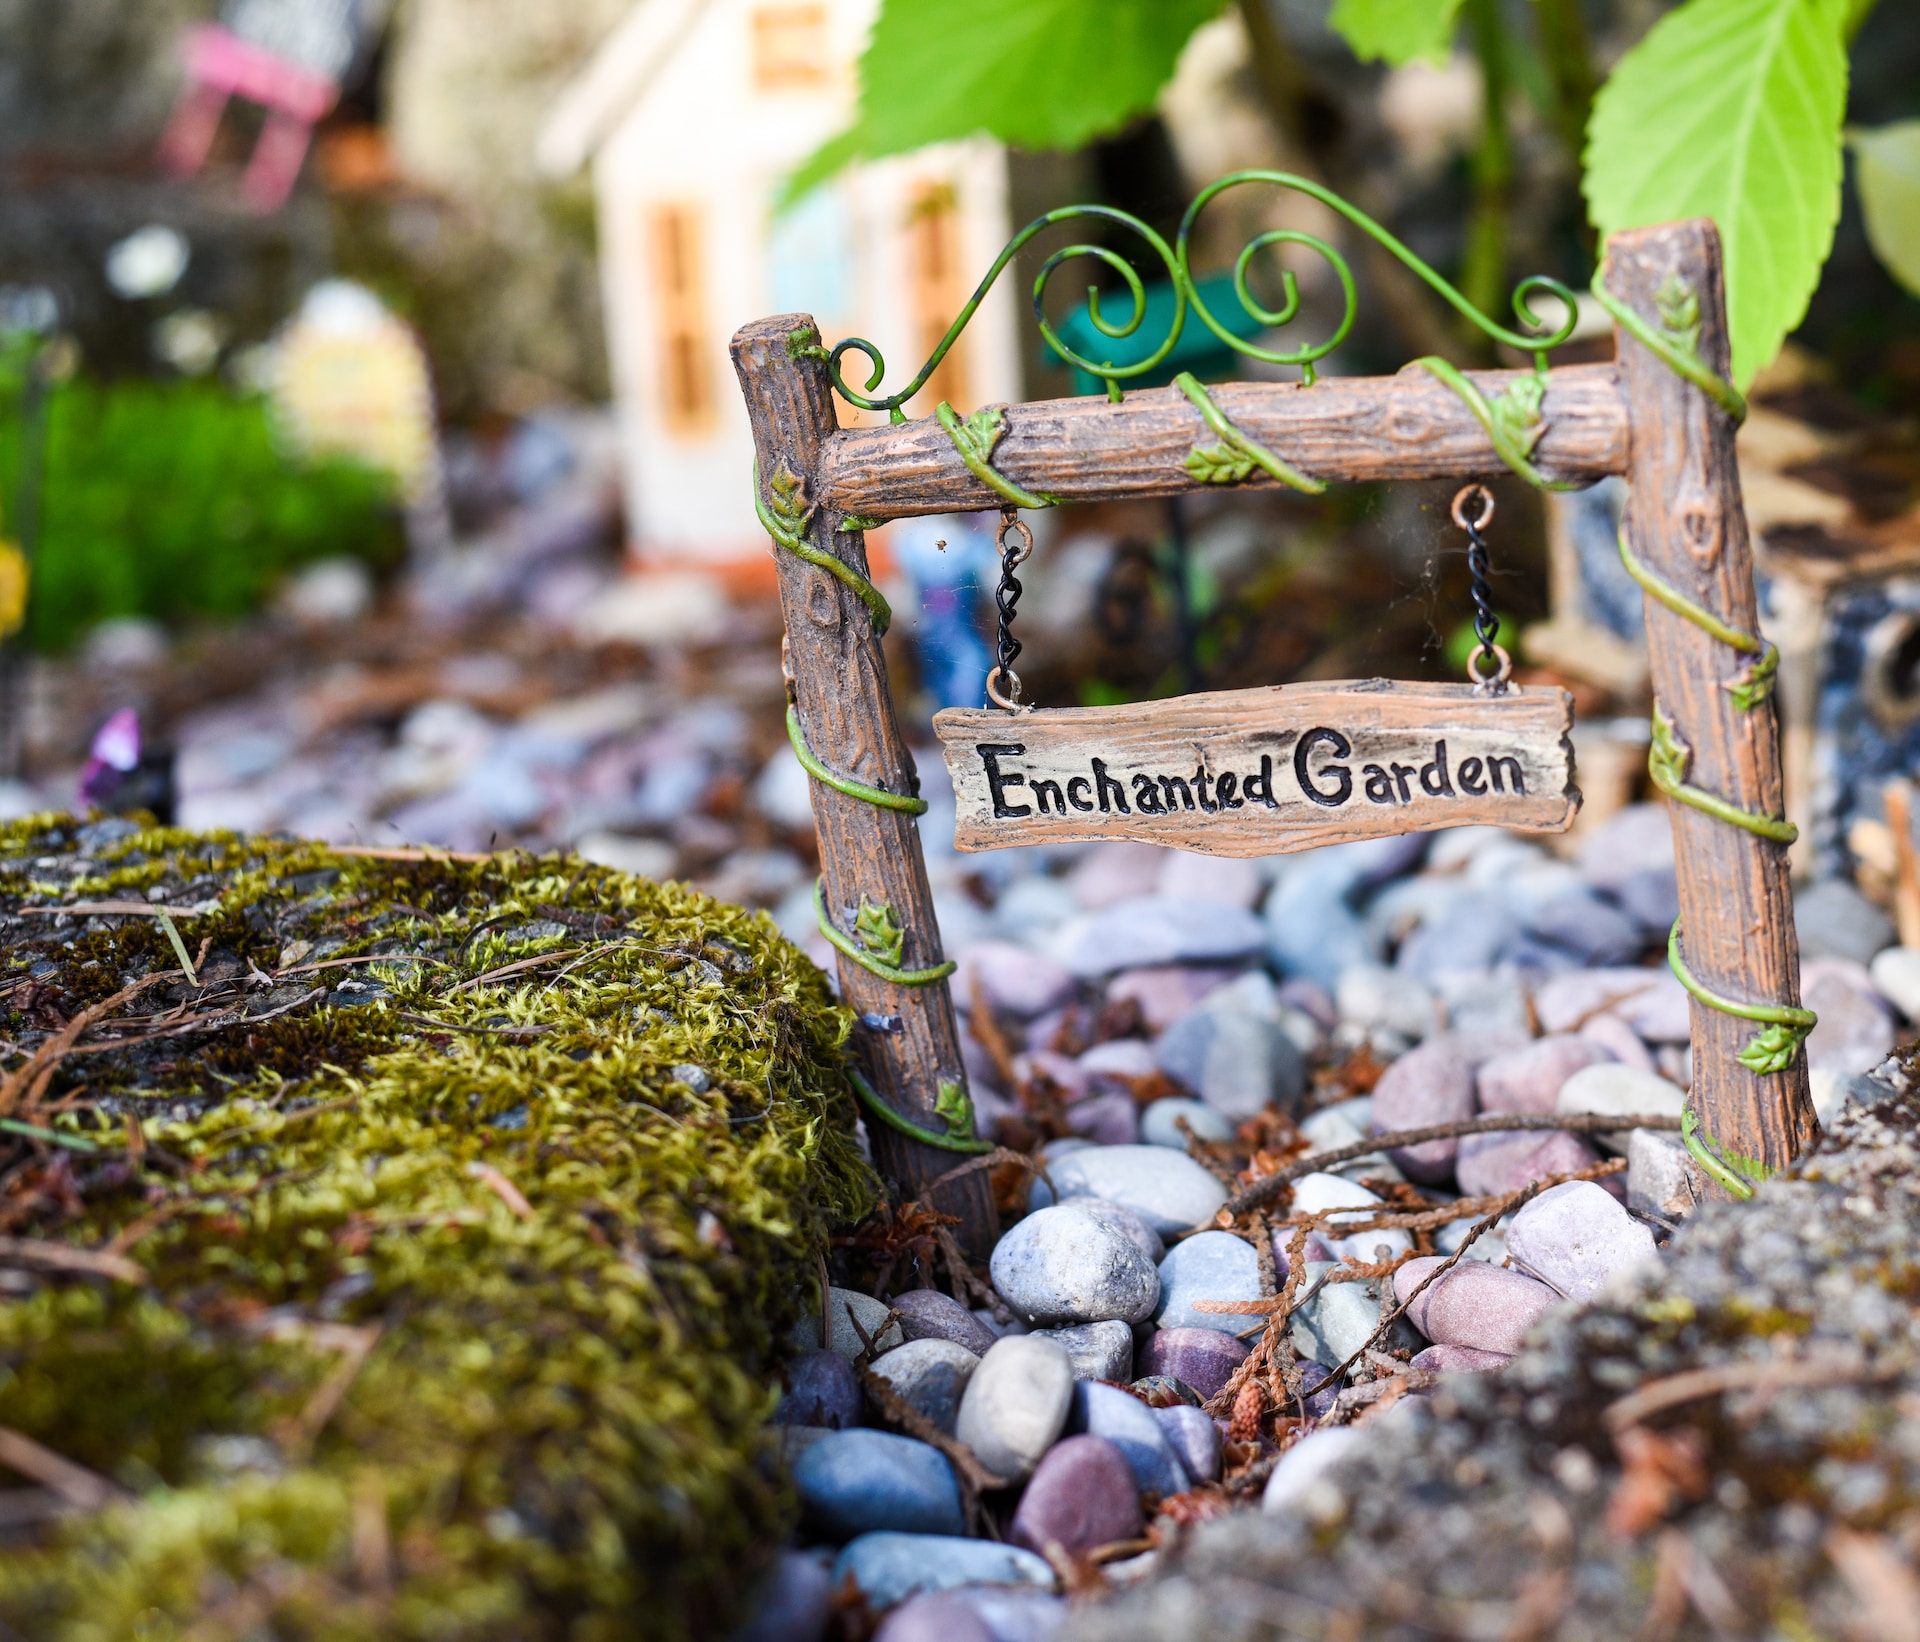
Fairy gardens often feature tiny pathways, trees, bridges and miniature houses where the fairies can reside. Finishing touches include moss-covered roofs and twinkle lights.
Humans are quite creative, adding a touch of the otherworldly to miniature trees or landscapes, making them look like a place where tiny, magical creatures with wings might live.
Here are some of our favorite ideas for how to make a fairy garden that speaks to your soul.
1. Find the Right Location
Do you need to know how to make a fairy garden in a small space? If you live in an apartment or have minimal outdoor room, creating a miniature garden in a planting container may be your best bet. You can even keep it indoors if you prefer.
If you have a yard, then look for a secluded spot where it makes sense to have a whimsical garden for fairies. For example, the edge of a forest is a perfect location. You can use pine needles and the forest floor as your base and make your creation with sticks, stones and twigs you scavenge.
One of the most common approaches to building a fairy garden is to tuck it away in a corner of the yard or other secluded spot to give the magical creatures privacy.
2. Select the Best Border
Borders help you make a fairy garden and keep it contained to the intended space. Miniature gardens have a way of taking on a life of their own. Figuring out what border looks best makes a difference in your project’s personality.
If you have bricks or pavers on hand, you can create a small sectioned-off area and add an entrance for the fairies. Also, man-made finishes might deteriorate over time, so natural stones work best.
You can also use small logs, buy a border or create a natural perimeter by digging out a narrow channel and edging the lawn up to the garden. Another idea is to frame the garden with plants — be aware of how much the variety you choose spreads or it could take over your fairy garden.
To make a fairy garden in a container and still include a border, you can use small-scale fences or edging for dollhouse enthusiasts and model train terrains.
3. Gather Materials on Hand
Learning how to make a fairy garden is exciting. As you find different products, you’ll feel you have to purchase them. It can get addicting quickly. If you aren’t careful, you can spend a small fortune on a tiny village for make-believe creatures.
Your first step is to gather what you have already. Do you have a bag of twigs you meant to use for a project? You could glue together a miniature hut with a moss roof or make a wooden pathway up to one of the cottages. Small rocks make excellent entries to fairy homes. Hollowed-out tree stumps are the perfect living quarters for a small, winged creature.
4. Let Others Know
Let everyone know you are learning how to make a fairy garden. Announce it on social media. Post on local “buy nothing” sites that you’re seeking fairy garden accessories. People who had a garden and are dismantling it or bought pieces planning one and it never happened may gift you a few items or sell them for a discounted rate.
Everything you collect is one thing you don’t have to buy. Family and friends might even get you light-up cottages and little figurines as gifts for your birthday or during the holidays.
5. Seek Commercial Elements
Fortunately, you can find a lot of outdoor, miniature elements at the moment, thanks to the popularity of gnomes. Whimsical garden characters like these are favorites because they show personality with a low price tag. For example, holiday gnomes and their accessories start at $10 and rarely cost more than $50.
Fortunately, you can incorporate gnome items into your fairy garden, since the two often overlap.
6. Find a Focal Point
When you start building your garden, in a container or outside, choose a central focal point — a small tree works well. You can invest in a bonsai tree and bury the pot slightly in the ground. Keep it pruned and trimmed.
You can also use plants that look like trees or shrubs but are much smaller. A few of these include:
- Port Orford cedar
- Dwarf umbrella tree
- Foxtail fern
- Moon frost hemlock
If you plan to leave the plants outside year-round, you should chat with your local nursery about options with slow growth rates and that would work well in your planting zone. If you grow a tree in a small pot, you can choose almost any variety that adapts well to bonsai practices.
Enjoy the Journey
Your fairy garden will grow and change over time. Your vision may be a few miniature huts tucked into your landscaping. However, your child or grandchild could take an interest in the fairies, and suddenly, you have a full-blown play area where they can rearrange the houses and play with accessories.
The magic of a fairy garden is it can become anything you want. They have a way of taking on a life of their own and adapting to the unique personalities of the gardeners around them. The best way to create a fabulous fairy garden is to start and see where it goes.


