I Transformed My Junk Drawer Into an Organized System: Here’s How You Can Too

 (1)")
We are reader-supported. When you buy through links on our site, we may earn an affiliate commission.
I used to treat my junk drawer like a pressure valve. If something didn’t have a home, I shoved it inside and shut it fast. The problem was that every time I needed scissors, tape or batteries, I wasted minutes digging through a chaotic pile of “maybe useful items.” Once I rebuilt it into a simple, structured system, I could find what I needed in seconds. Here’s how you can do the same in less than 30 minutes.
The Junk Drawer Moment
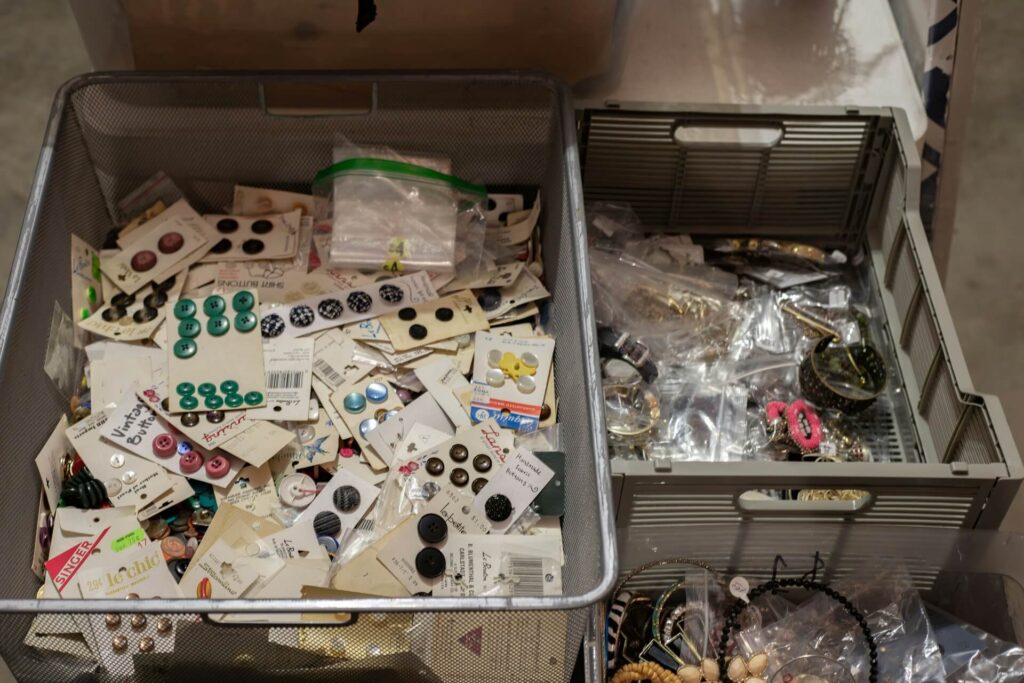
Mine finally hit the breaking point on a Tuesday morning when I needed a tape measure to check cabinet spacing. I opened the drawer and immediately snagged my finger on a tangle of rubber bands glued together by a burst soy sauce packet. Under that were two loose Allen keys, three pennies, a dead AA battery and a mini screwdriver. The tape measure wasn’t even in there.
That was the moment I realized the junk drawer wasn’t “storage,” but rather deferred decision-making. Every time I didn’t know where something belonged, it went in there. And every time I needed something urgently, I paid for it in frustration. That feeling isn’t just in your head. Clutter can cause your body to release cortisol.
Once I rebuilt it with a simple system, I could grab what I needed in under 10 seconds. That speed alone has made the reset worth it in every sense of the word.
What Actually Belongs in a Junk Drawer
A junk drawer isn’t meant to hold everything small. It should hold items you reach for regularly, but don’t want stored in a full toolbox or office.
In most homes, that realistically includes a small pair of scissors, one roll of clear tape, one backup roll of masking or electrical tape, a permanent marker, a pen, a mini screwdriver, a lighter or matches, spare batteries and a few small fasteners like screws or wall plugs.
What doesn’t belong in there is full tool kits, paperwork, medication, spare keys you never use, old electronics or unopened packaging. Those items create bulk and hide the useful things underneath.
If you define the drawer as a “weekly-use small essentials drawer,” you immediately shrink the list of what qualifies to live there.
How to Organize a Junk Drawer
Here’s the nonnegotiable step — you need to remove everything. Lay a towel on the counter to stop screws and batteries from rolling away and get going. Set a 20-minute timer so the task stays contained and then pull every item out and place it on the towel in one large pile. Next, wipe the drawer interior with warm water and a drop of dish soap. Dry it completely so bins won’t slide around later.
Before sorting, do a safety sweep. Dispose of any leaking batteries immediately. Throw out dried glue, broken rubber bands, cracked pens and anything rusted. If you’ve had a mystery screw for more than two years without knowing where it belongs, it’s probably safe to let it go.
Sort With Purpose
Here’s where structure replaces chaos. Create five clear categories and move quickly. Try not to overthink.
- Keep: Items you use at least once a month and want in this exact drawer.
- Relocate: Useful items that belong elsewhere, like medication, full-size tools or spare keys.
- Trash or Recycling: Dead batteries, dried markers, broken clips and mystery parts can all be disposed of.
- Donate: Extra flashlights or duplicate tools you don’t realistically need may be better used by someone else.
- Decide Later: A very small pile, no more than 10 items.
The key is speed. If you hesitate too long on an item, it probably doesn’t belong in the “keep” category.
When I finished sorting, my original pile shrank by more than I could have imagined. That reduction makes the next step much more manageable and effective.
Measure Before You Buy Anything
This is where most people go wrong by buying organizers and hoping they fit. Measure the inside width, depth and height of your drawer. Height is usually what matters most. If you buy a container too high for your drawer, it will scrape every time you open or close the drawer.
My drawer is a little shorter, so I needed a low-profile tray to let it open and close smoothly. I also opted for a non-slip liner under the trays to prevent them from sliding forward every time you open the drawer. That one small addition dramatically increases how “organized” the drawer feels long term.
Build Zones

Once you have your inserts in your drawer, think in zones based on how often you use items.
The front portion of the drawer should hold your highest-frequency items. In mine, that meant scissors, clear tape and a pen and marker set. Those are the items I reach for weekly, sometimes daily, so I needed them front and center.
The middle zone became a “quick fix.” A mini screwdriver set, a box cutter and a compact measuring tape live here. They’re easy to grab but not competing with everyday items.
The back zone holds backup items and small parts. Batteries are separated by type in individual mini bins. AAs live in one, AAAs in another and coin cells in the third. Fasteners are stored in a single container with a lid to prevent scattering.
Each zone has a job. If an item doesn’t have a job, it doesn’t return to the drawer.
Set Clear Limits
Organization fails when space is unlimited, so the only logical solution is caps. Keep only two rolls of tape, limit pens to three total and allow only one small container for loose screws. If batteries overflow their designated bin, test and discard the dead ones.
These limits helped me prevent gradual overflow. The drawer becomes self-correcting because excess is immediately visible. When something new enters, something old leaves. That rule alone has kept my system stable without the need for constant decluttering sessions. The best part is that my mental health has been better knowing there is less clutter.
Don’t Overdo Labels
I’ll admit I get a little trigger-happy with a label maker, but it does more harm than good. You don’t need labels everywhere. Label only categories that look similar or frequently mix, like batteries, fasteners and command hooks.
A simple strip of masking tape with clean handwriting works perfectly. If you prefer a polished look, use a label maker, but keep it minimal. If someone else in your household can open the drawer and return an item correctly without asking where it goes, your labeling is sufficient.
Two-Minute Maintenance
An organized junk drawer doesn’t stay that way because of motivation, but maintenance that’s too small to skip. You have to make upkeep faster than mess, trust me on this. Once a week, take two minutes and open the drawer with the goal of removing anything that wandered in. Mail, packaging, a random receipt, or a screwdriver you borrowed from the toolbox all go back where they belong. If a pen stops working, throw it out immediately.
No More Junk in the Trunk
An organized junk drawer is about clarity, so empty it fully, sort it with intention, install bins that actually fit, create zones with limits and maintain in minutes. When the smallest storage space in your home works well, everything else starts to feel easier.
About The Author
Evelyn is the founder and editor-in-chief of Renovated with over 5 years of experience writing about interior design, construction, and renovation. She is a passionate advocate for improving mental health and safety in the construction industry. When she's not writing, you can find her reading at coffee shops around PA.
Her insights have resonated far beyond Renovated, gracing publications like the National Association of Realtors, Construction Executive, DecorMatters, and Renewable Energy Magazine.
For more insight on design, construction, and everything in between, you can check out Evelyn's portfolio, https://evelynlong.com/.