
We are reader-supported. When you buy through links on our site, we may earn an affiliate commission.
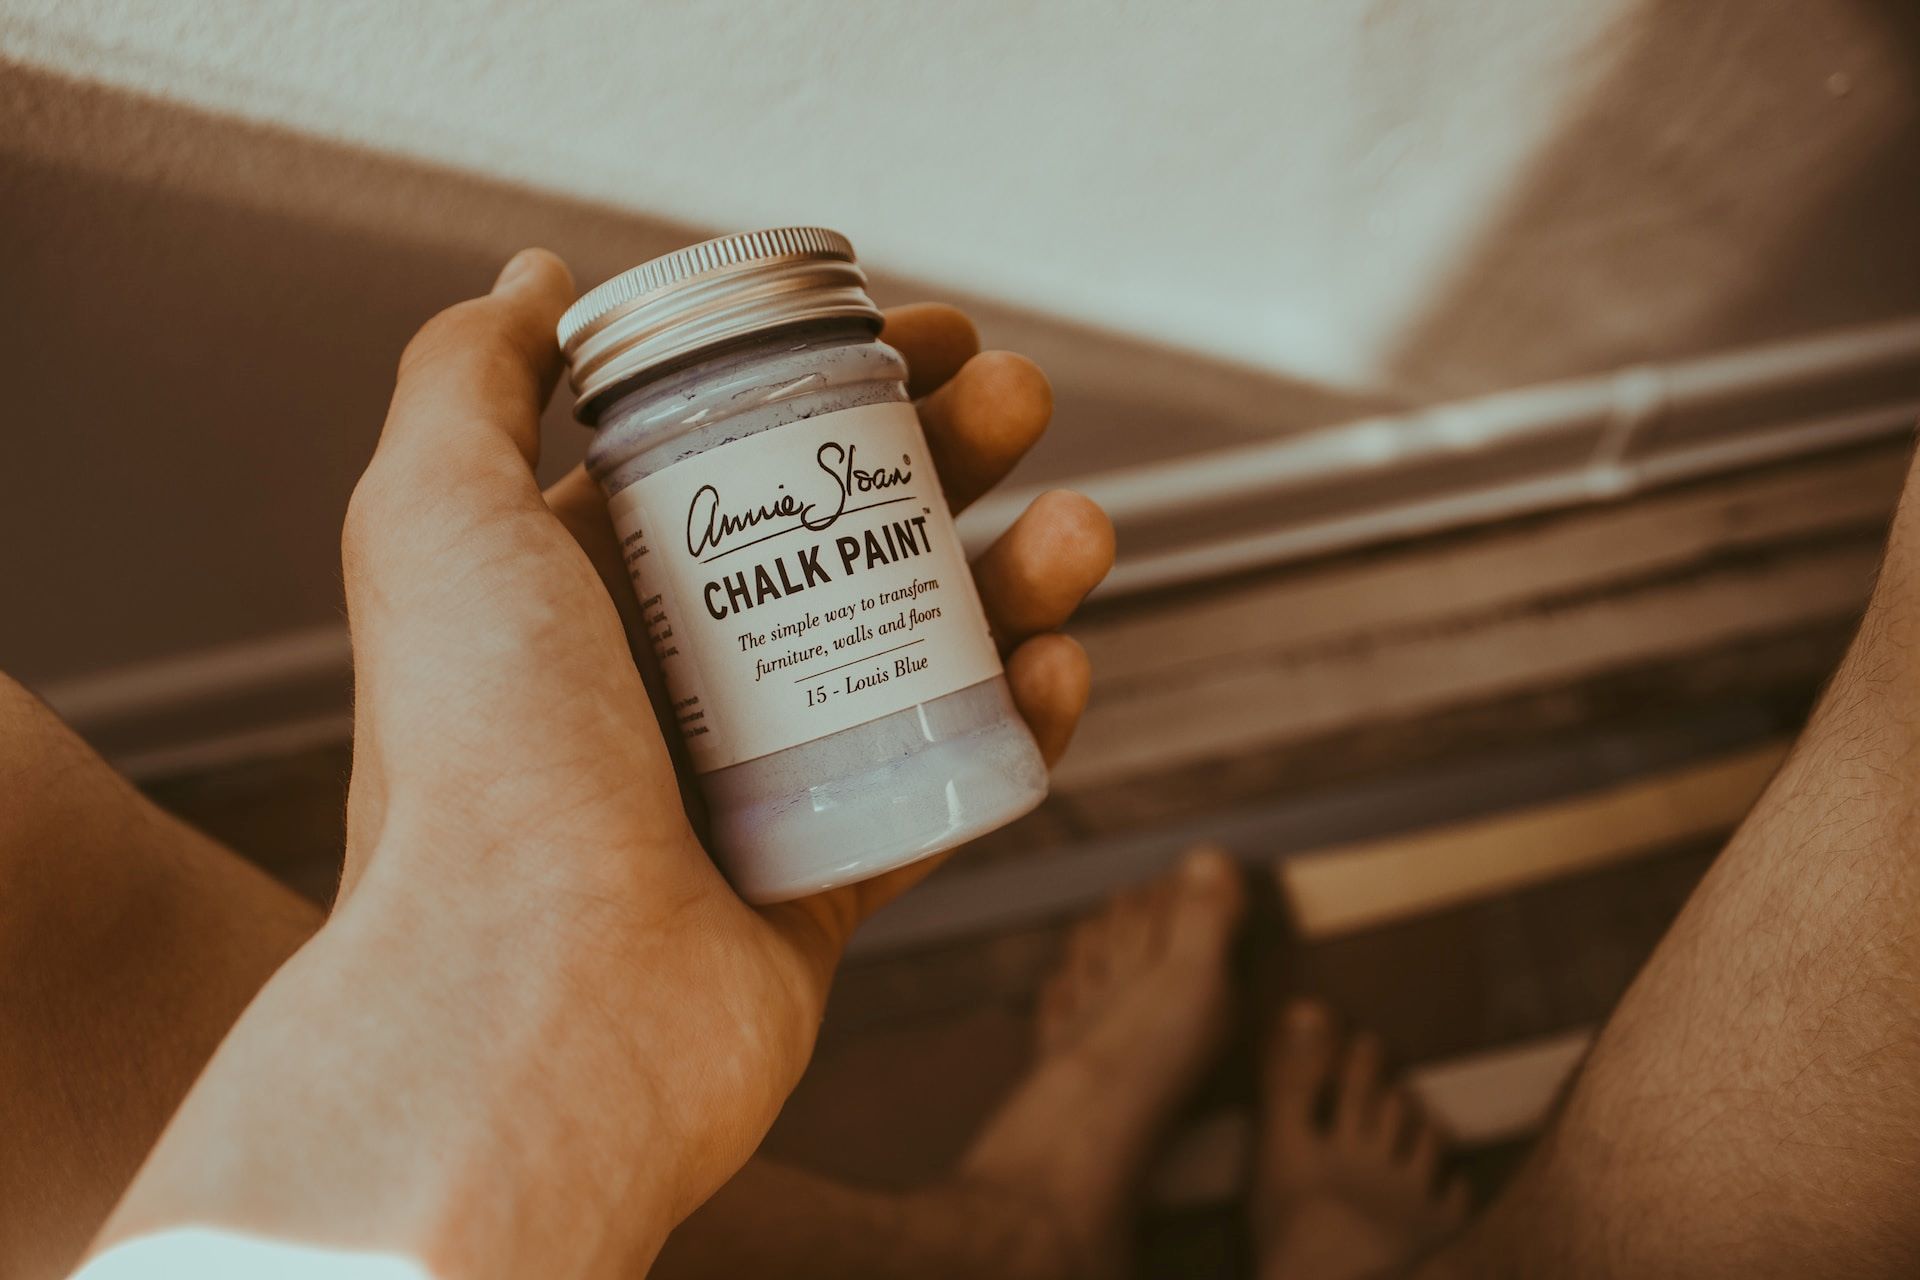
If you’re looking for your next home improvement project, look no further than chalk paint. You can apply it to almost any surface to create something unique and new. While the beautiful result it brings may seem complicated, learning how to use chalk paint is an easy process.
While they sound similar, chalkboard and chalk paint are two different products. Chalk paint creates a matte, chalky texture on any furniture or surface. It distresses easily and dries fast, so it’s a favorite among beginner and experienced DIYers for creating a shabby chic or farmhouse look.
Chalkboard paint also has a matte appearance, but you can write on it with chalk when it dries down. It’s most commonly used on walls and sometimes tables, but it isn’t easy to distress and needs a few days to cure before you can use it.
Both types of paint are incredibly useful and fun additions to any home. However, knowing which one you’re looking for is essential since they won’t give you the same finish or function.
As with any DIY project, you’ll need to gather your supplies before you get going. Luckily, you don’t need much to achieve a great result. All you need is:
Most projects with chalk paint require less prep than traditional formulas. Its mineral contents help it adhere to most any surface without stripping and sanding beforehand. The only thing you’ll need to do is clean the area you’re working on and ensure there’s no mold or mildew before beginning your project.
Chalk paint is a beginner-friendly medium. For the most part, you can apply coats in any way you wish, especially if you’re going for the distressed look. However, a more refined approach is necessary if you want a more modern, sleek finished product.
You can use any traditional painting tool to apply chalk paint. However, your choice can drastically alter the final look. A paint brush will leave a streakier, more rustic finish perfect for shabby chic or farmhouse styles. A short pile or foam roller will create a smoother surface, which is much better for a sleek, modern design.
The minerals in chalk paint that give its unique appearance and texture can also make the application patchy. Most DIYers don’t mind this effect since it reflects the imperfect look they’re going for.
However, if you want a smooth surface with no visible imperfections, you’ll need to pay more attention to the application. Choose a couple thin coats with dry time in between rather than a thicker one-and-done layer.
Unlike most paints, thinning and thickening is quite simple. All you need is air and water. Since the thickness of the paint will determine your finish, it’s important to get it just right. Add water to the can to thin it out and leave the lid off to let moisture evaporate and thicken it up.
Sanding is another way you can determine the final look of your chalk paint project. One of the biggest perks about using this medium for your DIY is that you can proceed without much sanding and prep beforehand. Doing so will result in a more vintage, rustic vibe.
If you want a more refined finish, sand the surface before starting and between coats. Just clean off all the dust before laying on the paint.
When your DIY chalk paint project needs to withstand regular use or the elements, you’ll want to finish it off with a coat of specialized wax. Unlike other sealants, this specially formulated wax will maintain your work’s matte, velvety feel and appearance. However, it will look more polished and withstand wear and tear.
Are you sold on the easy application of chalk paint but unsure where to start? Use one of these fabulous ideas to get started.
Does your thrift or antique store bargain need a little more pizzazz? Breathe fresh life into it while maintaining its shabby charms with a coat or two of chalk paint. It will add color and protect the surface underneath without completely destroying its integrity.
Mass-produced furniture may be a cheap way to fill your home, but it needs more individuality. Add a pop of color and a different finish to your bland pieces to make them more unique and better suited to your tastes.
Exposed brick walls and brick fireplaces can start to look dated after a while. Make yours the focal point it should be. You can use fun, bright colors or black to make a real statement. White and grey are softer choices that add a hint of perfection to your wall.
Tired of your brown or white kitchen cabinets? Use chalk paint to transform the base cabinets or the whole kitchen into your favorite color. You could even toy with a two-toned kitchen, using different options on the bases and uppers. Finishing with wax is an absolute must for this project.
Would you like to create a gallery wall full of personality? Use chalk paint on plain black or white frames and create a smorgasbord of color. You can also make more modern or mass-produced basic frames look shabby chic or farmhouse to fit your style.
Speaking of decor choices, why not add pops of your favorite color to your main living spaces? Get a gallon of chalk paint and turn your favorite lamp turquoise with a vase to match on the opposite wall. Chalk paint will adhere to almost any surface, even upholstery, so you can spruce up old throw pillows as well.
Don’t forget your outdoor spaces. With a protective layer of wax, your creations can weather the storm — literally. Turn your terracotta planter or other outside decor into works of art.
Learning how to use chalk paint is easy, and it’s such a fuss-free medium to work with. You can use these techniques and tips to get your ideal finish every time. Did any of these projects spark your creative genius? Do you have any different ideas? You can’t go wrong by giving chalk paint a try.