We are reader-supported. When you buy through links on our site, we may earn an affiliate commission.
What do you do with your organic waste? Does it go down the garbage disposal or into the garbage? If so, you could be wasting precious resources — and spending an unnecessary fortune on garden soil and mulch at the nursery each year. Why not go green and repurpose those scraps into compost? You’ll save money and the planet.
This activity might sound like an off-the-grid fantasy, but it’s a snap for anyone to do, even if your garden space only consists of a balcony. Here’s a 5-step guide to help you start composting that will help you reduce waste, save money and grow the juiciest beefsteaks ever next year in your garden.
Your first order of business is to construct a compost bin. Do your research before you head to the lumber yard. There’s no need to invest in pricey freshly-cut wood for what equates to a trash can with alchemist powers. Most big box stores give away old pallets for free — use these to build your container if you have a decent-sized lot with plenty of space for growing plants.
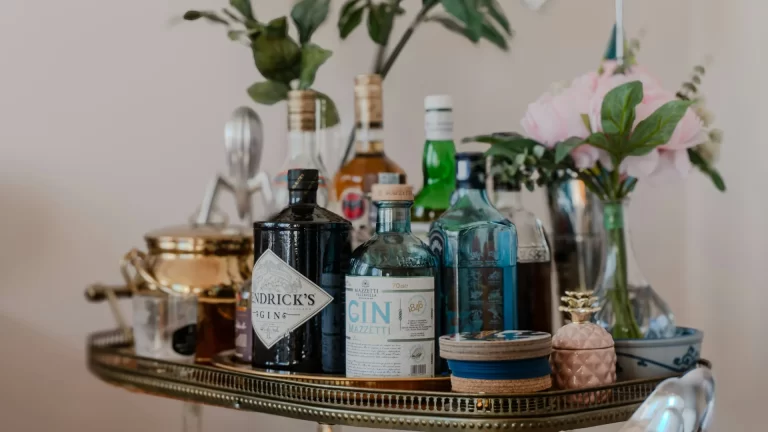
What if you dwell in an apartment, and your garden consists of a sunny patio lined with various containers? You still need quality soil to grow things, right? In that case, you can use a trash can or another plastic container you find more attractive for a smaller bin. You can even repurpose an old coffee can to make a countertop model, keeping all your houseplants well-nourished.
As you learn how to start composting, your next order of business is to determine what materials you can place inside. Again, let your lifestyle be your guide. You might not have to worry much about meat products or treated sawdust if you live in a studio with a balcony and follow a vegan diet.
In general, it’s safe to put the following materials in your compost bin:
However, you should keep the following items out of your bin:
It might help you to make a checklist to hang on your refrigerator where you and other family members readily see it. That way, you don’t accidentally mess up your compost once you get it going — in time, you’ll memorize what’s suitable and not.
How fast do you want to add compost to your garden? It takes 6 to 12 months on average for your scraps to break down into rich, loamy soil. However, you can speed up the process with the right techniques.
The “hot” method promises to get you usable compost in as little as 14 days, although university studies estimate it closer to 18. Either way, you can add nutrient-rich soil to your plants in no time. However, you must follow a precise formula, with equal parts green and brown layered in a 36’ by 36’ square pile. Chop the materials fine — about ½ inch to 1-inch pieces — and add water. Keep the pile hot and turn it every 24 to 48 hours.
However, you can still accelerate your composting process without the precision involved in this formula. Simply create a pile-turning schedule and stick to it. Once or twice a week should make usable compost in about three months.
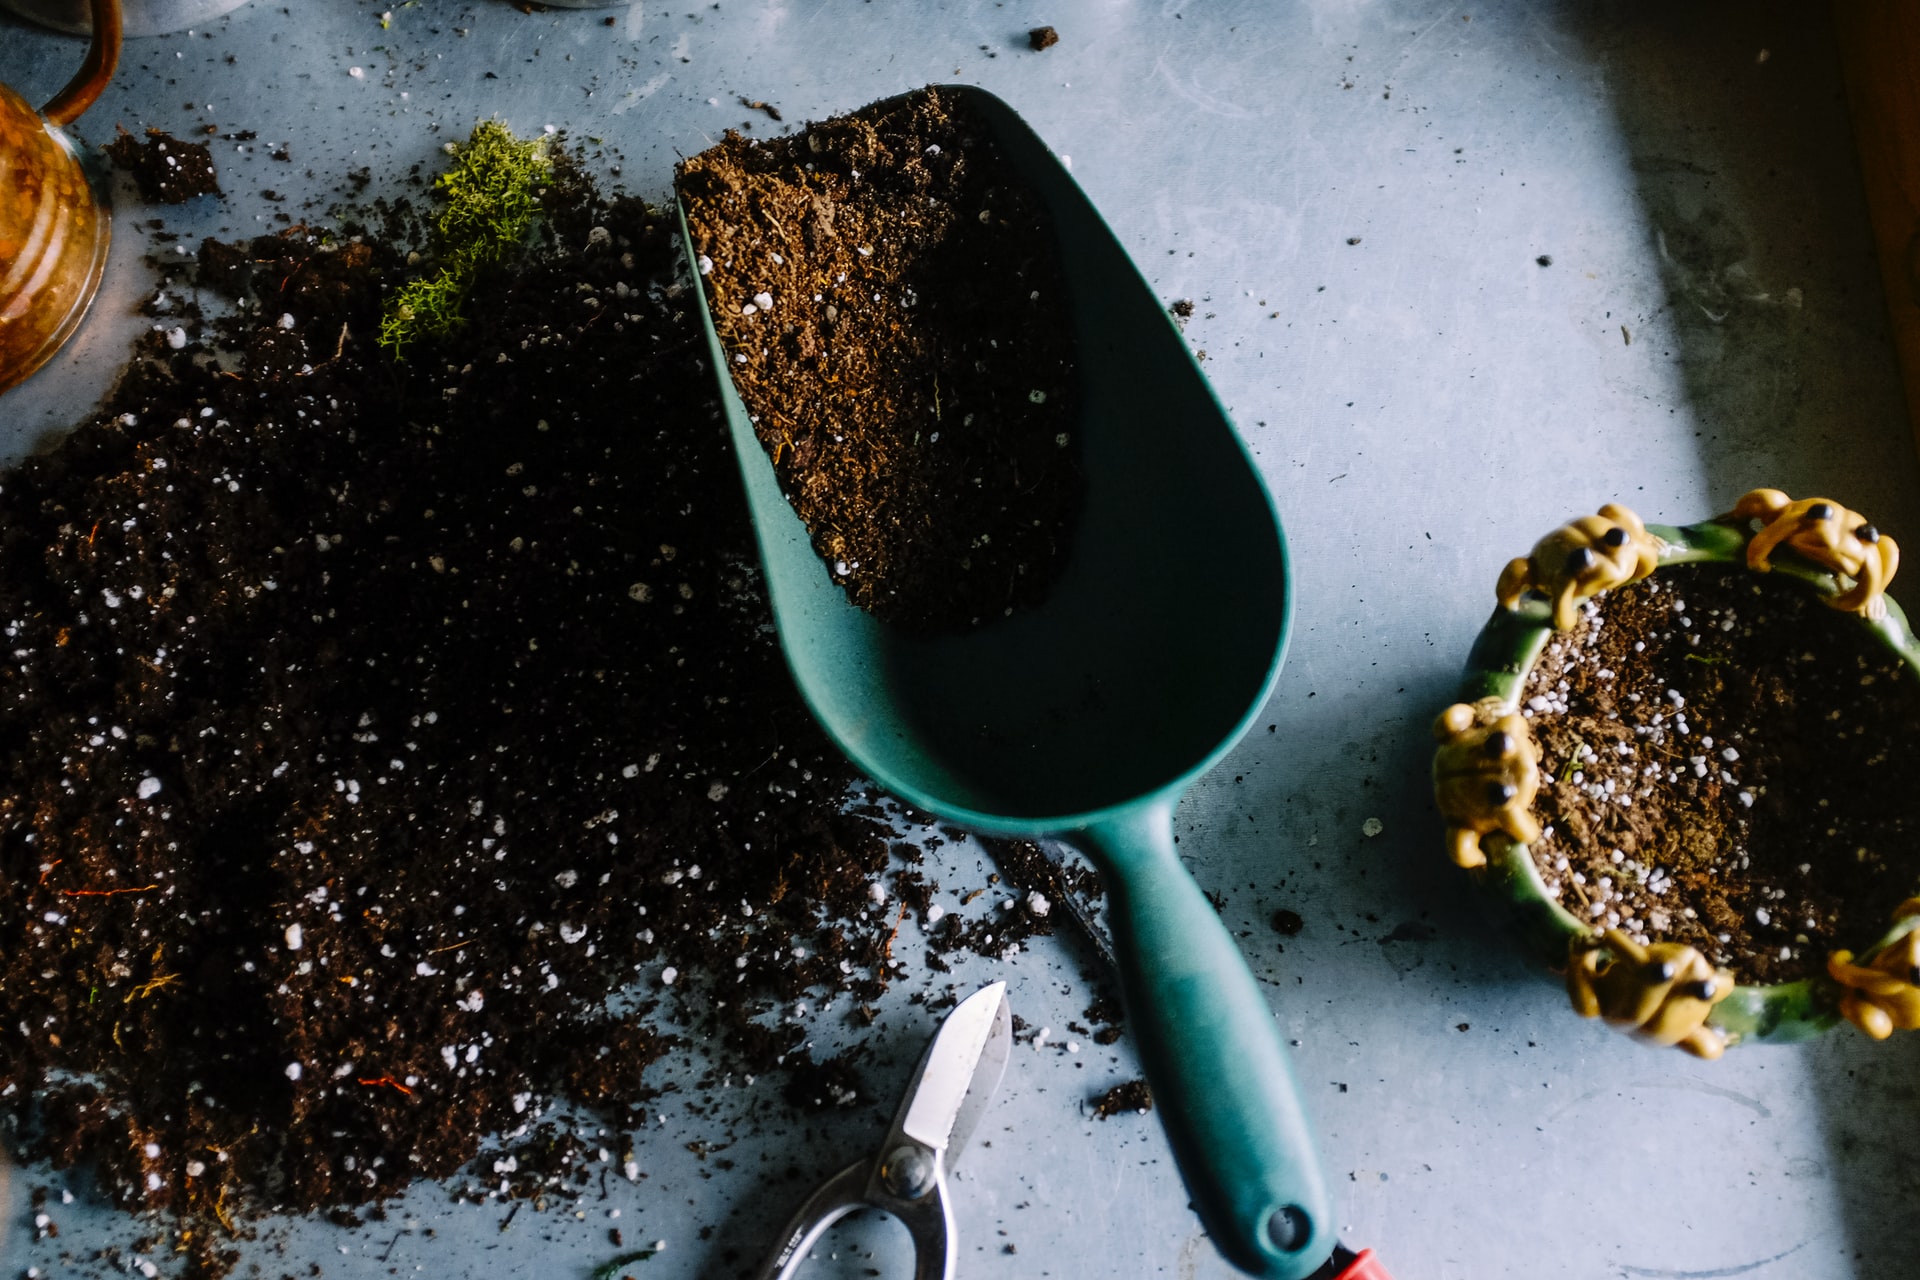
The best compost isn’t chunky. While finished compost enhances your plant’s health, unfinished stuff may harm or damage them by robbing them of vital oxygen and nitrogen to finish the decomposition process.
Therefore, please learn the subtle art of patience. Your objective when composting isn’t only to save money but to reduce waste. You’ll create more if your plants die, and you’ll have to deal with the heartbreak of that loss.
You’ll know when your compost is ready to use when it turns darker in color and no longer emits heat and odor. It should be crumbly, like regular soil — if you see a stray scrap or two, it’s not there yet. You’ll notice that the finished product reduces in size by about half. It should be the same temperature as the outside air or around 50° Fahrenheit.
You are then ready to sprinkle your compost around your house and container plants and garden beds. You can also rake it into the existing soil to add nutrients. Sprinkle it on your yard and apply it several times a year to maintain healthy growth.
Composting is a beautiful way to reduce organic waste while saving money. You’ll spend far less at the nursery while reducing emissions from materials left to rot in landfills.
Follow the five steps above to learn how to start composting. It won’t take long until you feel like a regular green thumb.