We are reader-supported. When you buy through links on our site, we may earn an affiliate commission.
Upgrading your backyard is half the fun of homeownership. You can transform it into whatever outdoor space you like, especially if you’ve got a few woodworking tools. Check out this guide to see if a pergola is exactly what your backyard needs to transform into a relaxing space that reflects your outdoor design dreams.
You’ve likely seen pergolas at restaurant patios and public gardens. They’re wooden structures with four posts and exposed beams across the top. The grid allows shade and sunlight to filter across anyone below, along with extra space for plants to grow around each beam.
People often confuse pergolas with arbors. They can both appear in gardens, but arbors have a distinct upside U-shape. They mark the entrance or exit of a pathway, while pergolas set up seating areas for people to relax.
Once you know how to build a pergola, you can enjoy these benefits with anyone in your household. It will last for years and help you create many happy memories on your property.
When guests mingle outdoors, they often spend their time under a pergola. It creates the appearance of an outdoor room, so it’s a natural space to converse. You can also use the area to grill burgers for everyone since the wood grid roof allows for ventilation.
Some plants thrive in pots, but others need space to grow. Climbing plants could expand your garden if you have a pergola. They’ll circle around the posts and across the roof. You’ll get more flowers to save for interior decor and transform your yard into a more vibrant oasis.
Anyone can put a gnome statue by their fence or hang Edison bulb string lights across their yard. Pergolas level up your landscaping design. You’ll have more artistic choice over your property’s appearance because you built the pergola and gain a backyard that stands out from the crowd.
When you’re ready for your next design project, use these steps to build a pergola that fits your backyard. You’ll create the ultimate relaxation area that expresses your personality.
You’ll need the right supplies to make any project a success. These are the basic supplies for a standard eight-foot by eight-foot pergola. If you’d like a larger one, you’ll need longer beams connecting the four posts. It’s also possible to attach additional beams lengthwise with brackets.
To build a standard pergola, you’ll need:
Pergolas are large structures that need additional stabilization. Posts set in concrete make that easier. Use a tape measure to mark four points in a square. They should be eight feet apart.
Dig two feet deep under each marker to create your post holes. The two-foot marker should align with your grass when you put an extended tape measure into the holes to double-check their depth.
Insert your four 8×6 wooden posts into each post hole and use a level to ensure they are straight. You can hammer two wooden stakes into the ground perpendicular to each post, lean them toward the post and screw them into place to secure the beam’s leveled position.
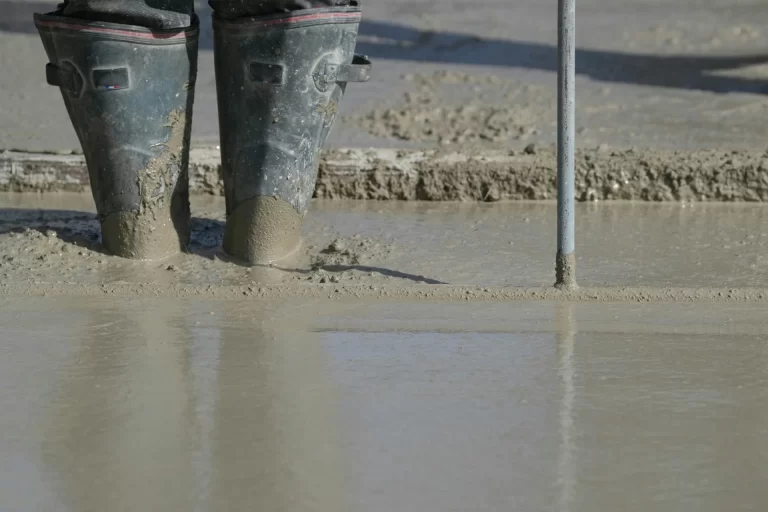
Once the beams are secure, pour water and concrete mix into the holes around the beams. Use the remaining wooden stake to mix the two ingredients until it’s moist enough to have a gravel appearance but not wet enough to slosh around like soup.
One bag of concrete should fill each post hole and give you extra to mold around the post base. It should dry in a downhill shape so running water runs away from your post and concrete hole.
Give each post time to solidify in its hole overnight.
Your four 2×10 beams will form the frame connecting each post. Lay them in your yard to mark where two overlap the other two when placed in a square. Mark where you should cut your notches and make them at least two inches deep.
A reciprocating saw will cut at your marks to create the notches. Attach two of the beams to parallel sides of your pergola posts with the two-inch wood screws. The other two beams will attach parallel to the remaining posts while sitting comfortably in the other beams’ notches.
Screw the final two beams into place to secure the entire structure.
Your rafter beams are the 12 remaining 2×10 planks. Depending on how low you want them to sit on your beam framing, they will have one to two-inch notches. Mark and cut each beam before sliding them vertically across your pergola frame.
The 12 planks should sit equally apart, covering the entire structure while leaving gaps for sunlight to filter through. Drill your two-inch wood screws from the top of each plank down into your frame on both ends.
When you secure the final plank, you should have a nearly perfect pergola.
Sometimes people find that their pergola wiggles slightly at this stage. If that’s the case, you can use your 2x4s as corner braces. Your reciprocating saw can cut them into angles at either end so they align diagonally between your pergola posts and the upper framing. Drill wood screws onto either end to secure the structure if needed.
Now is the time to stain or paint your pergola if you’ve dreamed of one with color. You could make it match your home’s trim, shutters or stand out with an entirely different hue. Give your chosen paint or stain time to dry completely before applying a second coat or moving on to the next step.
You might have sawdust around your pergola from trimming notches and drilling. Sweep this away or use a leaf blower to clean the area. It’s also an excellent time to get rid of any project trash, like empty concrete bags, loose screws or wood chunks.
Once the pergola area is clean and the structure stable, you can arrange your outdoor furniture underneath it. Set up your couches, chairs and side tables to create a party atmosphere. A dining table or picnic table could also be a lovely touch.
Planters can move in next. Pergolas allow rain through the rafter beams, so your plants will still receive water even if they’re next to your outdoor furniture. You can also place potted plants around the base beams if they’re vines that use nearby vertical structures to grow.
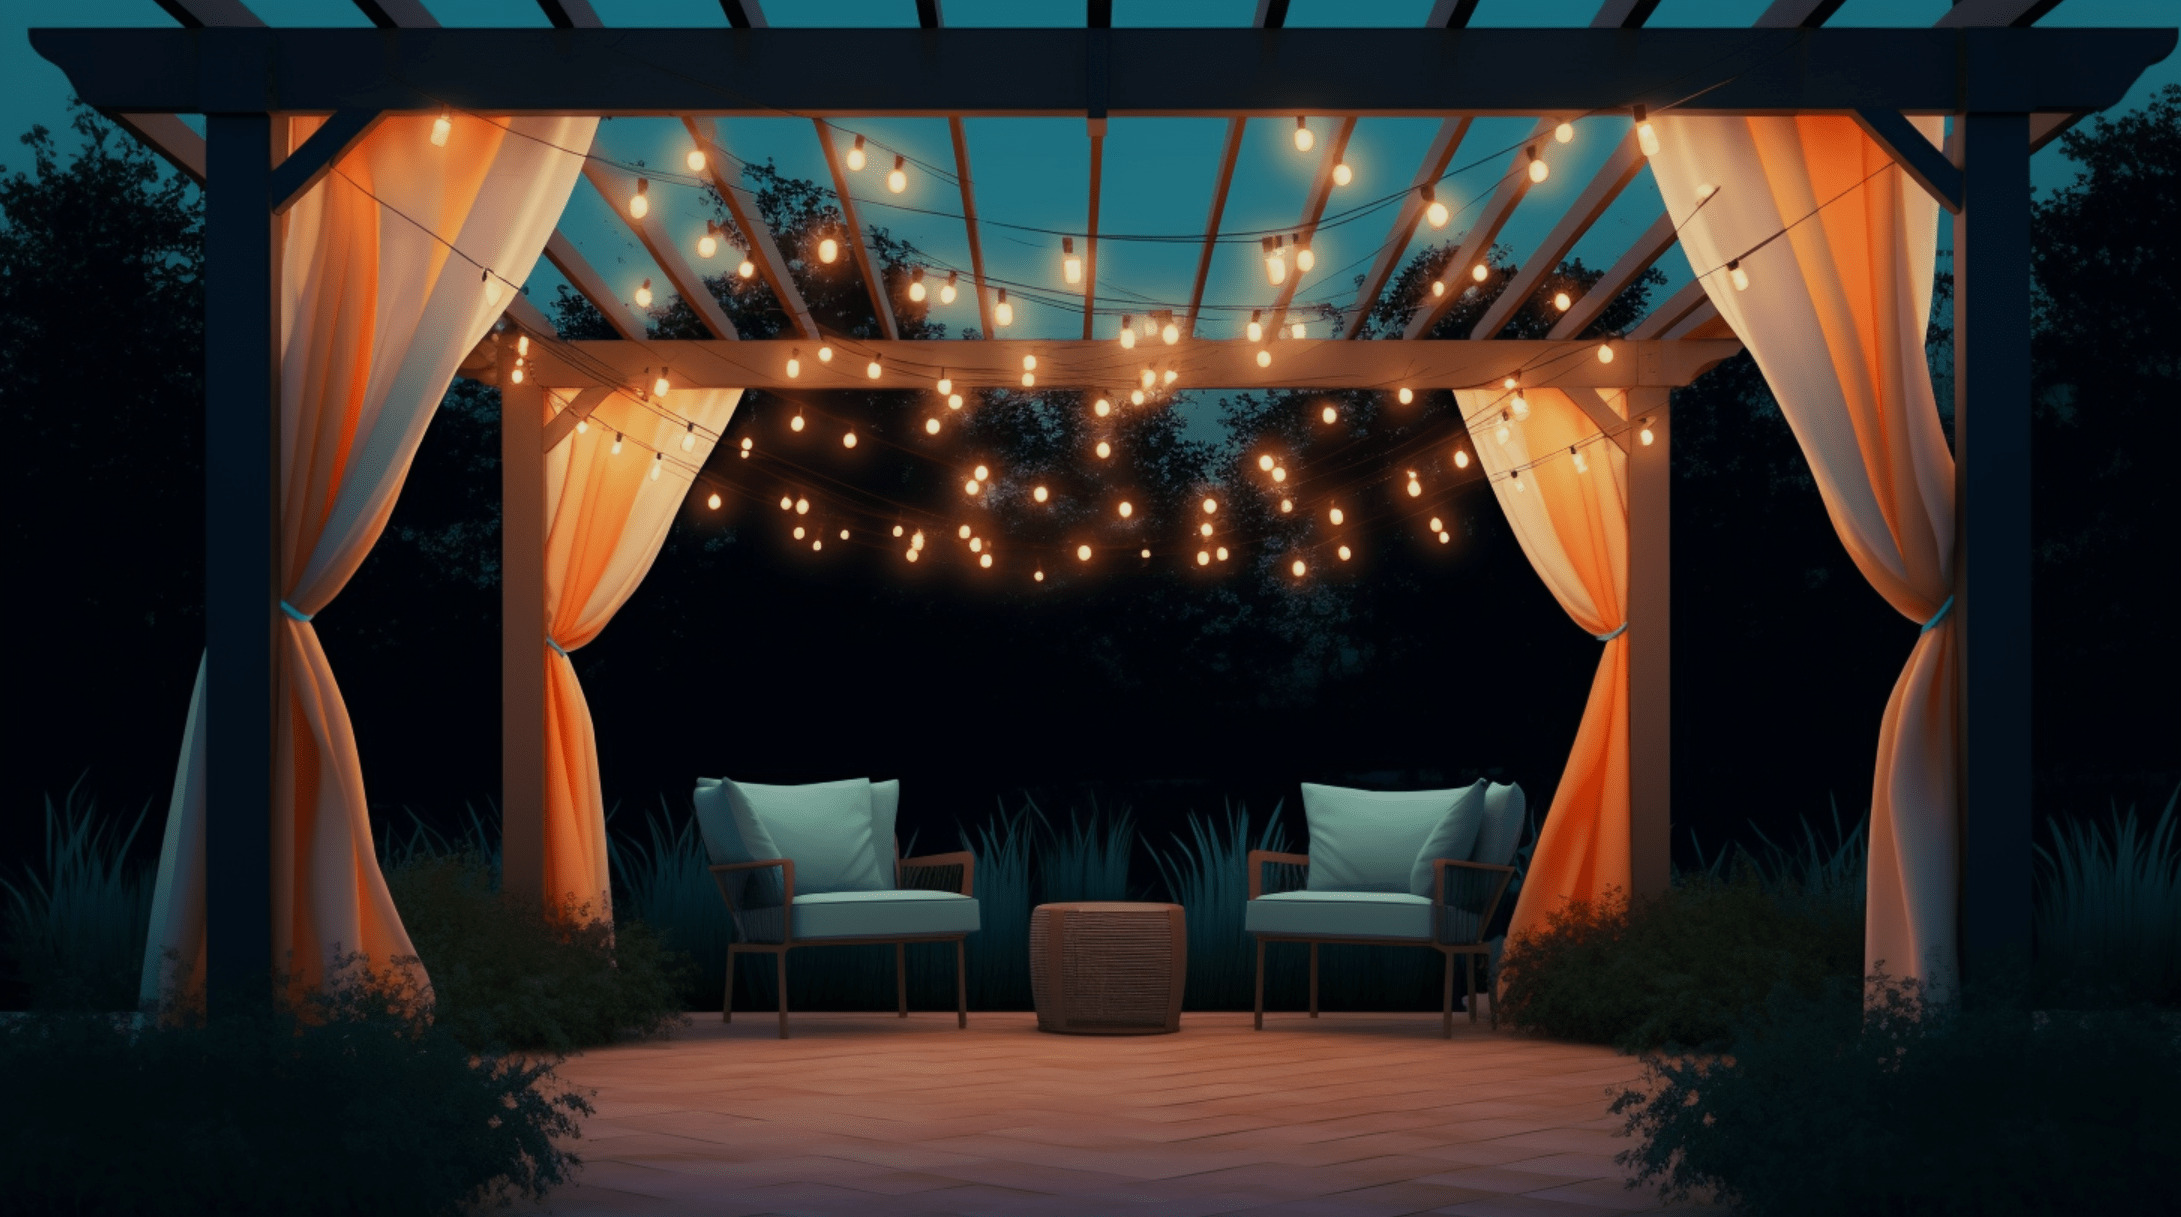
Other pergola decorations like gauzy curtains, bug-repelling patio fixtures and string lights can be the final touch to your project. Consider which decorations you like most to create the right atmosphere for relaxing.
Anyone can learn how to build a pergola with a guide like this. Find the best place for one in your backyard, get the right supplies and start your project this weekend. You could finish it in less than 48 hours and finally have a place to host your loved ones outdoors.