")
We are reader-supported. When you buy through links on our site, we may earn an affiliate commission.
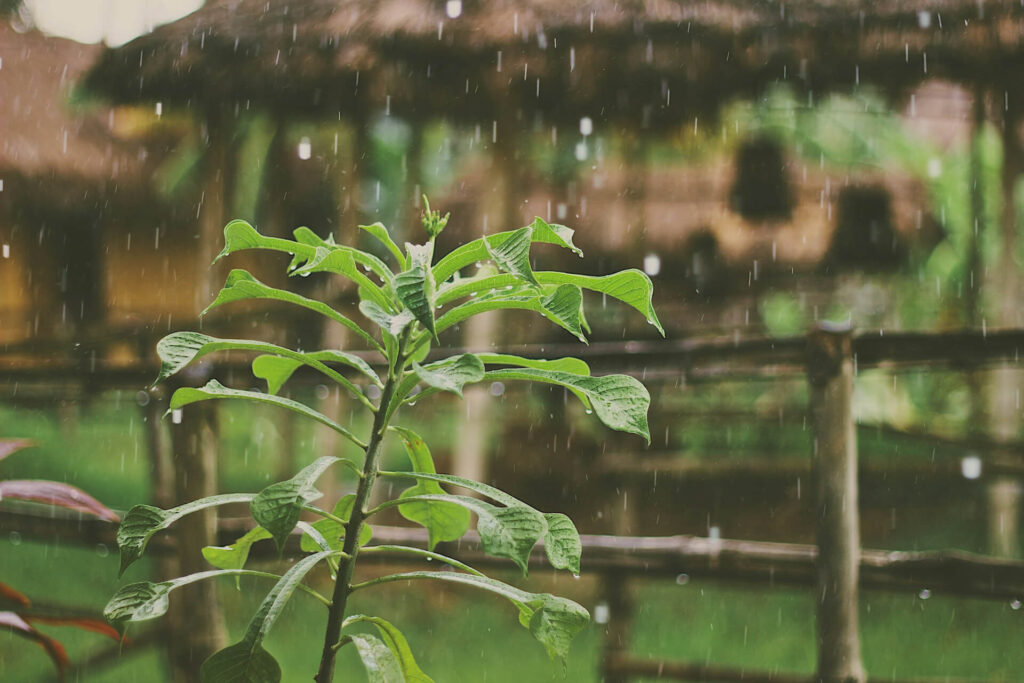
Heavy rain shouldn’t turn your yard into a swamp or send runoff rushing toward the street. A well-designed rain garden captures that water, filters it and lets it soak back into the ground — right where it belongs.
Rain gardens offer more than curb appeal. They reduce flooding, protect local waterways and are lower maintenance compared to traditional lawn areas. If you own, rent or manage property, this project delivers environmental and financial value, so consider creating your own rain garden now.
Understanding How Rain Gardens Work
Rain gardens are shallow, planted depressions that collect runoff from roofs, driveways, patios and other hard surfaces. Instead of sending water into storm drains, they hold it temporarily and allow it to infiltrate the soil within 24-48 hours. You can think of it like a submerged garden bed that soaks up the excess water like a sponge, slowly releasing it back into the groundwater system.
Here’s what makes them effective:
- Depression design: The basin holds several inches of water after rainfall.
- Engineered soil mix: A blend of native soil and compost improves drainage.
- Deep-rooted plants: Native species break up compacted soil and increase infiltration.
- Mulch layer: Organic mulch slows evaporation and prevents erosion.
According to the U.S. Environmental Protection Agency, stormwater runoff is one of the leading sources of water pollution in urban areas. Runoff carries fertilizers, oil residue and sediment into streams and rivers. A rain garden acts as a natural filter, much like a wetland or marsh, trapping pollutants before they reach waterways.
Unlike a pond, a rain garden drains quickly. That drainage speed prevents standing water and supports plant health.
The Benefits of Rain Gardens
Rain gardens provide practical advantages for homeowners and property managers.
| Benefit | What to Know |
| Reduce localized flooding | Capturing runoff eases pressure on storm drains. |
| Improve water quality | Soil and roots filter out pollutants. |
| Recharge groundwater | Water infiltrates instead of flowing away. |
| Lower maintenance areas | Native plants require less irrigation and fertilizer, saving on lawn maintenance costs for a rain garden. |
| Boost curb appeal | Layered plantings create visual interest. |
| Increase property value | Sustainable landscaping can attract buyers who prioritize eco-friendly features. |
Municipalities across the United States continue to invest in green infrastructure to manage stormwater. Homeowners who install rain gardens align with those broader environmental initiatives while enhancing their own property.
Locating the Ideal Spot for Rain Gardens
Choosing the right spot determines success.
Look for these characteristics:
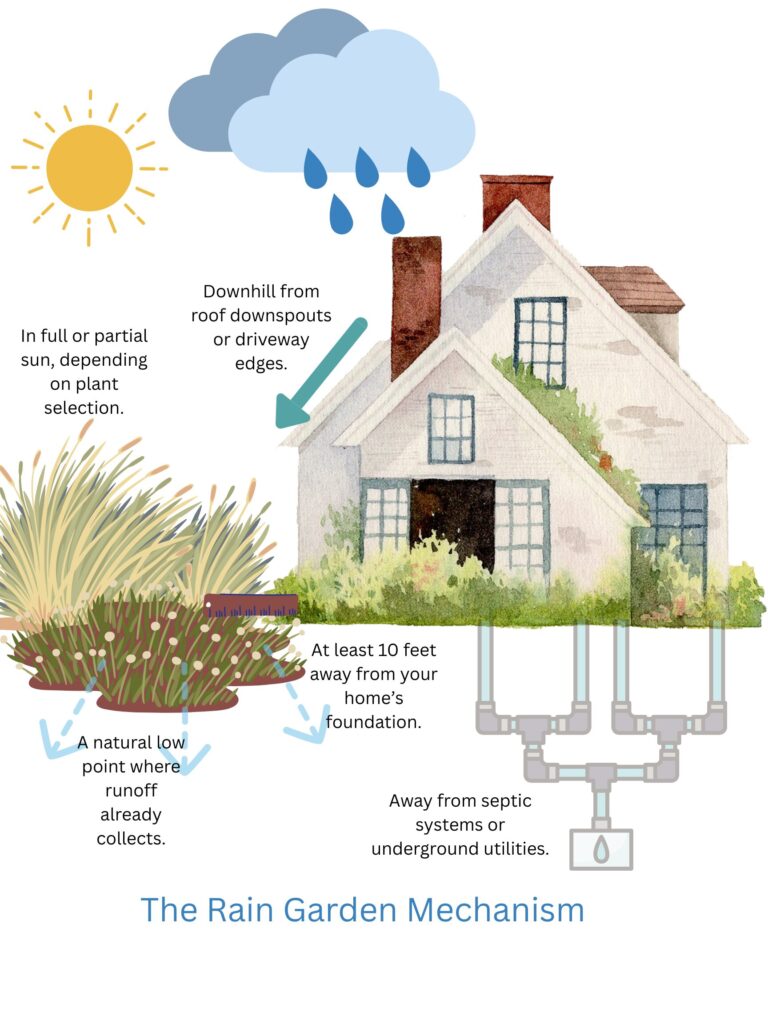
Avoid areas where water already stands for days. A rain garden should drain within two days. Conduct a simple infiltration test by digging a small hole, filling it with water and timing how long it takes to drain. If it drains within 24 hours, the site likely works.
For contractors and real estate professionals, installing rain gardens near high-visibility areas can enhance market appeal without compromising structural integrity.
Planning the Size and Shape
Size depends on how much runoff you want to manage. A common guideline is that the rain garden should be 10% to 20% the area of the roof or pavement draining into it.
For example, if 500 square feet of roof directs water to one downspout, a 50-100 square foot rain garden typically works well. The depth of the area will also affect how much water it can absorb and process during one rainstorm.
Curved or kidney-shaped layouts blend naturally into landscaping. Straight lines often look engineered and less organic.

Building a Rain Garden Step by Step
1. Excavate and Prepare the Basin
Mark your shape with spray paint or rope. Dig 6-8 inches deep for most residential projects. In clay-heavy soil, you may need deeper excavation with amended soil. Stacking stones and then adding layers of compost and soil can help ensure the project drains correctly.
Even in regular soil, loosen the base to improve drainage. Mix compost into the existing soil to enhance infiltration and support plant roots.
Create a slight berm or incline on the downhill edge to contain water.
2. Select the Right Plants
Plant choice determines how well your rain garden performs.
Native species work best. Since native plant varieties are accustomed to their habitat, they’re more likely to thrive between rains and survive drought and harsh weather conditions. Semi-aquatic plants like reeds and grasses are another good choice, as they can tolerate brief submersion.
Native plants reduce fertilizer use, which helps as heavy fertilizer runoff can pollute waterways. By planting species adapted to your region, you minimize chemical input and protect water quality.
Divide the garden into zones:
| Bottom zone | Middle zone | Edge zone |
| Plants that tolerate periodic saturation. | Species that handle both wet and dry conditions. | Drought-tolerant plants for the highest points. |
Examples vary by region, but common options include:
- Black-eyed Susan
- Switchgrass
- Blue flag iris
- Joe-Pye weed
- Purple coneflower
Consult your local forestry and wildlife extension office for region-specific recommendations.
3. Plant and Mulch
Space plants based on mature size to avoid overcrowding. Group similar species for visual cohesion and easier maintenance.
Apply 2-3 inches of shredded hardwood mulch and add a trench to keep the particles in the garden. Mulch stabilizes soil and reduces weed growth. Water plants during their first growing season. Once established, native plants require minimal supplemental watering.

Maintaining Your Rain Garden
Maintenance remains straightforward.
During the first year:
- Weed regularly while plants establish.
- Check for erosion after heavy storms.
- Ensure water drains within 48 hours.
- Watch for yellowing leaves that indicate too much moisture in the garden.
After establishment:
- Trim dead growth annually.
- Replace mulch as needed.
- Divide overcrowded perennials every few years.
Compared to traditional turf grass, rain gardens reduce mowing and irrigation demands. Learn more about planting your own rain garden in this video:
Understanding the Disadvantages of a Rain Garden
What are the disadvantages of a rain garden? Rain gardens provide benefits, but they aren’t maintenance-free.
- Up front labor: Excavation requires physical effort or contractor support.
- Initial cost: Soil amendments and plants add expense.
- Design sensitivity: Poor grading can cause drainage issues.
- Establishment period: Plants need care during their first season.
Improperly designed rain gardens that retain water for extended periods can stress plants. However, correct sizing and soil preparation prevent that issue.
Mosquito concerns often arise. Because rain gardens drain within 24-48 hours, they do not create breeding conditions. Mosquito larvae require at least 48 hours in standing water to develop.
Questions About Rain Gardens
Do rain gardens attract mosquitoes?
No. Properly built rain gardens drain within two days. Mosquitoes need longer standing water to reproduce.
How much maintenance is required long-term?
After the first growing season, maintenance typically involves seasonal trimming, occasional weeding and mulch replacement. Native plant systems demand less irrigation and fertilizer than turf lawns.
Can you install a rain garden on a slope?
Yes. Create a berm on the downhill side to level the basin. Terracing may help on steeper slopes. Proper grading ensures even water distribution.
Turning Stormwater Into an Asset
Rain gardens transform runoff from a liability into a landscape feature that works for you. They protect water quality, reduce maintenance and add texture and color to your yard.
For homeowners, they provide a visible commitment to sustainable living. For contractors and real estate professionals, they offer a practical green upgrade that resonates with modern buyers.
By choosing the right location, carefully preparing the soil and selecting native plants suited to your region, you create a system that supports both your property and the broader environment.
About The Author
Rose is the managing editor of Renovated and a dedicated freelance writer with over six years of experience in the home and garden industry. Her passion for landscaping and sustainable practices is deeply rooted in her upbringing — growing up in a family of contractors, she was exposed to the world of construction and design from a young age. This hands-on experience fostered her love for nature and gardening, giving her a green thumb and a keen eye for creating beautiful outdoor spaces.
Throughout her career, Rose has honed her expertise in researching and writing about sustainable construction practices, focusing on innovative technologies that enhance the built environment while minimizing environmental impact. She is particularly interested in green roofing, water-efficient landscaping, and integrating native plants in design, all reflecting her commitment to sustainability. Rose's work has appeared in various publications, where she shares valuable insights and practical tips for seasoned professionals and novice DIY-ers.
In addition to her writing, Rose enjoys collaborating with landscape architects and contractors on projects that emphasize eco-friendly design and sustainable materials. She believes that every garden has the potential to be a vibrant ecosystem and works to inspire others to create spaces that are not only beautiful but also environmentally responsible.