We are reader-supported. When you buy through links on our site, we may earn an affiliate commission.
To some extent, hanging pictures is an easy task. However, this DIY project can turn into a nightmare if you can’t manage to get the frames exactly where you want them. While there’s no surefire way to hang a picture, a few tips for hanging pictures might help you avoid some common mistakes and learn how to correctly hang photos and art.
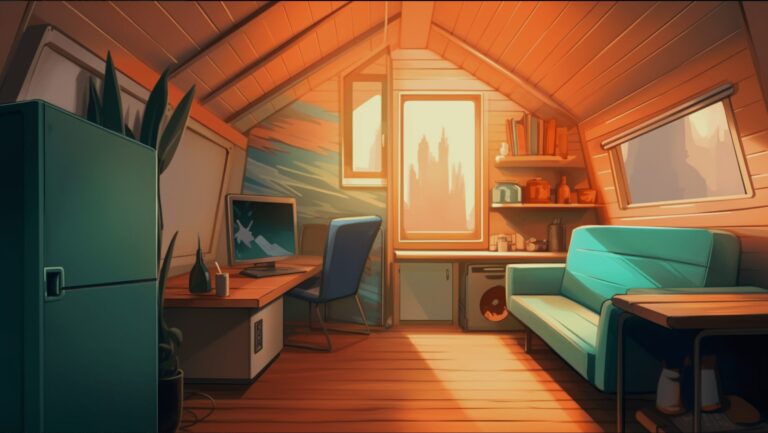
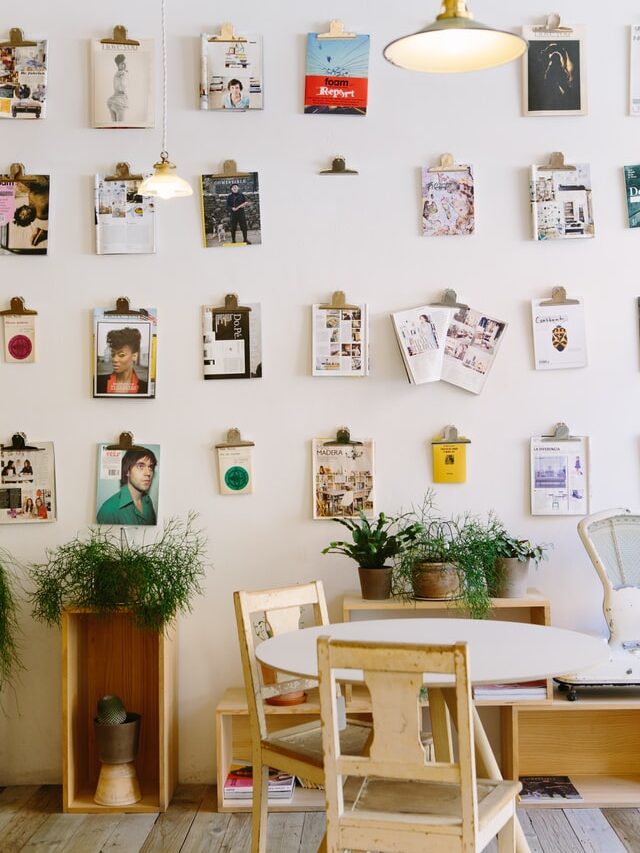
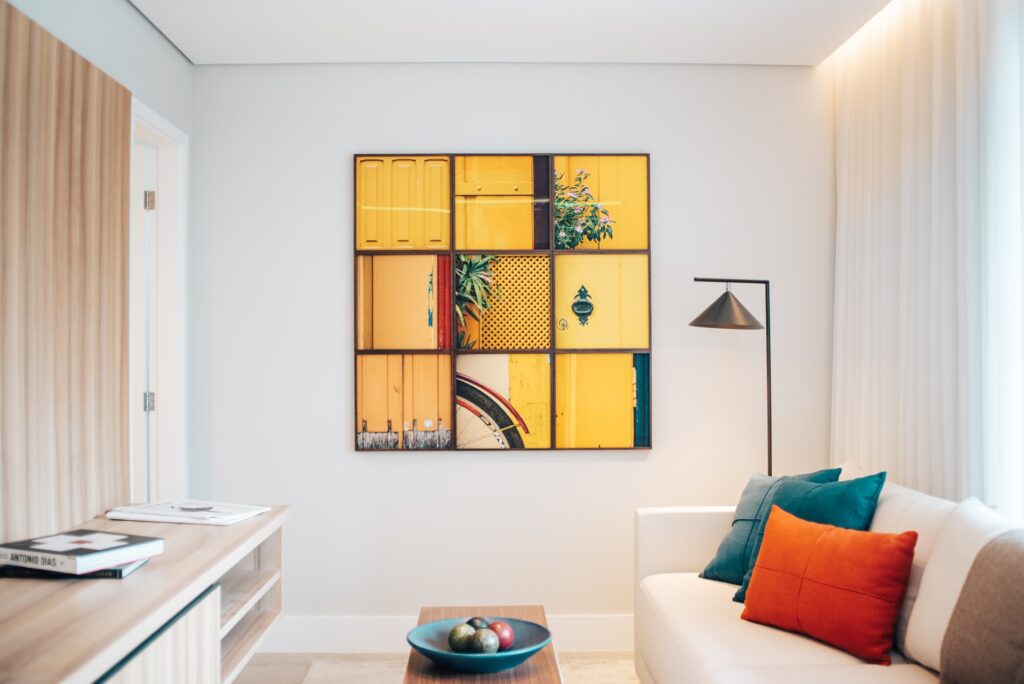
If you have multiple pieces of wall art or lots of photos, consider making a gallery wall by hanging them together in one collection. Displaying your favorite photos in such a way will make any room feel fuller and more vibrant.
First, make a template on your wall using newsprint or butcher paper and painter’s tape. Then, once you know where you’ll place each frame, you can begin hanging.
On the other hand, if you have one large photo instead of many small ones, you can make a statement by hanging it on a spacious wall in your home. Typically, you want the room to be big and spacious as well so you and your guests are able to appreciate it from a distance. If the room is too small, the photo or painting will feel overwhelming.
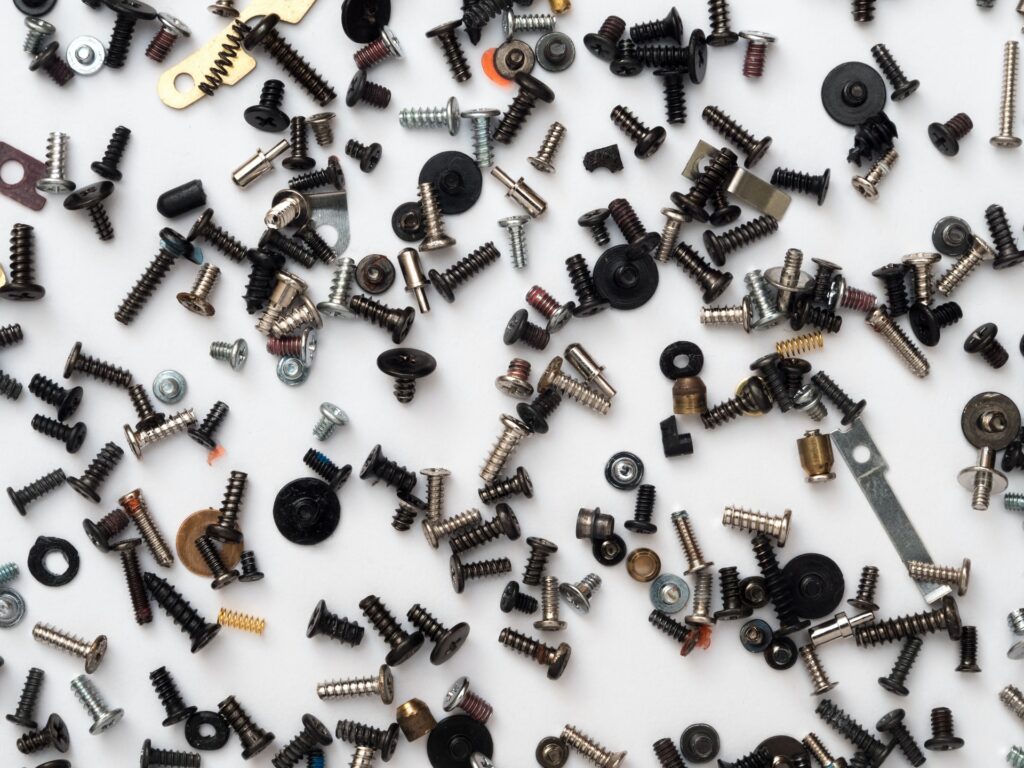
Another one of our tips for hanging pictures is to invest in quality hardware. If you’ve made the mistake of hanging a photo on a single brad nail, you’re likely all too familiar with the sound of it crashing to the floor. While a small nail might work for extremely light frames, you usually need some higher quality hardware to avoid an incident of broken glass and dents in your hardwood. Threaded anchors and screw are generally best for hanging heavier pieces, providing a wide balance point so photos stay in place.
Of course, if you’re going to be drilling holes in the wall, there’s going to be a bit of dust. Typically, this will collect on your floor, leaving you with no other choice than to pull out the vacuum or broom and sweep it up.
However, there is a way to minimize the mess and clean up quicker. Simply fold a sticky note and place it underneath your mark to create a makeshift shelf and catch most of the dust as you drill.
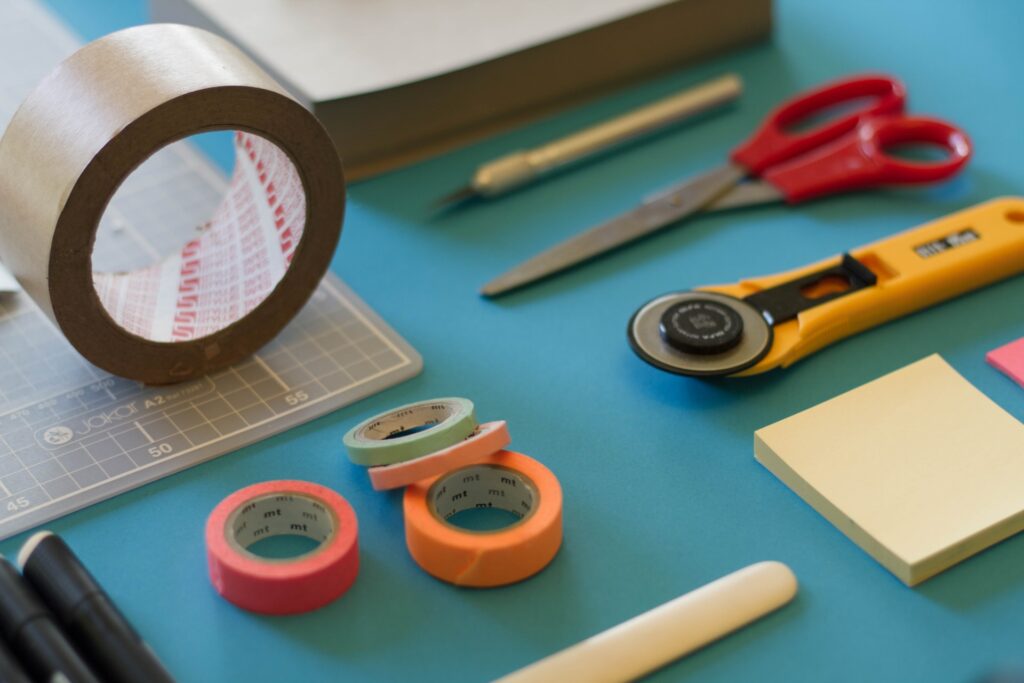
As helpful as nails and screws are, it is possible to hang your photos without hardware. Simply forego the frame and use pushpins, instead. Wire clothesline clips, washi tape and binder clips can all keep photos in place without you having to drill holes in your walls. This method is ideal if you’re renting or simply don’t want to spend money on frames.
If you’re absolutely petrified of uneven spacing between photos, do a little math. First, measure the length of your wall. Then, measure the width of your photos and add them together. Subtract the total for the width of your wall.
Next, divide that number by the amount of free space you’ll have after hanging your photos. The number you end up with represents how far apart the edge of the frames should be from one another.
If there’s one photo hanging rule to follow, it’s this one. Position your pictures so their centers sit 57 inches above the floor. Doing so places the focal point at eye level, ensuring you and your guests can admire it comfortably. Likewise, if you’re creating a gallery wall, half the gallery height should rest above the 57 inch mark and half should sit below it.
After all this talk of measuring, math and marking the perfect focal point height, this tip should be a no-brainer, but we’ll say it anyway. Don’t eyeball it! Guesstimating 57 inches and haphazardly drilling holes is a recipe for disaster.
Pull out your tape measure, pencil and level and measure everything out, first. Doing so may take more time, but it’ll be worth it when you go to hand everything up.
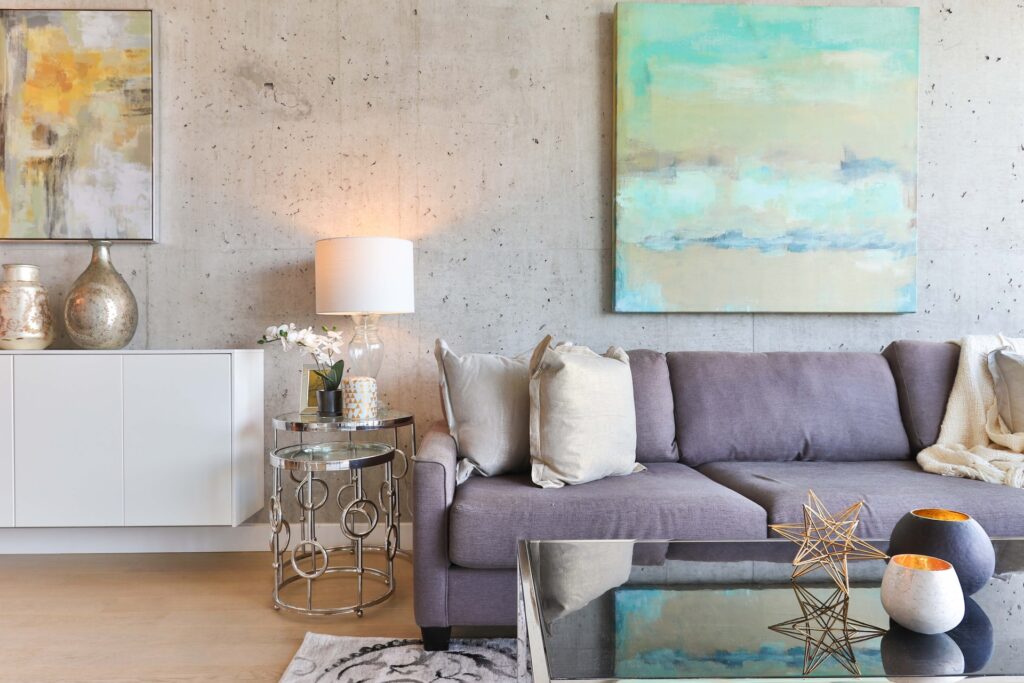
When it comes to hanging photos or art over a bed or couch, you can bend the 57 inch rule a bit. Generally, you want to leave five to nine inches of space between the top of the furniture and the bottom of the photo frame. The height of your frames, then, depends on the height of your furniture, which may or may not be taller or shorter than 57 inches.
Sure, you know to use a level to ensure your photos aren’t crooked, but did you know rubber bumpers can keep them straight over time? Pick up a pack of small rubber bumpers and stick them on the rear lower corners of the frames, then rehang. This simple strategy will keep your photos in place and level even if you happen to bump into them.
Of course, you don’t always have to hang photos and art. Maybe one of our biggest tips for hanging pictures is that you don’t actually have to! There are many alternative options to drilling holes in your walls and worrying about taking measurements. For instance, you might set frames on a shelf or hang photos from the ceiling in some places. You could even set larger pieces on the floor and lean them against the wall. Additionally, you might prop photos up on top of the mantle, a bookshelf or your dresser.
Your options are practically endless, so consider them all before whipping out the screwdriver.