We are reader-supported. When you buy through links on our site, we may earn an affiliate commission.
When installing a shower, you may only think of the drain last, but your shower drain types and installation are essential considerations. The shower drain ensures your shower is functional, quickly removes waste water and avoids issues like a clogged shower or flooding shower tray.
Learn all about the different shower drain types and shower drain installation in this handy guide.
4 Shower Drain Types
A couple of shower drain types are popular among homeowners. Here are most the common outlet styles:
1. Point Outlets
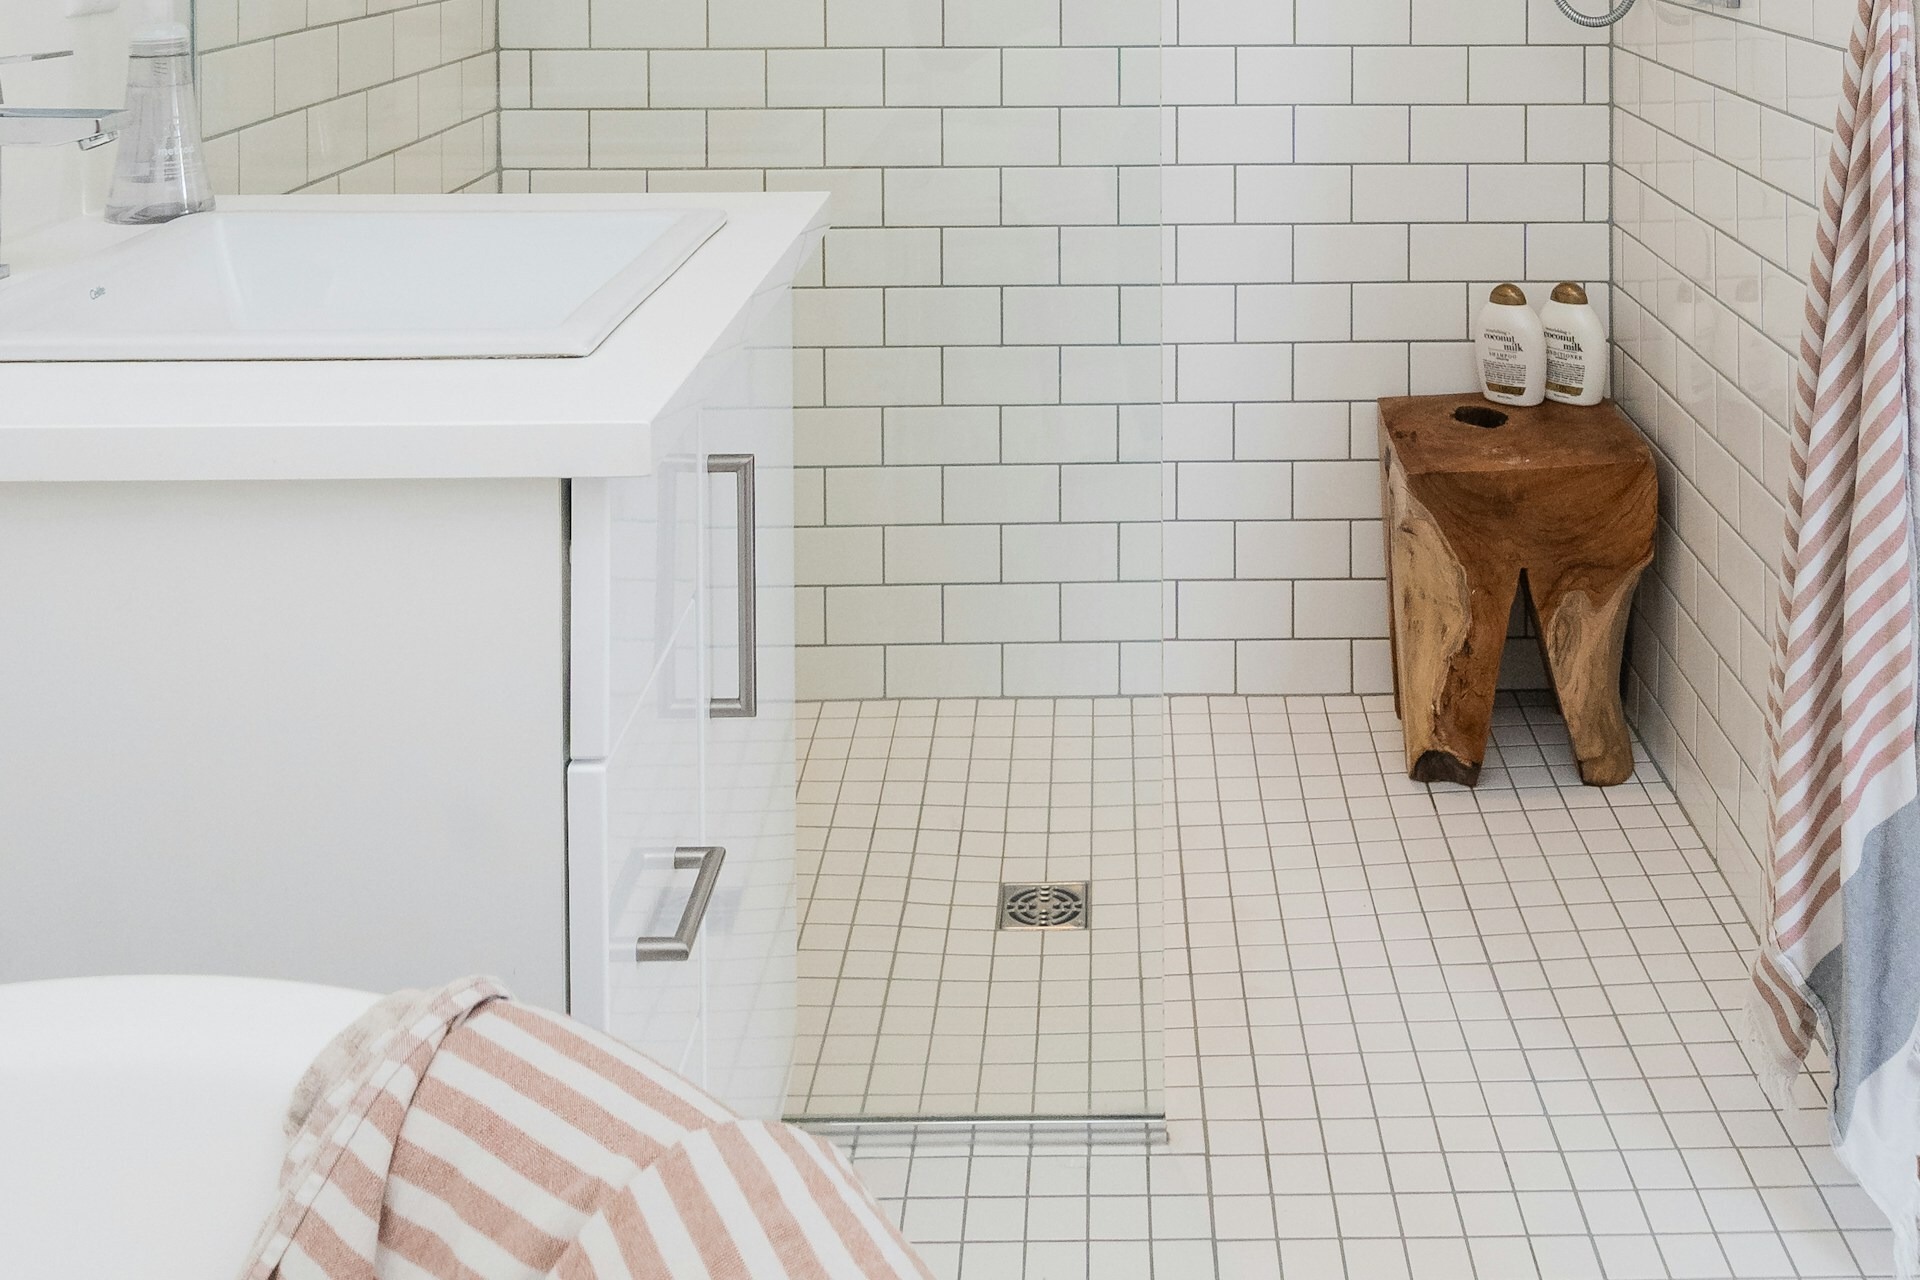
If you look down in the shower and notice a drain in the middle of the floor, it’s likely a point outlet. Its easy fitment and design make it the most popular shower drain type.
This compact unit features a section below the shower floor or tray and a screw-in or flanged unit that fits level with the shower floor. When fitting a shower on a wood floor, choosing an appropriate point outlet that seals the floor from the drain pipe is essential.
The design of a point outlet is cost-effective and simple. It has a sloped floor that directs water into the drain opening. These outlets usually have round covers, but square covers are also popular as they are easier to use on a tiled floor.
Despite the convenience of a point outlet, getting a shower floor to slope and drain correctly from all directions with this design can be challenging unless you use a precast floor tray. Usually, builders create a water-resistant poured concrete floor sloped toward the outlet, but accurate tiling with whole tiles is tricky. A mosaic floor with broken or cut tiles is a typical solution to overcome this.
Variation: One-piece shower drains are essentially point outlets, but they are even more simplified and usually fit directly onto the waste pipe with no additional components. However, a one-piece shower drain requires fitment directly into a concrete slab to prevent leakage.
2. Linear Shower Drains
Showers with large floor tiles fit well with linear drains. These metal outlet strips ensure that the floor only needs to slope in one direction, which allows complete tiles to fit the uniform slant. Linear outlets are perfect for curbless showers since all the shower water gets directed toward the drain, with less risk of flooding.
However, a linear shower outlet can cost more than a standard point outlet, and it may require specialized fitment when your builder constructs the shower, as the outlet has a built-in tray that fits the waste pipe. The cost of a specialized shower tray that accommodates a linear drain is also higher.
3. Hidden Outlets
For a stylish finish, a hidden outlet is a specialized shower drain that fits beneath a shower bench. You can also hide it beneath an overhanging section of wall. It’s a stunning feature in a natural rock shower with slate tiles. The hidden outlet is usually a linear drain, positioned out of sight.
4. Specialty Outlets
Several specialized drains, ranging from in-tile outlets to slanted outlets, are also on the market. These all require a subfloor collection unit that channels wastewater to the outlet pipe. Manufacturers provide guidance on how to fit these unique wastewater removal units.
Choosing the Best Shower Outlet Type
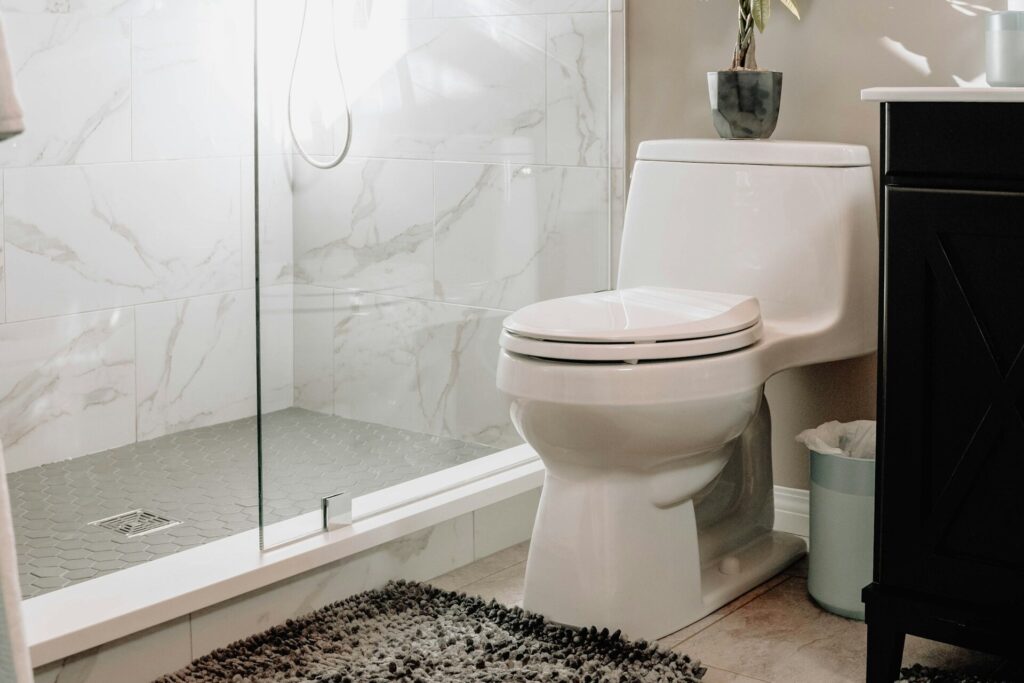
What makes an effective shower outlet? First, consider your family and your shower needs. If you regularly have family members showering to remove large volumes of dirt, like with your kids after a mud fight in the yard, you may want to choose a large-capacity point outlet, as it’s less likely to clog.
Select a shower drain cover made from sturdy materials to avoid cracking or breaking it, which can lead to serious injury.
Consider the aesthetic of the type of shower outlet. The water flow also determines what type will work for you, while your budget has the final say.
Types of Shower Channel Materials
Shower outlets come in various materials. While the under-floor components may be a standard type of rubberized plastic, the outer grill or cover is usually made from stainless steel, PVC or plastic or brass.
Stainless steel covers are long-wearing and rust-resistant, offering years of use. PVC or plastic covers may be cheap, but these frequently break, especially when exposed to temperature changes with a hot shower. Brass covers are durable but more expensive.
Installing a New Shower Floor Drain
It’s time to install your shower floor outlet, and while it can seem daunting, it’s a standard, fairly easy-to-follow process. When hiring a contractor, ensure you have a contract to secure their services and hold them legally accountable for quality work. While nobody wants to go to court, if the contractor leaves you with a leaky outlet, you can ask for damages up to $2,500 in Kentucky, which covers repairs to your bathroom.
Step 1: Prepare the Area
Gather all tools and equipment. Clean the shower floor and ensure that removing an existing drain doesn’t damage the outlet’s threads or fittings.
For a new installation, you will need these tools:
- The shower drain kit
- A screwdriver and wrench
- Waterproofing membrane
- PVC or ABS pipe (if your installation requires it)
- Measuring tape
- Silicone sealant
Step 2: Select an Appropriate Drain Design and Size
The primary consideration is the size of the plumbing or waste pipes. Your drain kit should fit the outlet pipe of the same size.
Step 3: Install the Outlet Base
Secure the drain base to the outlet pipe in the subfloor. If connecting a PVC or ABS drain, use solvent cement to attach the drain base to the outlet pipe. Ensure a tight seal to avoid leaking into the substructure. Position the base to sit flush with the floor or slightly below the floor level for good drainage.
Step 4: Waterproof the Shower
An essential step is to apply a waterproofing membrane around the outlet base and across the shower floor and sides. While a shower tray is excellent for waterproofing the floor, the walls still require this moisture-controlling step to avoid harmful mold, dampness and future challenges to your wall tiles.
Step 5: Position the Outlet Cover
Your drain cover should fit flush with the floor. If it rises above the tile line, it will cause water to collect, resulting in poor drainage and mold growth. Use silicone sealant to seal any exposed edges of the drain cover when fitted, but avoid getting any sealant on threads or screw heads. Wait for any sealant to dry.
Step 6: Test the Outlet
It’s essential to test the drain before taking a shower. Pour a small quantity of water into the area around the drain and watch the water flow. Does all liquid move toward the outlet, and does any seep between the outlet’s cover and the edge of the tiles? Bubbles are usually a good sign of this, which means the drain is not fully sealed.
To fix leaks, allow the shower to dry completely, then add more silicone sealant around the edge of the drain base and the tiles or concrete flooring. Retest until you are satisfied the drain is waterproof. Let the silicone sealant fully cure before using the shower for the first time.
Cleaning and Removing an Existing Shower Drain Cover
After replacing an existing drain, you’ll likely need to replace a shower outlet cover, whether it’s a single-point or linear cover. This is quite easy, and it’s handy to know how to remove these covers to clean clogged showers for maintenance.
To remove the cover, first check the fitment of the existing outlet cover. If it’s attached with screws, like some square units are, unscrew these and keep them safe. Remove the cover and replace it with a like-sized unit that fits easily. Replace the cover, screwing in place and fill any grouting lines that may need topping.
Some round point outlets simply screw into the underlying water trap with threads or with a threaded flange. Remember the golden rule: Lefty loosey, and righty tighty. So, turn a threaded cover to the left or counterclockwise. If you struggle to get a grip, use two screwdrivers inserted through the grill across from each other to provide a secure grip without damaging the cover or threads.
Top Tip: Clean your shower head simultaneously with the outlet cover. Showerheads and other plumbing systems hide waterborne diseases that can lead to severe illness and death.
Maintaining a Shower Outlet
Most people think that maintaining a shower is about cleaning the shower doors and glass panes, but the shower drain is as crucial to maintenance. Regular cleaning prevents clogs and ensures continued adequate drainage.
Drain covers are aesthetic and help catch hair, the number one cause of drain clogging. Chemical cleaners can cause silicone sealant to decay or become brittle, requiring replacement to keep the outlet watertight.
One of the best ways to unclog a shower drain is to mix ⅓ cup of vinegar and ⅓ cup of baking soda in a container. Pour the mixture into the drain, cover with aluminum foil, and let it sit for about an hour.
The chemical process between vinegar and baking soda is mild enough to break down any organic matter in the drain, such as soap, suds, and hair. After an hour, boil water in a kettle and carefully pour it into the outlet, covering it with foil again for 10 minutes. Run the shower’s cold water for a minute before taking a shower.
Best Shower Drain Choices
The shower outlet you choose depends on your needs, the plumbing pipe sizes, and budget. Correct installation and regular maintenance will ensure long-term service regardless of the type of outlet you select.
Always check the grate is in good condition to prevent cutting your feet while you steam at the end of the day and ensure your DIY shower drain installation is watertight to prevent leakage into the bathroom subfloor.
Original Publish Date 1/22/2025 – Updated 1/27/2026.
