We are reader-supported. When you buy through links on our site, we may earn an affiliate commission.
Floating shelves are a great addition to your home or rental apartment for decoration or adding more space. You can incorporate them in any room of your home to achieve a sleek and modern look. When correctly installed, floating shelves look like they’re held up by magic.
However, when installed lousily, they can easily be brought down by gravity and come down with all your items. If you’re wondering how to hang floating shelves, this guide will help you do it properly.
Select the Right Floating Shelf Style

Before you start thinking of installing floating shelves, you need to be sure you picked the right ones for your space. Here are the factors to consider when choosing floating shelves for your home:
- Weight capacity: The material and thickness of your shelves determine how much weight they can handle. So, before selecting a floating shelf, be sure it can safely support your items and decor.
- Size: The size of your shelves is determined by the amount of wall space you have and the size of the items you want to place on the shelves.
- Material: High-quality lumbers like maple, oak and walnut are great options for floating shelves, as they provide an exquisite look and longevity.
- Color: Choose a color that complements or harmonizes with the room’s existing color palette and aesthetics to ensure they don’t stick out like a sore thumb.
Tools You Will Need to Hang Your Floating Shelves
You need several tools to ensure proper floating shelve setup. Your model may include specific hardware, so be sure to add any extra tools or steps as needed. Generally, you need the following tools to install your floating shelves:
- Pencil
- Stud finder
- Level
- Drill and drill bits
- Screwdriver
- Anchors, if needed
- Floating shelf and its hardware
Step-By-Step Hanging Process
After acquiring all the appropriate tools, you are ready to start the hanging process. Remember to follow directions thoroughly and that hanging shelves can take some time. Follow these steps to hang your floating shelves.
Step 1: Locate the Studs
If you plan to store heavy things on your shelves or if the shelf is heavy in general, you should install it directly onto the wall studs. Use a stud finder to locate studs on the wall, and then use your pencil to make a light mark on the spots where studs are located.
Ensure at least one of the screws in the mounting brackets is secured to a stud. If the wall doesn’t have studs, you will need to use anchors to install the shelves. To avoid visible pencil markings, use horizontal painter’s tape to mark the studs.
Step 2: Find the Placement
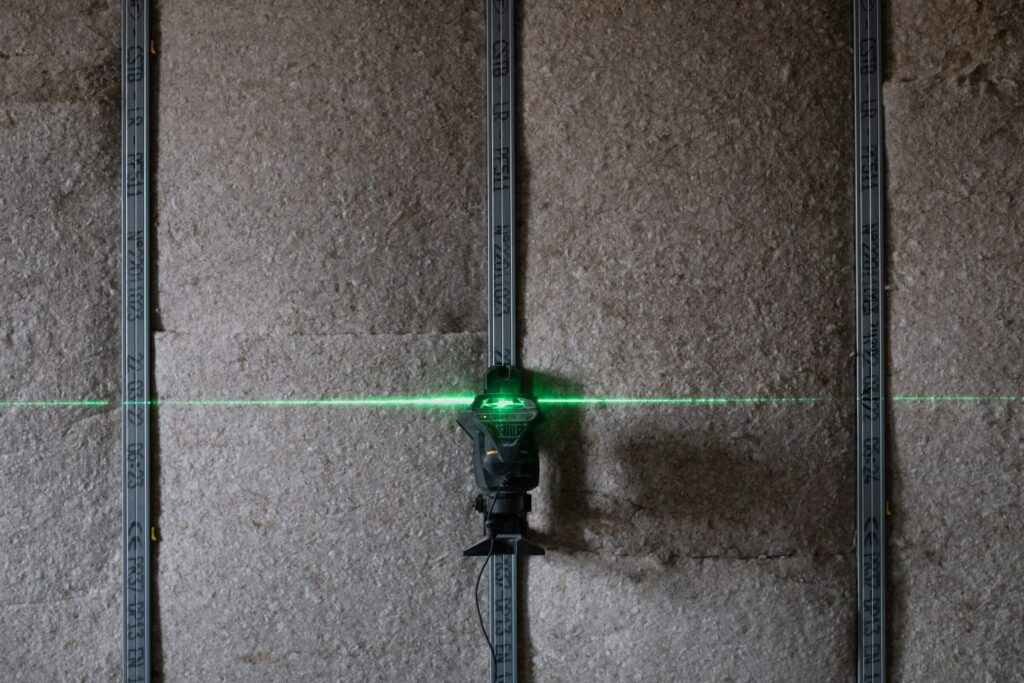
You can determine where to hang your shelves by lining them up with the wall studs to ensure a secure hold. Grab your shelf and hold it in the place where you want it to be to outline. Place a level on top of the shelf to ensure accurate alignment.
Then put it to the side and outline the breaker. Be sure to match up the bracket screw holes with the wall studs. Use a pencil to make the brackets screw holes on the wall.
Step 3: Drill Holes for the Bracket

Grab the right drill for your use case and a drill bit size that is the same as the screws. Drill the screw holes based on the markings you made in the last step.
Depending on the material of your wall, you may need to use wall anchors instead. Common materials like drywall or plaster require an anchor. If a stud is present, there is no need for an anchor.
Use the right drill bit to drill holes in the penciled marks. Hammer the anchors in the wall the screw in the screws, leaving a bit of the head protruding to catch the shelf.
Step 4: Install the Brackets
Line the brackets up with the screw holes and lightly screw them into the wall, be sure not to screw them in completely. Hold your level against the bracket to ensure it is straight. Once the brackets are level, you can fully screw them in.
Step 5: Hang the Shelf

You are ready to install the shelf once the bracket is on the wall. Line up the holes on the shelf with the bracket posts. The bracket is inserted into the back of the shelf, giving the illusion that it is floating.
Some models have additional screws to include after the shelf is on— this is the time to do so. Once it is installed, clean up your space and you are ready to use your shelves. It’s time to put all the items on your newly installed shelves.
Step 6: Test Your New Shelves
Once your shelf is mounted on the wall, test its firmness and durability by gently moving or shaking it. The screws should feel secure and not wiggle. It should also be straight and not slanting on either side to ensure that weight is evenly distributed across the shelf.
Best Practices for Hanging Floating Shelves
The following tips will help ensure that your floating shelves look good and serve you for a long time:
- Install your floating shelves at eye level, about 4 to 5 feet from the floor, which is in tune with the average adult’s height. At this level, the shelves remain accessible and complement other design elements of the room.
- Organize the items on the shelves so that they evenly distribute weight to maintain integrity and balance the visual weight.
- An alternative to anchoring the shelves on studs is mounting to the wall blocking for ample support.
- Use painter’s strips to mark the spacing between shelves.
- Use shelves with different lengths to create a focal point.
- Install corner floating shelves to maximize space.
Instal Secure and Aesthetically Pleasing Floating Shelves
Learning how to hang floating shelves is an excellent tool for decorating your home. Following the above tips will ensure your floating shelves perform exceptionally well and last a long time. Tap into your creative side and find a way to reflect your interior design style and increase your home’s functional storage space with new floating shelves.
Original Publish Date 2/1/2023 – Updated 1/14/2025


