We are reader-supported. When you buy through links on our site, we may earn an affiliate commission.
Are the cracks in your garage floor normal? If they’re bigger than 1/8 inch wide, they might not be. Learning how to fix a cracked garage floor on your own can save you money and help keep your home intact. Here’s why cracks are appearing and how to deal with them.
Believe it or not, concrete is supposed to crack at the control joints — the long, thin spaces in concrete slabs — to keep damage minimal. There’s no need to worry if you notice hairline cracks in these small gaps.
Hairline cracks in the middle of a concrete slab are relatively normal. Concrete should heal itself over time as it expands and contracts with temperature changes, so tiny fractures are nothing to worry about. Truthfully, they’re pretty much inevitable.
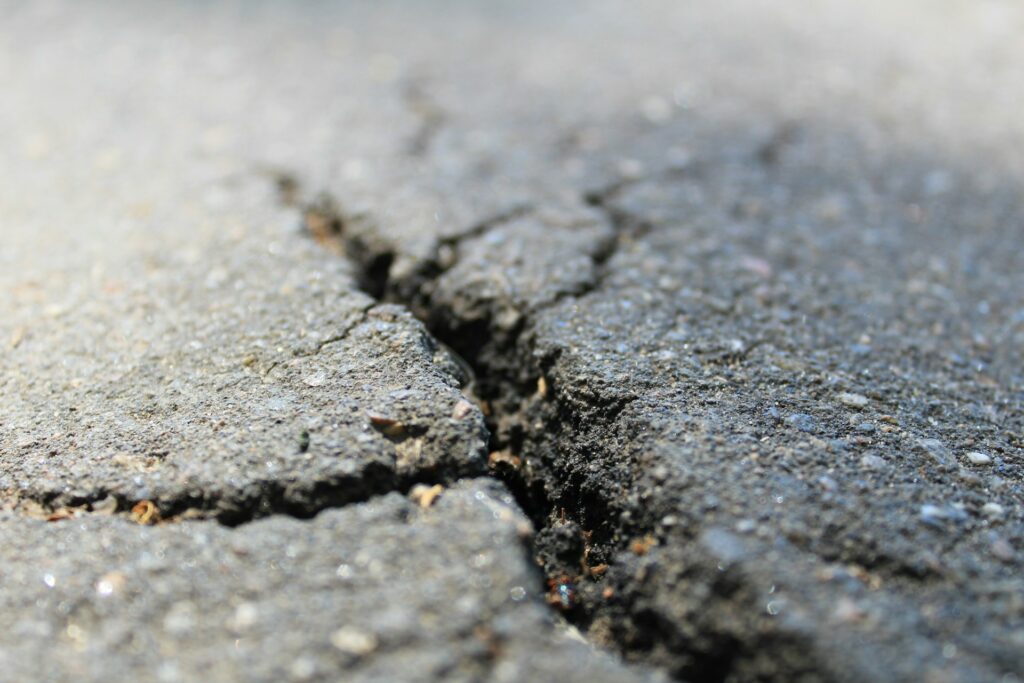
You should feel concerned if your cracks are larger than 1/8 inch wide. Usually, that’s a sign of a more significant underlying issue. It’s not normal to have a big fracture suddenly appear. If that happens, you need to learn how to fix a cracked garage floor right away.
Concrete garage floor cracks appear for a number of reasons. To find out what’s causing yours, you should consider every possibility.
Nobody plans to pour low-quality concrete, but it happens more often than you’d think. If yours was incorrectly mixed or dried too fast, cracks are more likely. Of course, this is hard to identify unless you’re an expert. You should review other possibilities to narrow it down, just in case.
Sometimes, garage floors crack because of bad joints. Construction workers strategically place a control joint to give the material somewhere to expand and contract. It keeps fractures to the gap instead of the middle of the slab. If your joints are defective, your concrete will crack.
Even if your control joins are fine, substantial temperature fluctuations can cause significant cracks. While concrete is supposed to expand and contract — which causes hairline fractures — it isn’t built to go from one extreme temperature to another.
Drainage issues, flooding and high humidity can lead to fractures in your garage floor. Generally, this concrete won’t deal with excess moisture well. If the cracks are damp or filled with standing water, this is most likely your root issue.
Houses settle over the years, which can cause hairline cracks in the garage floor — while concrete is technically somewhat flexible, it’s still a rigid material. It can withstand tremendous pressure and movement, so foundation-related cracking is a serious concern.
Concrete is resilient and generally won’t break or crumble. Fractures will typically only appear because of an underlying issue, which can be anything from high humidity to structural problems. When should you worry? That depends on what the crack looks like.
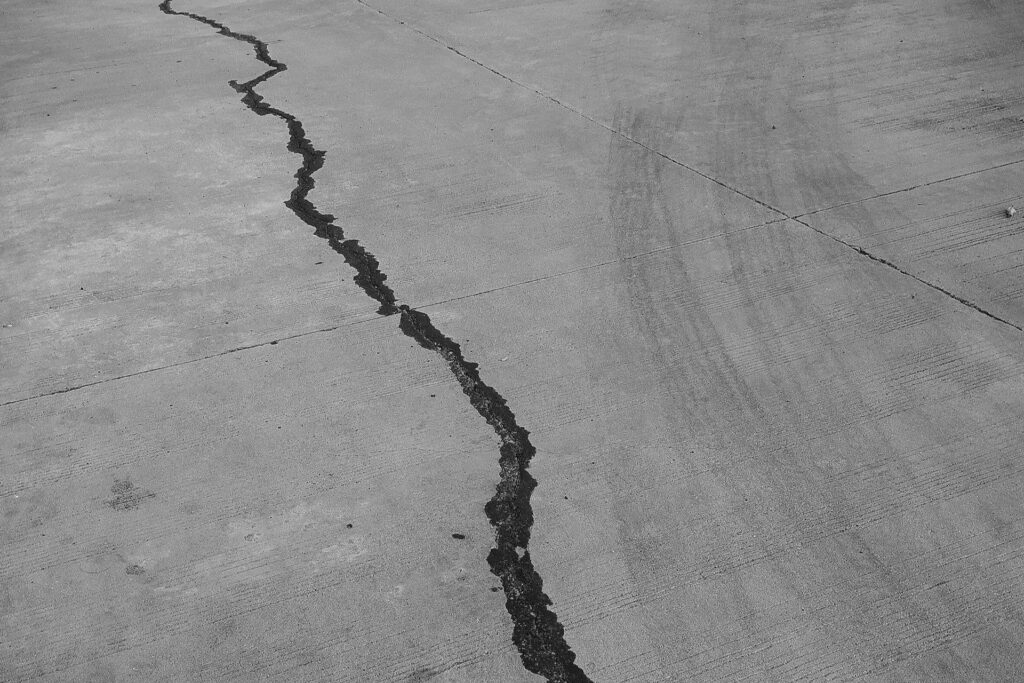
As we’ve mentioned, a hairline crack is usually nothing to worry about. However, you should feel concerned if you notice it gets longer, wider or deeper. The larger it is, the more serious the underlying problem might be.
Numerous cracks is another sign something might be wrong. While getting a few new fractures over the years is expected — it’s normal wear and tear — getting many in a short time period indicates something is causing them to pop up.
A fracture’s direction can tell you a lot. For instance, diagonal cracks indicate your foundation is settling unevenly and horizontal cracks suggest a foundation-related issue. Location is another big one — if they only appear where the floor meets the wall, that’s concerning.
How can you tell if a concrete crack is structural? Unevenness is your biggest clue — if it’s deeper or wider on one side than the other, it suggests you have an issue with your foundation. A level should be able to confirm or disprove your hunch.
How much you spend depends on how large the cracks are and how you seal them. For minor cracks, you can expect to pay anywhere from $10 to $250 for a repair. Over time, you may spend more.
Naturally, larger repairs will be more expensive. For instance, a 240-square-foot garage would cost $1,000 to resurface on average. If your floor is uneven or your concrete is crumbling, you can expect to pay upwards of $3,000 to fix it.
What is the cheapest way to seal a garage floor? Generally, caulk is the most inexpensive repair method. That said, you might have to routinely reapply the caulk because it’s only a temporary solution — meaning it might cost more in the long run.
We want to stress the importance of professionals — properly sealing garage floor cracks is time-intensive and requires substantial attention to detail. If you feel a do-it-yourself fix is outside your area of expertise, don’t hesitate to call an expert.
If you’re prepared to get your hands dirty, we can help you figure out how to fix a cracked garage floor. Ideally, you should identify the root cause before doing anything else. This way, you can prevent more cracks from appearing.
Once that’s done, thoroughly clean the area — remove all debris, sweep, wash and let everything dry. The only thing left to do after that is to decide how you want to proceed. You can seal the crack temporarily, resurface your garage floor or apply strips for reinforcement.
You likely just need to seal, bond or reinforce the area with a semi-flexible compound to fix it. Here’s how to fix a cracked garage floor with minor fractures.
First, you mark where you’ll inject the epoxy by sticking nails into the crack and placing the injection port over them. Then, you mix the compound, spread it along the crack and let it cure. Once you finish, inject the epoxy and wait for it to cure. Remember, the actual steps may differ depending on which product you use.
Urethane caulk is ideal for cracks less than 1/4 inch wide, but if you have a backer rod — a cylinder foam strip — you can use it for wider fractures. You simply trace the track with your caulk gun, leveling it with the nozzle or a caulking spatula as you go.
Cracks that are more than 1/4 inch wide require more significant fixes than caulk or epoxy. Here’s how to fix a cracked garage floor with large fractures.
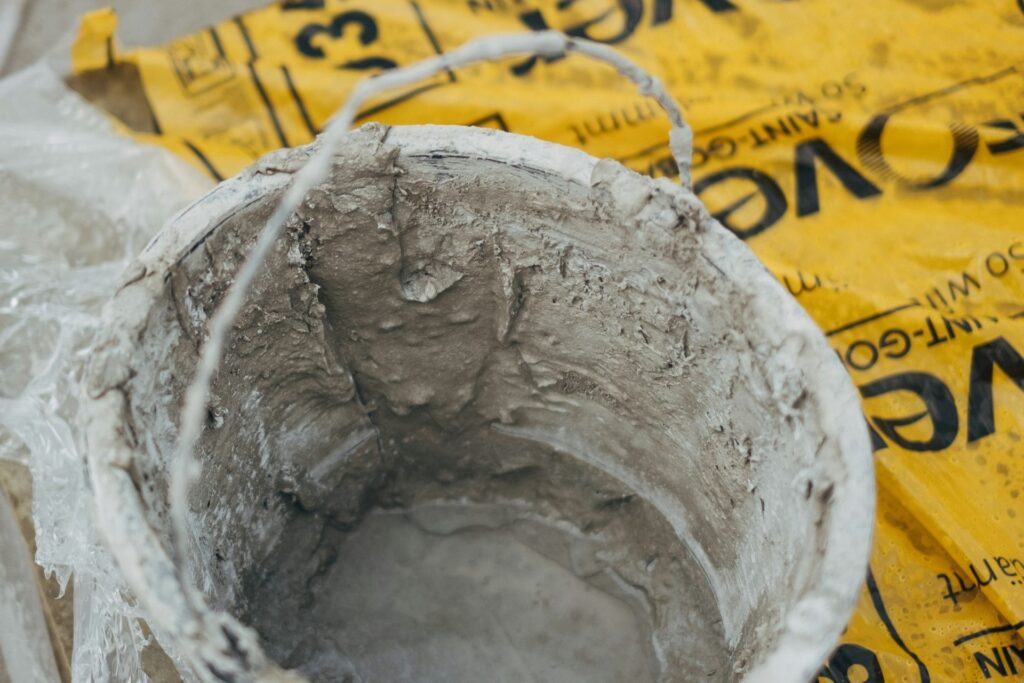
A patching compound can easily fix fractures wider than 1/4 inch. Once you dampen the cracks with a hose, you spread the compound inside the crack. Curing only takes up to three days, meaning you’ll have a sealed crack in no time.
If your cracks are extensive enough, you might need to get your garage floor resurfaced — which is a big undertaking. You’d have to grind the floor, thoroughly clean it and then pour fresh concrete on top. Self-leveling concrete simplifies the process but isn’t as strong.
Remember, large cracks point to a substantial underlying issue. If you go through the trouble of resurfacing without addressing it, cracks might form in your new floor, too. This approach can be risky unless you know you’ve taken care of the root issue.
A carbon fiber crack repair kit reinforces the area around the crack, preventing it from worsening. You can get one online or at your local hardware store and follow its instructions. It’s not as effective as other methods, but it is useful when you have numerous large fractures.
Whether you have hairline or large cracks, you now know how to fix a cracked garage floor. Remember, the specifics of these fixes vary depending on the manufacturer’s instructions — be sure to read them carefully before starting your DIY journey.