

We are reader-supported. When you buy through links on our site, we may earn an affiliate commission.
https://unsplash.com/photos/white-shower-curtain-on-stainless-steel-shower-head-k8TlRnE61dw
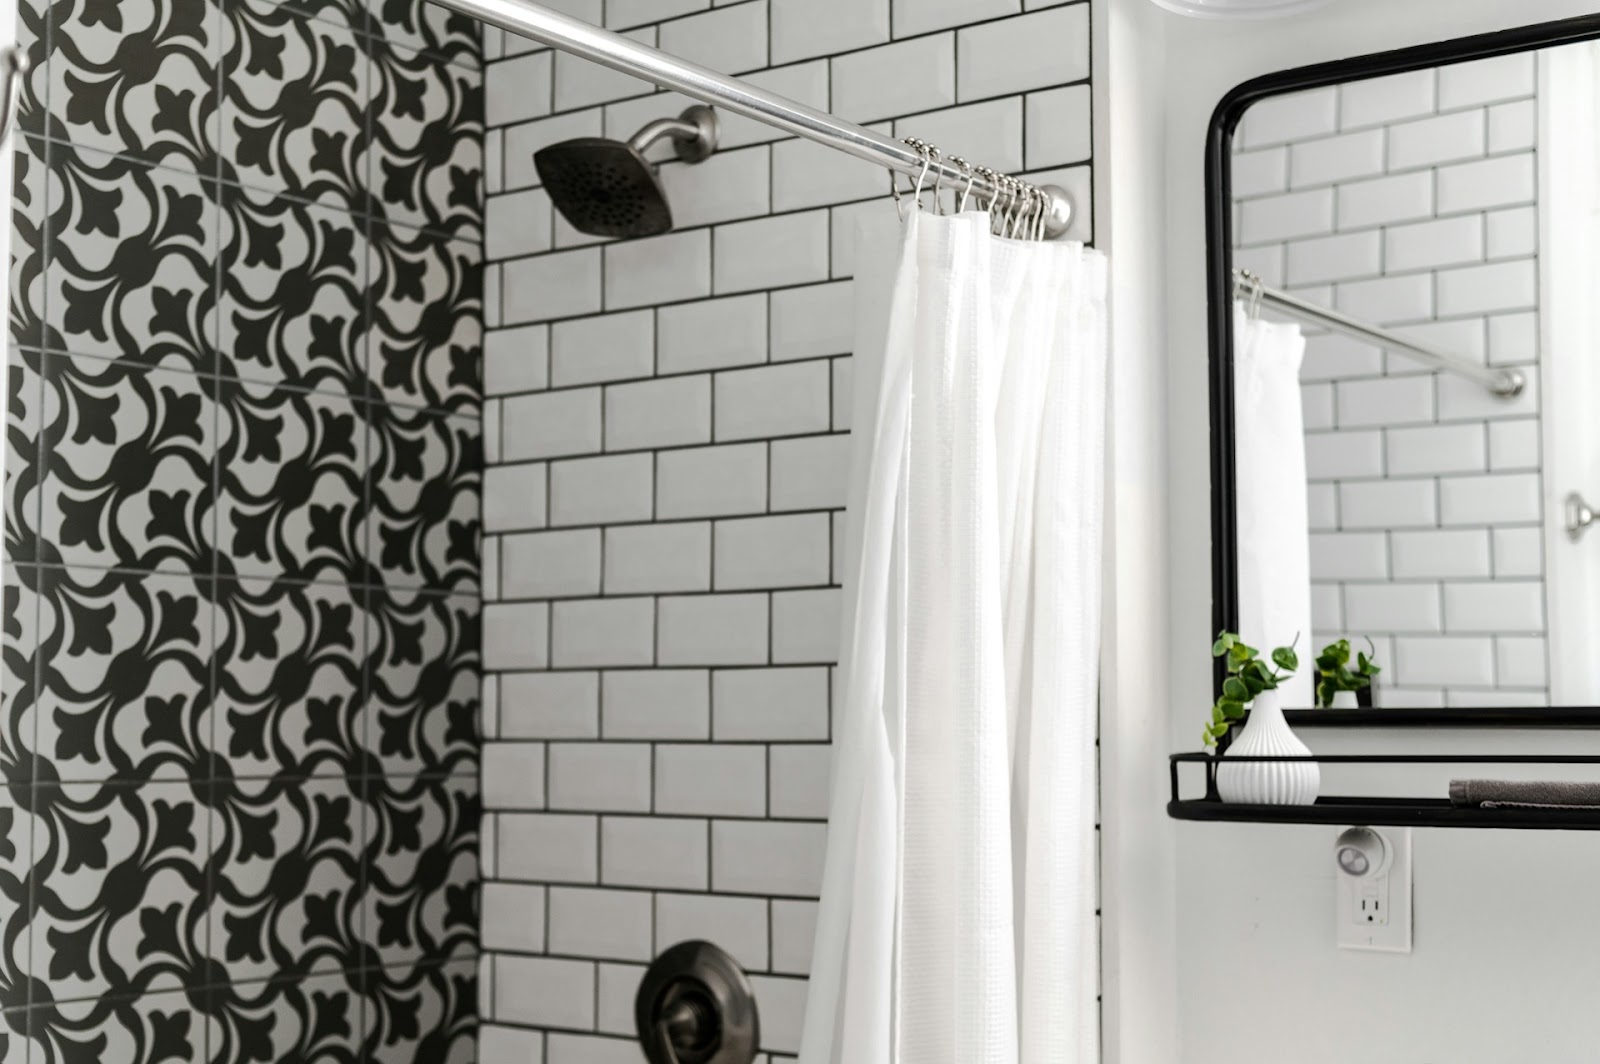
There’s nothing quite like taking a refreshing shower to get you going in the morning and put a spring in your step. However, you may not be the only thing needing perking up. Your shower’s grout may also be looking a bit grungy, and it may have reached the point where giving it a thorough cleaning is not enough. It may be time for a recaulk. Here’s how to caulk a shower so it looks like new and makes your morning routine enjoyable again.
Caulk does not last forever. It’s time for a replacement if you notice it’s chipping, peeling and falling off. It may even become moldy and you’re unable to clean it. Damaged caulk can lead to trapped moisture and water damage, which can ruin your shower. These are clear indicators that it’s time to recaulk and refresh. Thankfully, you can tackle this project yourself in a couple of hours and be ready to enjoy your renewed shower within a day or two.
Gather your supplies and roll up your sleeves. This is not a difficult project and you’ll be able to DIY as long as you have the time and motivation. Here are the tools you’ll need to caulk your shower:
Be sure to choose the type of caulk you’ll be most comfortable working with. Silicone forms a stronger seal, but latex may be easier for beginners to handle. Ensure the product you choose is designated for use in bathrooms and is a clear formulation, which protects against mold and mildew.
Now it’s time to get down to the nitty-gritty and caulk your shower correctly. Here’s how to caulk a shower like a pro.
You do not want to put fresh caulk over old caulk. Use your utility knife to cut it away. Do as much of this as possible before using the oscillating tool to remove the rest. Ensure you do this carefully so you don’t scratch the wall or damage tiles. Use bleach to kill any mold you may find under the surface. Then, thoroughly clean the shower with a mixture of vinegar and dish soap and allow it to dry thoroughly. Vacuum up any remaining caulk scraps.
Use painter’s tape to mask off the areas you’ll be caulking. Use two strips, one on either side of the seam. Ensure the strips are long enough to cover the surface so you don’t have to tape over them since removing them as one continuous strip is easier. Press down on them firmly so they adhere well and prevent caulk from leaking underneath.
You might think squeezing caulk right from the tube would be easy, but you’d be mistaken. A caulking gun will make it easier to control the application and ensure you get smooth, accurate results. Place the tube of caulk into the gun and cut off the tip. You’ll want to cut close to the tip at the indication line to get a thin caulk bead. Too wide of an opening will lead to sloppy results.
Before taking the caulking gun to your shower, try it out on a piece of scrap material first to get the hang of it. Carefully squeeze the caulking gun’s trigger to begin dispensing caulk along the seams. Make sure it fully penetrates the seam, and move at a slow, consistent pace so you get an even application. Begin at a corner, go to the center and then move to the other corner until the caulk meets in the middle.
Now, you’ll want to smooth the caulk out with your finger. Wet your fingertip and run it down the length of the caulk seam you’ve just applied. Move slowly and steadily from one end to the other, wiping excess caulk from your finger. Just be sure you don’t get too much caulk on the painter’s tape during the step since this will make it harder to remove.
Carefully remove the painter’s tape before the caulked section dries. Pull it upward and away simultaneously in one smooth motion so you don’t smear any caulk on your shower. Now you can move on to the next section to be caulked and repeat the process until your entire shower is done. If the caulk dries before you remove the tape, you can still try pulling it off very carefully. It should be able to cut through thin layers of dried caulk.
Let the caulk dry and cure completely before using your shower again. It will dry within a couple of hours, but that does not mean it’s waterproof. The curing process takes at least 24 hours, and the caulk must cure thoroughly before it gets wet. Otherwise, it could wash away and not last as long as it could. The wait will be well worth it.
https://unsplash.com/photos/stainless-steel-shower-head-on-white-ceramic-wall-tiles-en9pOa2YAKI
You learned how to caulk a shower and followed all the steps but ran into a few problems. Here are some common issues and how to overcome them:
Once you know how to caulk a shower, you can repeat the process when needed with confidence. All it takes is the right tools, the correct amount of time and the motivation to get started. Your freshly caulked shower will be much nicer to hop into in the morning before work or at night to soothe your muscles after a stressful day. Clean your shower regularly as you do yourself to reap the benefits for many years to come.