We are reader-supported. When you buy through links on our site, we may earn an affiliate commission.
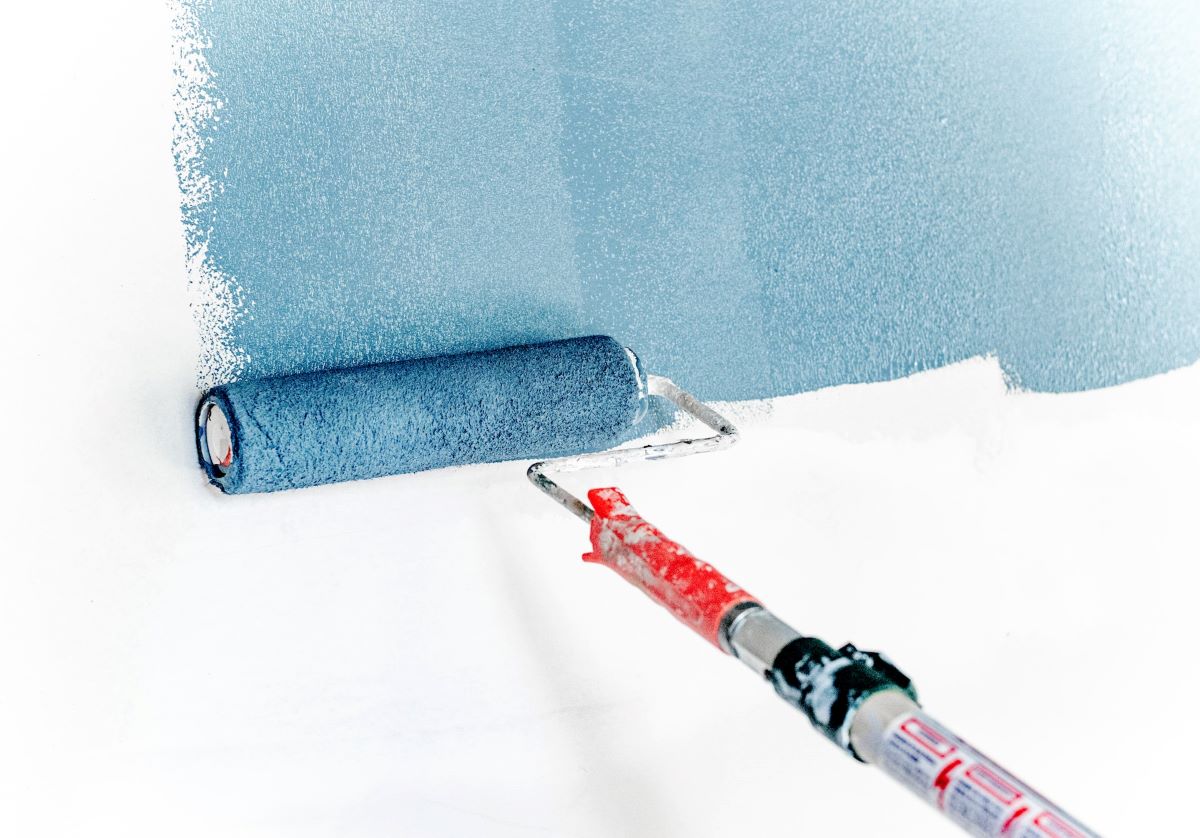
Painting is often the first project in a beginner DIYer’s journey. The supplies are relatively cheap, and the finished projects significantly impact the look and feel of your space. However, without the right painting tips, most newbies end up with a splotchy, streaky mess rather than a reflection of their inspiration picture.
Even though coating your walls in fresh hues is relatively beginner-friendly, you need to do your research beforehand, just like with any other home improvement project. These interior painting tips will help you achieve a flawless finish.
When you’ve only blocked off a weekend to paint a room, it’s tempting to start slapping paint on the walls. Although, doing so will likely result in a mess or a paint job that simply doesn’t last. Take the time now to run through a prep checklist to ensure your best work:
Some home renovation projects allow you to cut corners and expenses and still end up with a stellar result. However, painting will always turn out better when you use quality materials.
Builder-grade paint is cheap for a reason — it applies streaky and dries too quickly, leaving marks behind. You should typically go with at least a middle-grade quality or the highest one you can comfortably afford. You’ll see the payout during the application and in the finished space.
The cheapest brushes and rollers are also lower quality, leaving bristles and fuzz behind. Pay a few more dollars to get better-quality tools.
You can glean good painting tips from just about anywhere — this next one comes from professional cleaners. They recommend you clean your home from the top down, so you only have to do tasks once. If you sweep the floor and then wipe the counters, you’ll have crumbs all over your clean floor.
Painting should work similarly.
Visible drip marks make the difference between a professional-grade job and the work of a DIY enthusiast. Avoid this type of mistake by working in the proper order. Most painters recommend the following order:
As you tackle each new area, remember to lay down your primer coat first so your paint adheres well and needs fewer coats. You should also cut in your edges before adding a coat. However, you need to roll the wall paint on before the edges completely dry, or you could end up with color differences or strange lines.
When you crack open a fresh paint can, you’ll want to mix it well. Otherwise, your color will end up patchy and inconsistent across the space.
In addition, when you need more than one gallon for a job, you should open multiple cans at once and combine them into a larger five-gallon bucket. Even when you purchase cans at the same time, the color could end up slightly different in each one. Mixing them together ensures consistent color throughout the room.
There’s nothing more frustrating to a painter than peeling back the tape, hoping for a nice, crisp line only to be faced with jagged edges and tearing paint. Getting the timing just right is an essential part of finishing your project.
The painter’s tape will peel away best when the paint has only just started to dry. You need the surface dry enough that removing the tape won’t allow drips but wet enough that the paint hasn’t dried to the tape.
It’s highly tempting to save your interior paint jobs for a rainy day when you can’t be outside anyway. However, it will add drastically to your project’s timeline. Excess moisture in the air prevents the paint from drying properly. What might usually take an hour or two could easily extend to a whole day. Save your painting projects for dry, sunny weather.
One of the best painting tips is to always tack extra time onto your estimate, especially if this is your first time. Newbies often don’t realize the sheer amount of hours it takes to prep and paint a room. You also have to figure dry time in before you can move furniture and reset the room for everyday use.
Expecting to finish a large room in a day probably won’t be feasible for a beginner DIYer. Practicing patience will get you far closer to the desired look than rushing it would.