We are reader-supported. When you buy through links on our site, we may earn an affiliate commission.
If you’re working on renovating your house, one of the things you might have to remove is your old wallpaper. While it sounds like a difficult task, learning how to remove wallpaper is essential to change your home’s look.
Of course, you could always hire a professional to do it for you. However, doing it yourself is a chance to save money and make it into a fun home renovation project. There are a few different ways you can remove wallpaper. Which one you use depends on the wallpaper and what kind of wall it’s stuck to.
What Tools Do You Need?
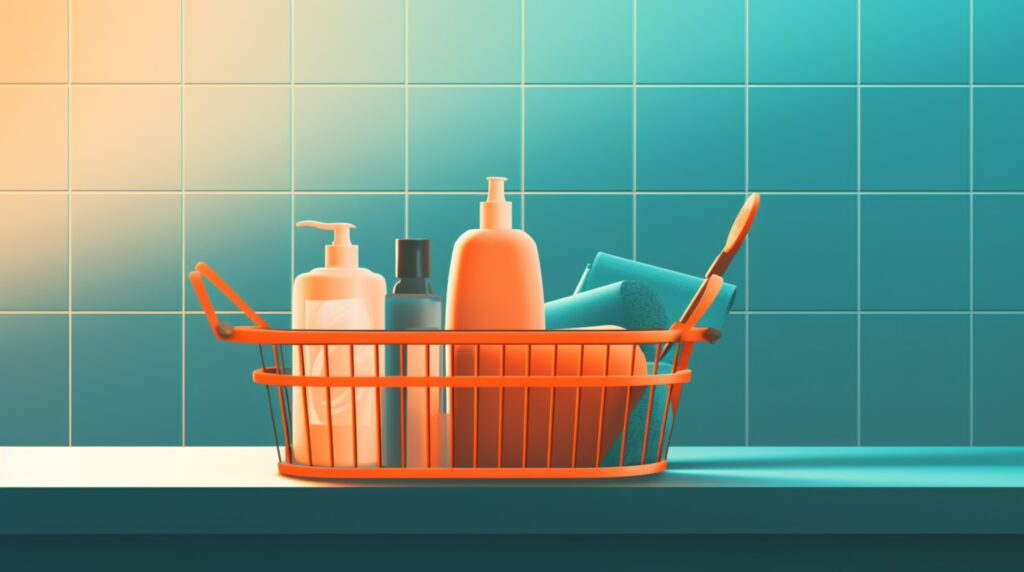
The first thing you need to determine before removing wallpaper is getting the right tools for the job. Some of the tools you’ll need will depend on the type of wallpaper you’re trying to remove. Generally, you’ll need the following:
- Putty Knife
- Sponge
- Bucket
- Water
- Paint scraper
- Spray bottle
Removing wallpaper safely might require you to mix a few chemicals. These soften the adhesive so you can remove the wallpaper without damaging your walls.
- Joint compound
- Primer
- Liquid Wallpaper Remover
- Dish Soap
How To Get Started
Before you get to scraping off your old wallpaper, there are a few preliminary steps you have to take so you don’t damage your home.
Determining The Type of Wall
One of the most critical steps to take before you get started is to determine what kind of walls you have and what type of wallpaper. While it might not look like it, there is a big difference between how you handle different types of wall material. For example, drywall can crumble if it gets too wet, so you don’t want to soak it too much.
Testing what kind of wall you have is easy. Peel back a piece of wallpaper and try to poke through it with a pin or other small, sharp object. If the pin goes through easily without much force, it’s drywall. If it doesn’t go through or bend, it’s plaster.
In most cases, drywalls became the standard for homes in the 1970s, so any home built after that date is most likely drywall.
Determine What Kind of Wallpaper You Have
There are also different types of wallpaper. One way to test which one you have is to peel off a piece and see if it comes off easily. This is because the various types of wallpaper use different kinds of adhesive.
If the wallpaper comes off without much pull, you probably have strippable wallpaper. This wallpaper is the easiest to remove, hence the name. Strippable wallpaper requires no tools or chemical removers — peel and strip off.
If you find out the wallpaper has a paper-like backing when it peels away, you’re dealing with peelable wallpaper. This wallpaper is harder to remove because, unlike strippable, only the top layer can be removed easily. Getting the backing off will require the use of tools and chemical removers.
If the wallpaper doesn’t budge, you’re dealing with vinyl or traditional wallpaper. This is the most challenging wallpaper to remove and will require every tool listed in the above section.
Secure Fixtures and Furniture
The next step to take is securing any fixtures and furniture near the walls you will be working on. This means moving them out of the way and using a protective cover like a tarp. Remember to take down any pictures or lighting fixtures hanging on the walls to avoid an accident.
Another very important step is to cover and secure all electrical outlets near the walls you will be working on. Since you will be using water and liquid removers, remembering to secure your outlets can prevent an electrical fire.
To make sure your electrical outlets are safe, cover them with electrical tape. You will also need a painter’s tarp or plastic covering to protect the floor from spills. This also makes cleanup a lot easier.
How to Use Wallpaper Remover
You will need a wallpaper remover solution if you’re working with peelable or vinyl wallpaper. Wallpaper remover comes in either a liquid or gel form. This solution should soak into the wallpaper and make the adhesive backing softer so you can remove it without damaging the wall. You can buy wallpaper remover online or anywhere that sells tools and hardware.
First, if your wallpaper is waterproof, it should be scored or perforated so the remover can seep into the adhesive in the backing. Use a roller-style wallpaper scorer to achieve this. Then, mix your wallpaper remover with water.
For as much coverage area as possible, use a spray bottle. Remember to use only a little if your wall is drywall. Use a sponge to apply modest amounts of solution for areas that require more precision, such as corners.
Refer to your wallpaper remover’s instruction manual to determine how long you must let the remover soak before peeling off the wallpaper. Once ready, start peeling off the wallpaper using a paint spreader or putty knife. Start at corners for an easier time scraping it off. Apply remover again in areas that need it.
Removing Wallpaper Using a Steamer
Another way to soften up the wallpaper is by using a portable steamer. Using a steamer doesn’t require any wallpaper remover solution — just water. The heat and moisture from the steam are enough to weaken the adhesive and allow you to start removing it.
Start by filling the steamer with water and turning it on. Wait for it to heat up and build steam for about five to ten minutes. After scoring the wallpaper, lay the steamer plate on the wall and start steaming. Keep it on there for 15 to 20 seconds, then remove it. Then, scrape away the section with your peeler or knife.
If you find the wallpaper is still difficult to remove, leave the steamer on the section for longer before trying again. Repeat until you’ve removed all of the wallpaper. Steaming is much better on plaster walls than drywall.
Get Started on Your DIY Wallpaper Removal
While learning how to remove wallpaper might be time-consuming, doing the job yourself can be fun and save you money. Removing wallpaper can be easy as long as you take the right precautions and use the right equipment.
