We are reader-supported. When you buy through links on our site, we may earn an affiliate commission.
Replacing lightbulbs is part of life, but incandescent bulbs can easily break while in their sockets. This can turn a simple task, like replacing a lightbulb, into into a dangerous one, such as removing a broken lightbulb. You should never try to remove a broken lightbulb by hand, but there are ways to remove it yourself without damaging your light fixture. Here’s how to remove a broken lightbulb.
Preparing the Fixture
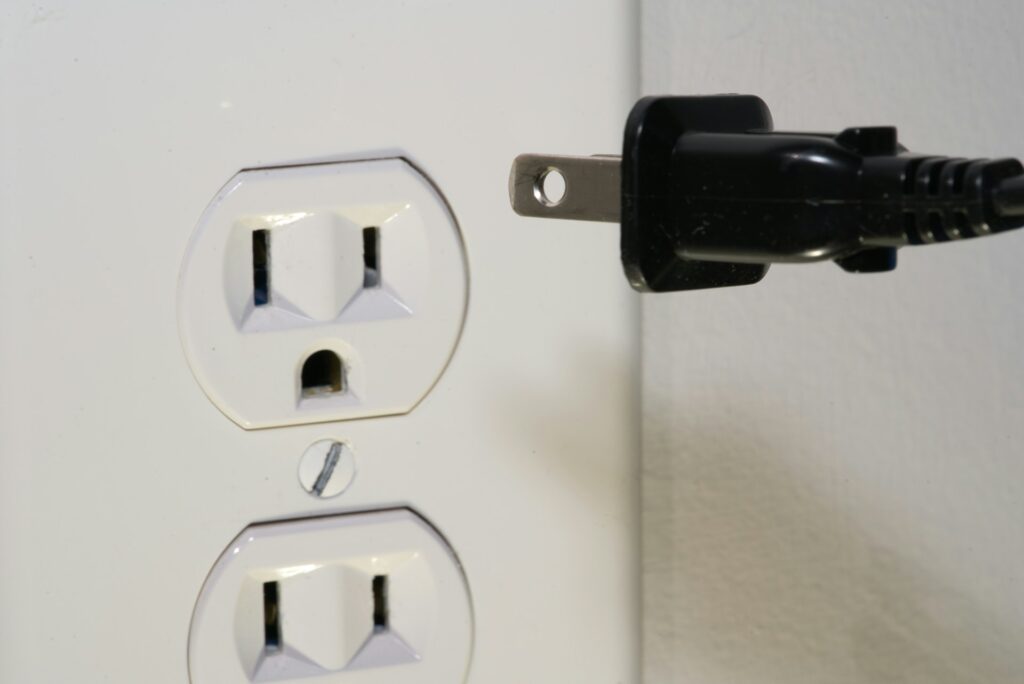
First things first, make sure that the power to the light fixture is off. If it’s hard-wired, you’ll need to turn the breaker off or remove the fuse. Unplug it from the outlet if it’s a lamp or plugged-in fixture.
Without removing the power from the fixture, you risk electricity traveling from the exposed filament to the pieces you need to touch. It’s an extremely dangerous situation that can lead to injury or even death.
Once the power is completely off, you need to wait several minutes to ensure the current finishes moving through the fixture. There are a few methods you can try to remove the broken pieces.
If there is still glass attached to the base, wear hand and eye protection for safety. Snap off the glass with your gloved hands and drop them in the trash.
1. The Potato Method
Grab a potato if you need to remove the glass quickly and don’t have a tool on hand.
A medium-sized raw potato can do a great job of removing a broken bulb. Carve one end to fit inside the broken base. Taper it to a tip and cut a hole to fit over the filament support.
Use the unpeeled end to insert the potato into the base onto the filament support. Then, use it to turn the base out of the socket.
Wipe the inside of the fixture’s socket with a paper towel to remove any moisture. Once the fixture is completely dry, you can insert the new bulb and restore power to it.
2. Needle-Nosed Pliers
If you have needle-nosed pliers, you can use them to grip the metal edge of the base to loosen it. It’s possible that the metal will warp or break off in the pliers, and that’s OK.
Use the pliers to turn the base pieces counterclockwise until it’s completely removed from the socket.
Once the base is completely removed, make sure it’s clean before replacing the bulb and restoring power.
3. Broken Bulb Extractor
Did you know they make a tool for this exact problem? Broken bulb extractors have rubber tips that can engage the base of the bulb. Its plastic body has a threaded socket that allows it to screw onto an extension pole, which is useful for hard-to-reach fixtures.
Push the extractor over the filament, into the base, and twist the base out of the socket. Once you remove it, clean out any remaining debris and replace the bulb.
Installing a New Bulb
If your lightbulb seems to break randomly, you should try to determine the cause before you replace the bulb with a new one. Without doing so, you risk the same incident happening again, wasting your time and money.
Either replace the bulb with another incandescent or take the opportunity to replace it with a light-emitting diode (LED) bulb.
You’ll want to twist the new bulb securely but not so tight that it’s hard to untwist. Overtightened bulbs are more prone to breaking.
Removing Broken Bulbs
Broken light bulbs can be frustrating, but there are ways to remove them safely. You can safely remove the pieces by applying the proper methods, and preserving yourself and your light fixture.
About The Author
Evelyn is the founder and editor-in-chief of Renovated with over 5 years of experience writing about interior design, construction, and renovation. She is a passionate advocate for improving mental health and safety in the construction industry. When she's not writing, you can find her reading at coffee shops around PA.
Her insights have resonated far beyond Renovated, gracing publications like the National Association of Realtors, Construction Executive, DecorMatters, and Renewable Energy Magazine.
For more insight on design, construction, and everything in between, you can check out Evelyn's portfolio, https://evelynlong.com/.