We are reader-supported. When you buy through links on our site, we may earn an affiliate commission.
Do you want to learn how to fix root rot quickly? We’ll give you everything you need to know to treat your plant, help it recover and prevent it from suffering from root rot in the future.
What Causes Root Rot in Indoor Plants?
Root rot is caused by overwatering. When soil is oversaturated with water, air can’t circulate normally. If this happens for too long, your plant’s roots become starved of oxygen and start dying. You can only prevent this by learning how to fix root rot.
This problem persists even after the soil dries out because fungus appears. Fungi thrive on dead and dying plant tissue, which is the “rot” part of root rot. Unfortunately, this means your plant doesn’t have a very good chance of recovering on its own — it needs your help.
Is root rot contagious? Yes, root rot can spread to other roots and stems because they’re part of the same system. It can even affect other plants if potted in the same soil. It generally doesn’t transfer from one pot to another, though.
Is root rot fatal? If left untreated, yes. The fungus will either sap your plant’s nutrients to fuel its growth or degrade plant cells to feed off of them. Either way, the root system — essentially the equivalent of the human nervous system — will die unless you act fast.
Can a plant recover from root rot? If you catch and treat it before it progresses too far, then yes. So, how long does it take root rot to fix? Depending on the severity of your plant’s condition, it should take about one to three weeks for a noticeable change to occur.
5 Signs Your Plant Has Root Rot
How do you know if your plant has root rot? Something is up if its leaves are wilting, yellowing, paling or becoming splotchy. If it’s root rot, these signs of distress are appearing because the root system can no longer provide the plant with nutrients like it used to be able to.
Fungus gnats appearing is another strong indicator of root rot because they only thrive when soil is consistently damp. These fruit-fly-like pests burrow into the soil to feed on decaying plant tissue and fungi after they hatch. The silver lining is that a fungus gnat infestation won’t harm your plants — it’s just incredibly annoying.
If you notice your soil has a funky smell, it’s probably due to all the rotten roots just under the topsoil. Note that a strong smell of decay — an earthy, musty scent — indicates your plant is experiencing a particularly severe case of root rot.
A powdery film on your topsoil is a sign your plant is oversaturated with water — and it means the fungus has likely spread significantly. Small mushrooms popping up signal the same issue. This is one of the few guaranteed indicators of root rot.
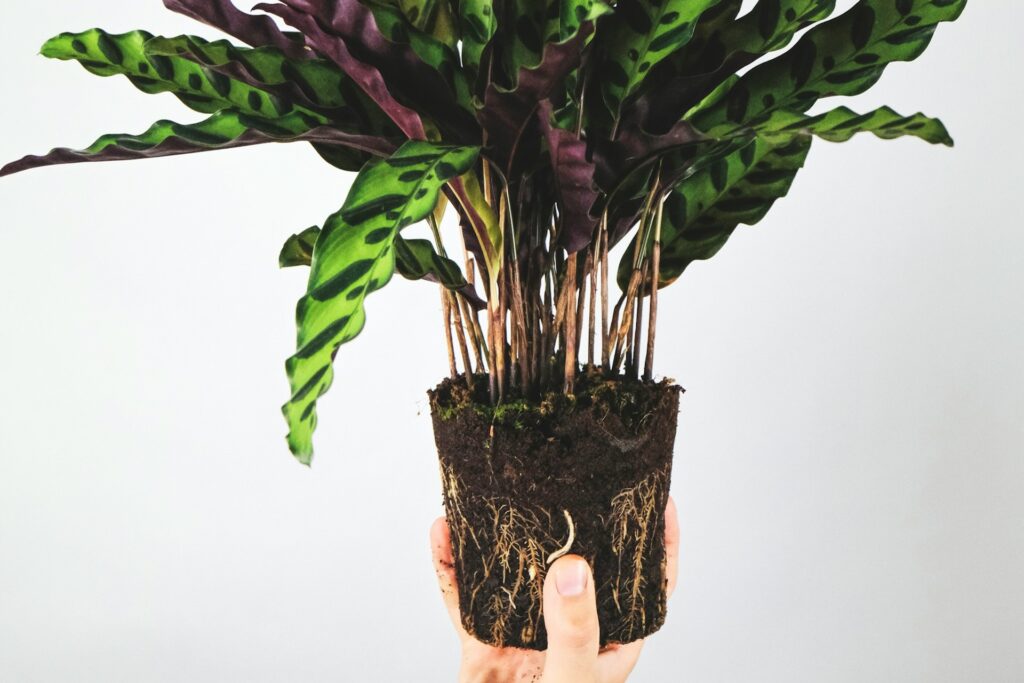
Discolored leaves, fungus gnat infestations and funky-smelling soil can all be signs of other issues. To confirm you’re dealing with root rot, gently lift your plant out of its pot. Its roots should be a bright white or light tan. If they’re brown or black, you’re dealing with root rot.
Step-by-Step Instructions on How to Fix Root Rot
What is the best way to treat root rot? We recommend the standard sterilization method — especially if you’re a beginner learning how to fix root rot for the first time.
1. Remove Soil from Roots
Carefully lift your plant up from the soil by grasping it at the base of its main stem and guiding your free hand beneath its main root system. Gently shake the excess dirt free from the roots.
2. Rinse the Roots Under Water
Use room temperature distilled water — it’s free of harsh chemicals and minerals — to rinse your plant’s roots. Your goal is to clear most of the remaining dirt and decayed plant tissue.
3. Remove Root-Rot-Affected Areas
Use freshly sterilized scissors — this precaution prevents further infection — to snip off rotten or damaged roots. Remove anything brown, black or mushy. When you’re done, the only roots left should be white and somewhat firm.

4. Sterilize the Used Soil
How do you sterilize soil after root rot? Get a baking sheet or a foil tray and set your oven to 200 degrees Fahrenheit. Make sure the soil is slightly damp when you put it in the oven. Baking it until it reaches 180 degrees Fahrenheit will kill off everything but the most stubborn pathogens.
5. Sterilize the Plant’s Pot
Sterilization before repotting is crucial because root rot is contagious. You can either mix one part bleach with nine parts water or use 70% isopropyl alcohol to wipe it down.
6. Prune Root-Rot-Affected Leaves
Pruning damaged or dying leaves helps your plant refocus its resources, making its recovery easier. You can repot it once you remove everything that isn’t healthy.
How to Fix Root Rot Using All-Natural Remedies
How do you treat root rot naturally? Gardening enthusiasts have discovered how to fix root rot without repotting by using hydrogen peroxide or cinnamon.
- Diluted Hydrogen Peroxide
Does peroxide cure root rot? Diluted hydrogen peroxide can kill the fungi and bacteria responsible for root rot — diluted being the keyword here. You must saturate the soil with one part 3% hydrogen peroxide to three parts water. In its undiluted form, it can harm your plant.
- Cinnamon Essential Oil
Surprisingly, using cinnamon is one of the best ways to treat root rot. It has antifungal and antibacterial properties, so it can slow and prevent rot. Add one teaspoon of essential oil to one quart of water to make a fungicidal spray that’s safe for plants.
What Can You Do if Your Plant Is too far Gone?
Although there are tons of ways to treat root rot, some plants are too far gone. If you’ve tried repotting yours and the rot came back, it might be time to try some alternatives. Try taking a cutting from a healthy part of your plant — the specifics differ for each type of plant.
You can propagate a cutting by placing its base in a glass of distilled water. Although you can also propagate it in soil, you want to be able to see its roots to make sure they’re healthy. Once its root system has developed enough, you can move the plant into a pot. However, there’s no need to — if you change the water regularly, you can continue growing it without soil.
How to Prevent Root Rot from Happening Again
Hopefully, you don’t have to relearn how to fix root rot after you’ve done it once. However, root rot can be annoyingly persistent. Luckily, there are a few things you can do to prevent it from returning.
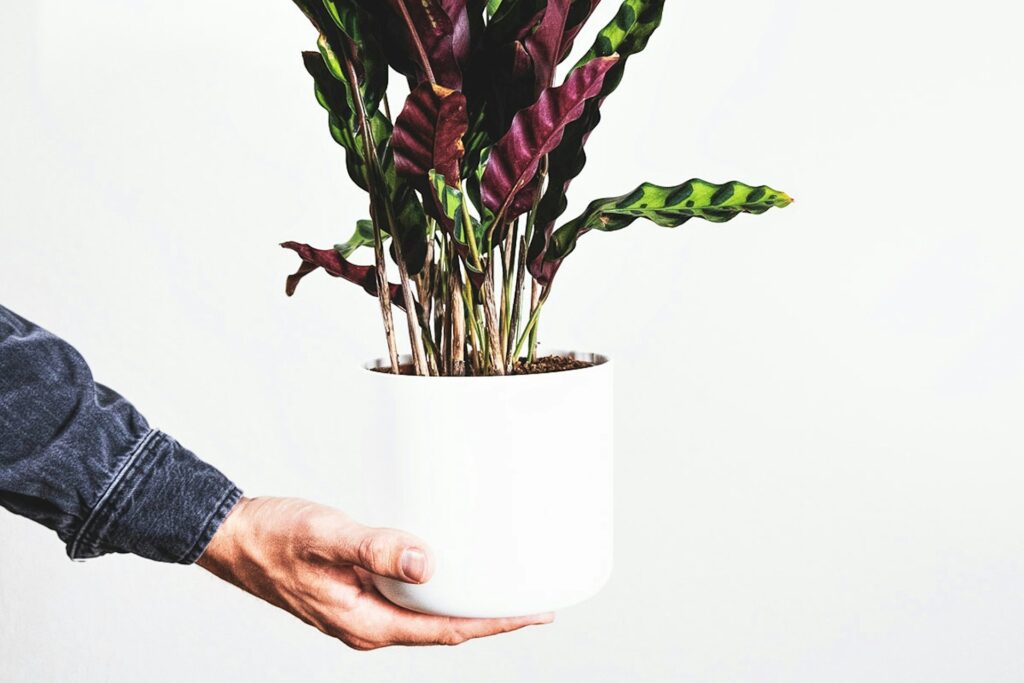
Make sure you’re using the right pot. If you’re using a starter pot inside a decorative one, you risk your plant becoming root-bound and being more severely affected by root rot. Find a pot that’s the right size and has drainage holes.
If your soil takes forever to dry out, you might have a light problem. Make sure your plants are getting enough by repositioning them where there’s more sunlight. Alternatively, you can use grow lights.
When it comes to watering your plants, you only want to water about once a week. Stick your pointer finger in the soil up to your second knuckle. If it comes out dry and clean, it’s time to water. Instead of using a watering can or hose, try bottom watering — put your pot in a larger container full of water for a few hours so your plant can control how much water it takes.
Now You Know How to Fix Root Rot in Case It Returns
There you have it — you now know how to fix root rot in case it comes back. Remember to be patient with your plant as it recovers and keep an eye on it to catch any signs of root rot early.
About The Author
Evelyn is the founder and editor-in-chief of Renovated with over 5 years of experience writing about interior design, construction, and renovation. She is a passionate advocate for improving mental health and safety in the construction industry. When she's not writing, you can find her reading at coffee shops around PA.
Her insights have resonated far beyond Renovated, gracing publications like the National Association of Realtors, Construction Executive, DecorMatters, and Renewable Energy Magazine.
For more insight on design, construction, and everything in between, you can check out Evelyn's portfolio, https://evelynlong.com/.