We are reader-supported. When you buy through links on our site, we may earn an affiliate commission.
Building a stone fire pit is a fun DIY project, and it’s cheaper than hiring a professional. Plus, a bonfire is an excellent activity in the age of social distancing. Once done, you and your family can enjoy the breezy summer nights while roasting marshmallows and sharing ghost stories.
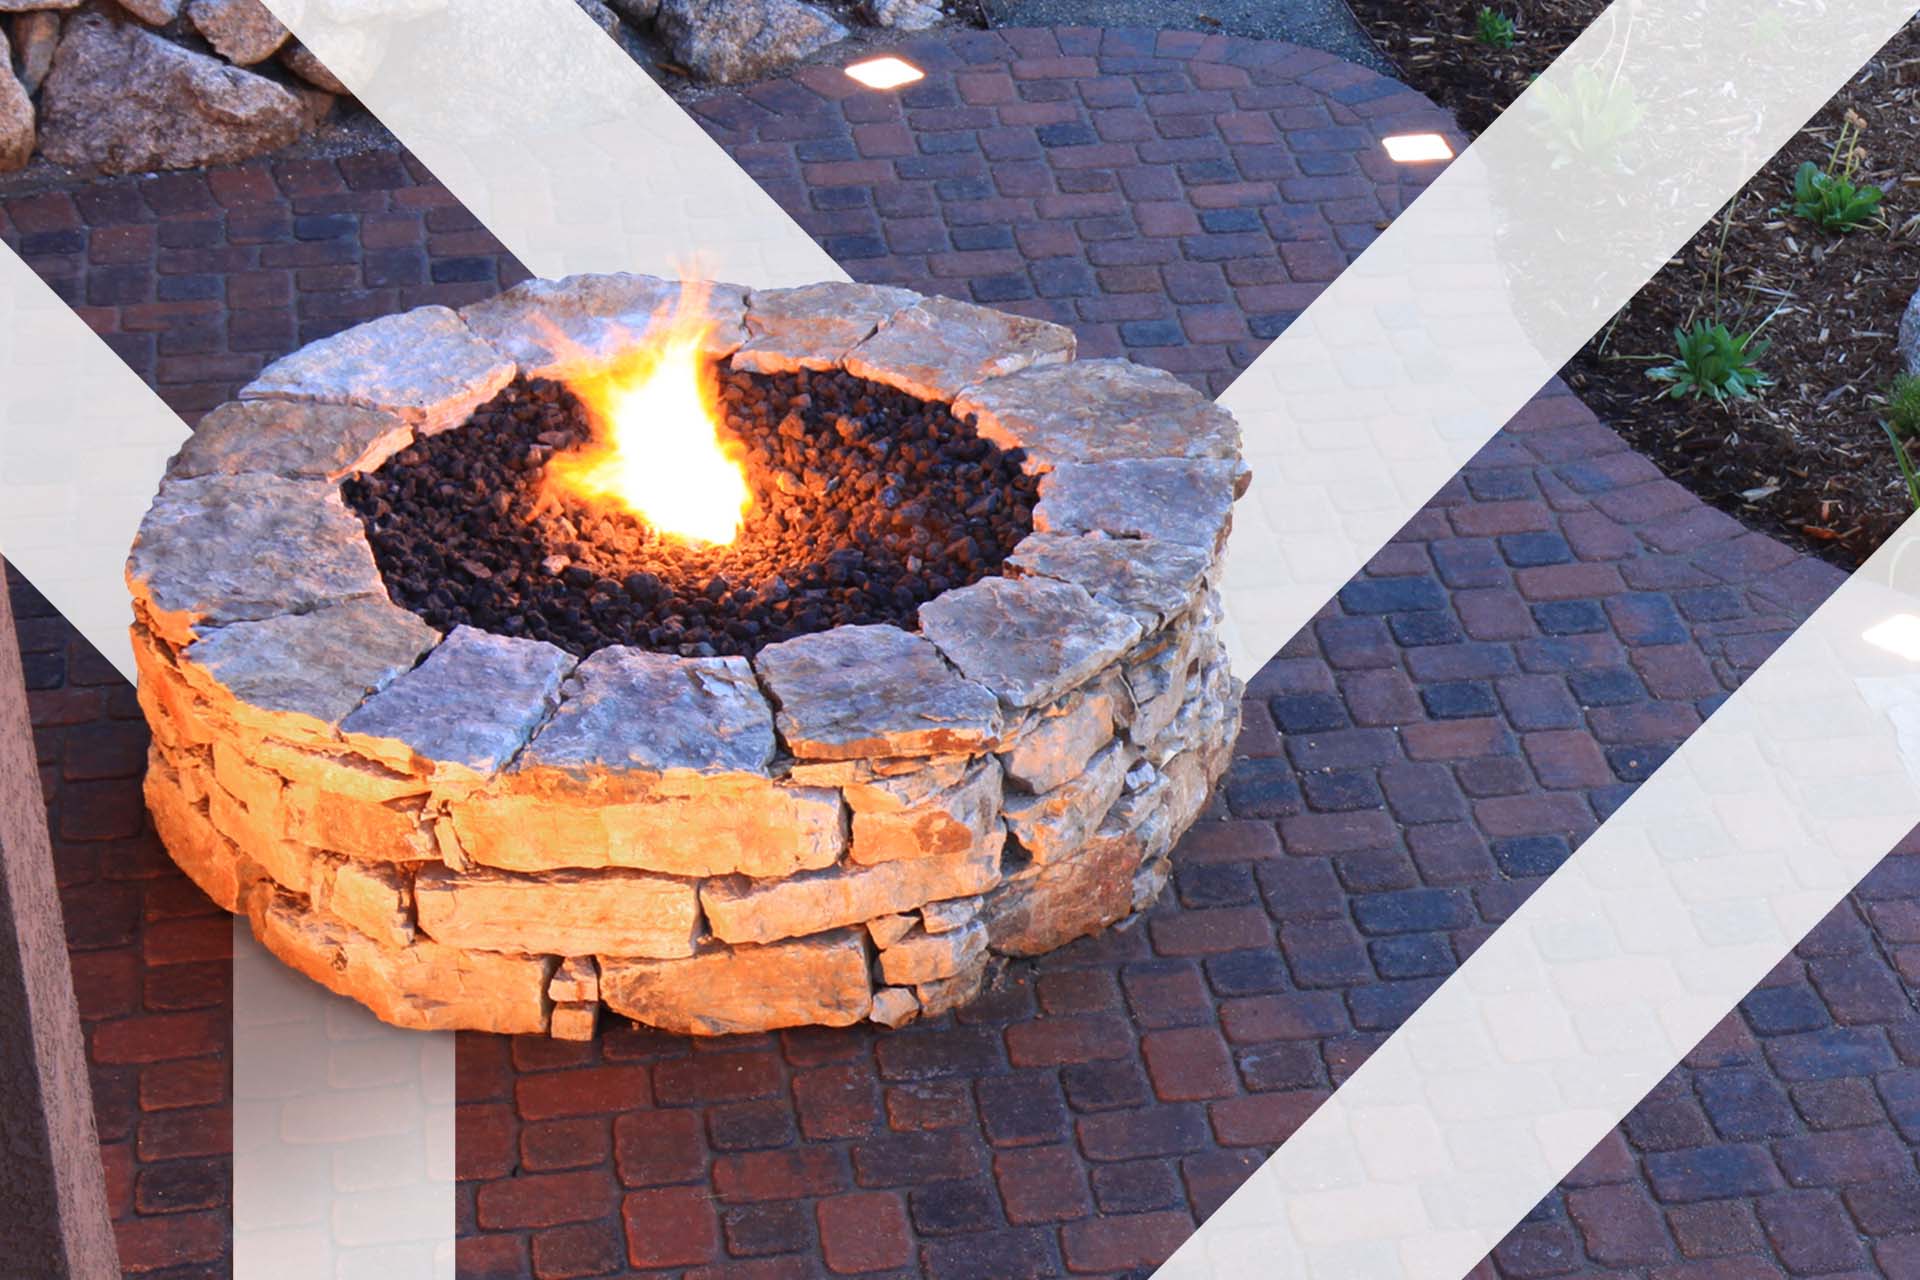
Read on to discover how to build a stone fire pit perfect for your backyard.
Before you choose a location, look up your municipality’s regulations. Many require you to keep a pit at least 10 feet from any structure. This guideline is a good rule of thumb for all DIYers — even if your local area doesn’t require it — as you don’t want your home, garage or shed to catch fire. Choose a spot that’s convenient to access without jeopardizing your family’s safety.
Once you have a spot in mind, think about how you want your fire pit to look. What shape will best fit your home’s aesthetic? You can go with the classic circle. If you want the perfect spot for cooking burgers and dogs, consider a square or rectangular pit. The shape you choose will determine the type of stone you’ll need to purchase.
Task time estimate: 5 minutes
Now it’s time to outline your pit’s location. If you choose a circle design, place a stake at the center of the area and tie a string to it. Use marking paint on the other end of the line to draw a circle around the stake. For a square or rectangle, use blocks to temporarily set your first layer. Use a shovel to outline the shape, then remove the blocks.
Next, dig up the grass and dirt from your outlined area. You’ll want to go down to a depth of approximately 7 inches, being sure to keep the area level. When you’re done digging, pack the dirt with a tamper.
Task time estimate: 20 minutes
When it comes to your fire pit’s base, you have two options in your choice of material — gravel and concrete. Gravel is easier to use and will require less time. Concrete, on the other hand, is sturdier and may last longer.
If you plan to use crushed gravel, evenly layer it on top of the dirt until around 5 inches in depth. Wet the gravel, then use your tamper to compact it. Mix concrete according to the package’s directions. You’ll know you have the right consistency when it feels like cookie dough and doesn’t crumble. Spread it on top of the dirt, but leave an open spot in the center to allow for drainage.
Task time estimate: 20 minutes for gravel, 45 minutes for concrete
Now it’s time to select your stone. You have multiple options, including fieldstone, river stone, sandstone and granite blocks, concrete masonry blocks and brick. Your choice will depend on your budget and your desired look. Masonry blocks and brick are a cheap pick and ideal for a square or rectangular design. Stone and granite will come with a slightly higher price tag and work excellently for circular pits.
Now it’s time to lay out your layers of stone on top of your base. Be sure the sides of the stones are touching, and use construction adhesive between the layers to secure your structure. A typical fire pit has three or four rows. You can also add a capstone layer, which sits on top and completes the look.
Task time estimate: 90 minutes
You have the pit, but where will you and your loved ones sit? Luckily, you have tons of choices. If you want a rustic look, you can use cut logs. If you have leftover stone and concrete, consider making built-in seating that matches your pit. You can also opt for store-bought chairs.
Don’t forget to leave room for your wood, too. You’ll want to keep it stacked and covered in a spot with decent airflow. If it rains, you might want to break out a moisture meter and check if your wood is OK to burn. Moisture content is ideal at around 20%, meaning the wood will burn hotter and cleaner.
Time estimate: 60 minutes with DIY seating, 15 minutes with store-bought
With a single day’s work and some affordable materials, you can create a backyard fire pit that you and your family will enjoy for years. Now it’s time to break out the hot dogs and marshmallows and start making memories.