

We are reader-supported. When you buy through links on our site, we may earn an affiliate commission.
Last Saturday, I found myself on my hands and knees, scrubbing my kitchen floor grout lines with a toothbrush for what felt like hours. My back ached, my knees were sore and the grout still looked dingy. Determined to figure out how to clean grout effectively without another weekend of misery, I tested five popular methods to find the one that actually works.
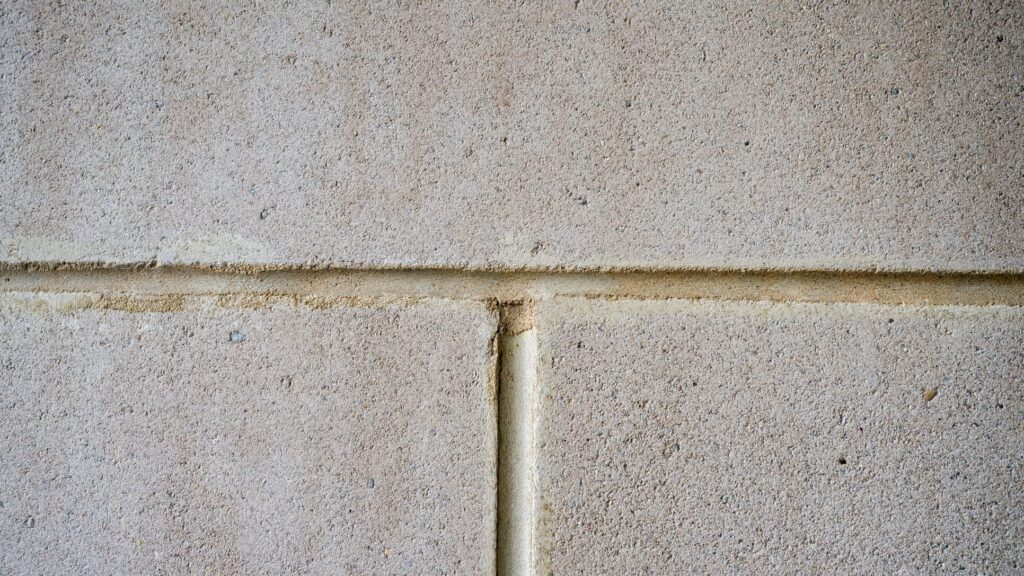
Kitchen grout takes an absolute beating from cooking grease, spilled drinks and foot traffic. What I didn’t realize was just how alive my grout actually was.
Those pinkish-red stains? They’re caused by Serratia marcescens bacteria, which thrive in moist environments and form biofilms that protect them from basic cleaning solutions. Add in mold growth in damp environments, and you’ve got a microbial ecosystem living between your tiles. Standard mopping only addresses surface dirt while the real problem remains embedded in the porous grout material.

I set up a simple testing framework. Each method would be evaluated on the effort required, cost and whether it actually made my grout look clean and stay clean.
Before you judge me, let me explain why I tried this first. I was tired, my knees hurt and the grout pen promised instant results with zero scrubbing. I knew it wasn’t really cleaning anything, but desperation does funny things to your decision-making.
The pen works like a paint marker. You trace along the grout lines and the white pigment covers the stains. The application was easy and the visual transformation was immediate. For about 20 minutes, I felt like a genius.
What I liked:
The downsides became obvious within a week, though:
I grabbed a Magic Eraser next, figuring the melamine foam would work its magic. Spoiler alert: it did not live up to the “magic” part of its name.
The rough grout texture shredded the sponge so quickly that I went through three erasers on just a 10-square-foot section.
What worked:
What didn’t:
I borrowed a steam cleaner from my neighbor, honestly skeptical that hot vapor alone could handle what aggressive scrubbing hadn’t. I figured I’d humor her recommendation and return it the same afternoon.
Once I started, though? I was genuinely impressed. The high-temperature steam blasted dirt out of the grout lines and I found myself actually enjoying the process.
My process: Fill the reservoir, allow it to heat, hold the nozzle close to the grout line, move slowly and wipe away loosened debris.
The advantages:
The disadvantages:
I decided to try a DIY approach before moving to commercial chemicals. Honestly, I was hoping this would work because I liked the idea of using stuff I already had under the sink.
I mixed baking soda with hydrogen peroxide to form a thick paste, applied it to the grout lines, let it sit for 10 minutes, then scrubbed.
My process: Mix three parts baking soda with one part hydrogen peroxide, apply to grout lines, let sit for 10 minutes, scrub and rinse.
The benefits:
The limitations:
For my final test, I went full commercial-grade with ZEP Grout Cleaner and Brightener. Look, I’m usually a “natural products only” person, but at this point I was willing to try anything.
The chemical smell hit me the second I opened the bottle. Immediate regret. I cracked every window in the kitchen and put on rubber gloves before I’d even spray a single line.
My process: Open windows, spray the cleaner onto grout lines, wait five minutes, lightly scrub and rinse thoroughly.
The impressive aspects:
The concerning aspects:
After testing all five methods, the steam cleaner emerged as the clear winner. I’ll be honest, I didn’t expect this going in. I thought the commercial cleaner would dominate, but the effort-to-reward ratio was unbeatable. No harsh chemicals, minimal physical strain once I got past the setup and results that actually addressed the biological contamination rather than just masking it.
The steam cleaner sanitized while it cleaned, killing the bacteria and mold. The grout stayed cleaner longer because I’d eliminated the biofilm rather than just scrubbing the surface.
That said, the steam cleaner isn’t right for everyone. If you live in a studio apartment or only have a small area to address, the homemade baking soda paste offers excellent results for minimal investment. The ZEP cleaner delivers comparable results if you’re comfortable with chemicals.
Sometimes grout is beyond salvation. If your grout is severely cracked, crumbling, or so deeply stained that even aggressive cleaning methods don’t help, continuing to scrub is wasted effort.
I learned this with a corner section where water damage had compromised the grout integrity. I scrubbed that spot three separate times before accepting the truth — no amount of cleaning was going to fix structural problems. When you reach this point, figuring out how to clean grout becomes irrelevant. It’s time to consider replacement.
Replacing damaged flooring lets you explore creative alternatives, such as pennies. All you need is a clear sealant coat and grout of your choice. Sometimes, starting fresh is smarter than fighting a losing battle.
If you’re staring at dingy grout right now, pick the method that fits your situation and give it a shot. Whether you go for the deep-cleaning power of steam or the budget-friendly baking soda approach, you’ll be amazed at the difference clean grout makes. Your knees will thank you for choosing wisely.