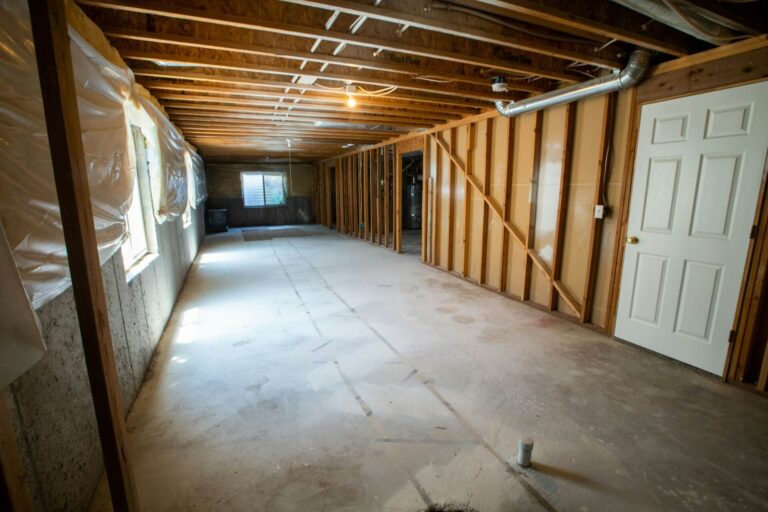


We are reader-supported. When you buy through links on our site, we may earn an affiliate commission.
When wondering what order to renovate a house, the answer is to work from the outside in and top down. Start with foundational repairs like your roof, foundation and water issues. Move to demolition and interior systems like heating, ventilation and air conditioning (HVAC), electrical and plumbing, then tackle finishes, like drywall, flooring, paint and fixtures.
Two fundamental principles guide every successful home renovation sequence.
The “gravity rule” dictates working top-down whenever possible. Damage from above, including dust, dropped tools or paint drips, will ruin fresh work below. Installing brand-new hardwood floors before scraping a messy popcorn ceiling, for example, allows the debris to scratch and damage your pristine surface.
The “envelope-first principle” requires working outside-in so that your home becomes a weathertight shell before interior work begins. Consider the opaque envelope, which includes the walls, roofs and foundations. It impacts 28% of building energy use, which means fixing it first lowers your utility bills while improving occupant comfort long-term. This approach also prevents exponentially more expensive changes later.
Modifications made after demolition require undoing completed work. Following the proper home renovation sequence protects your investment.
|
Right Order |
Wrong Order |
Result |
|
Roof → Kitchen remodel |
Kitchen remodel → Roof |
Roof leak ruins new cabinets and drywall |
|
HVAC rough-in → Drywall |
Drywall → HVAC rough-in |
Must tear open finished walls to run ducts |
|
Flooring → Paint |
Paint → Flooring |
Floor dust sticks to fresh paint, repaint needed |
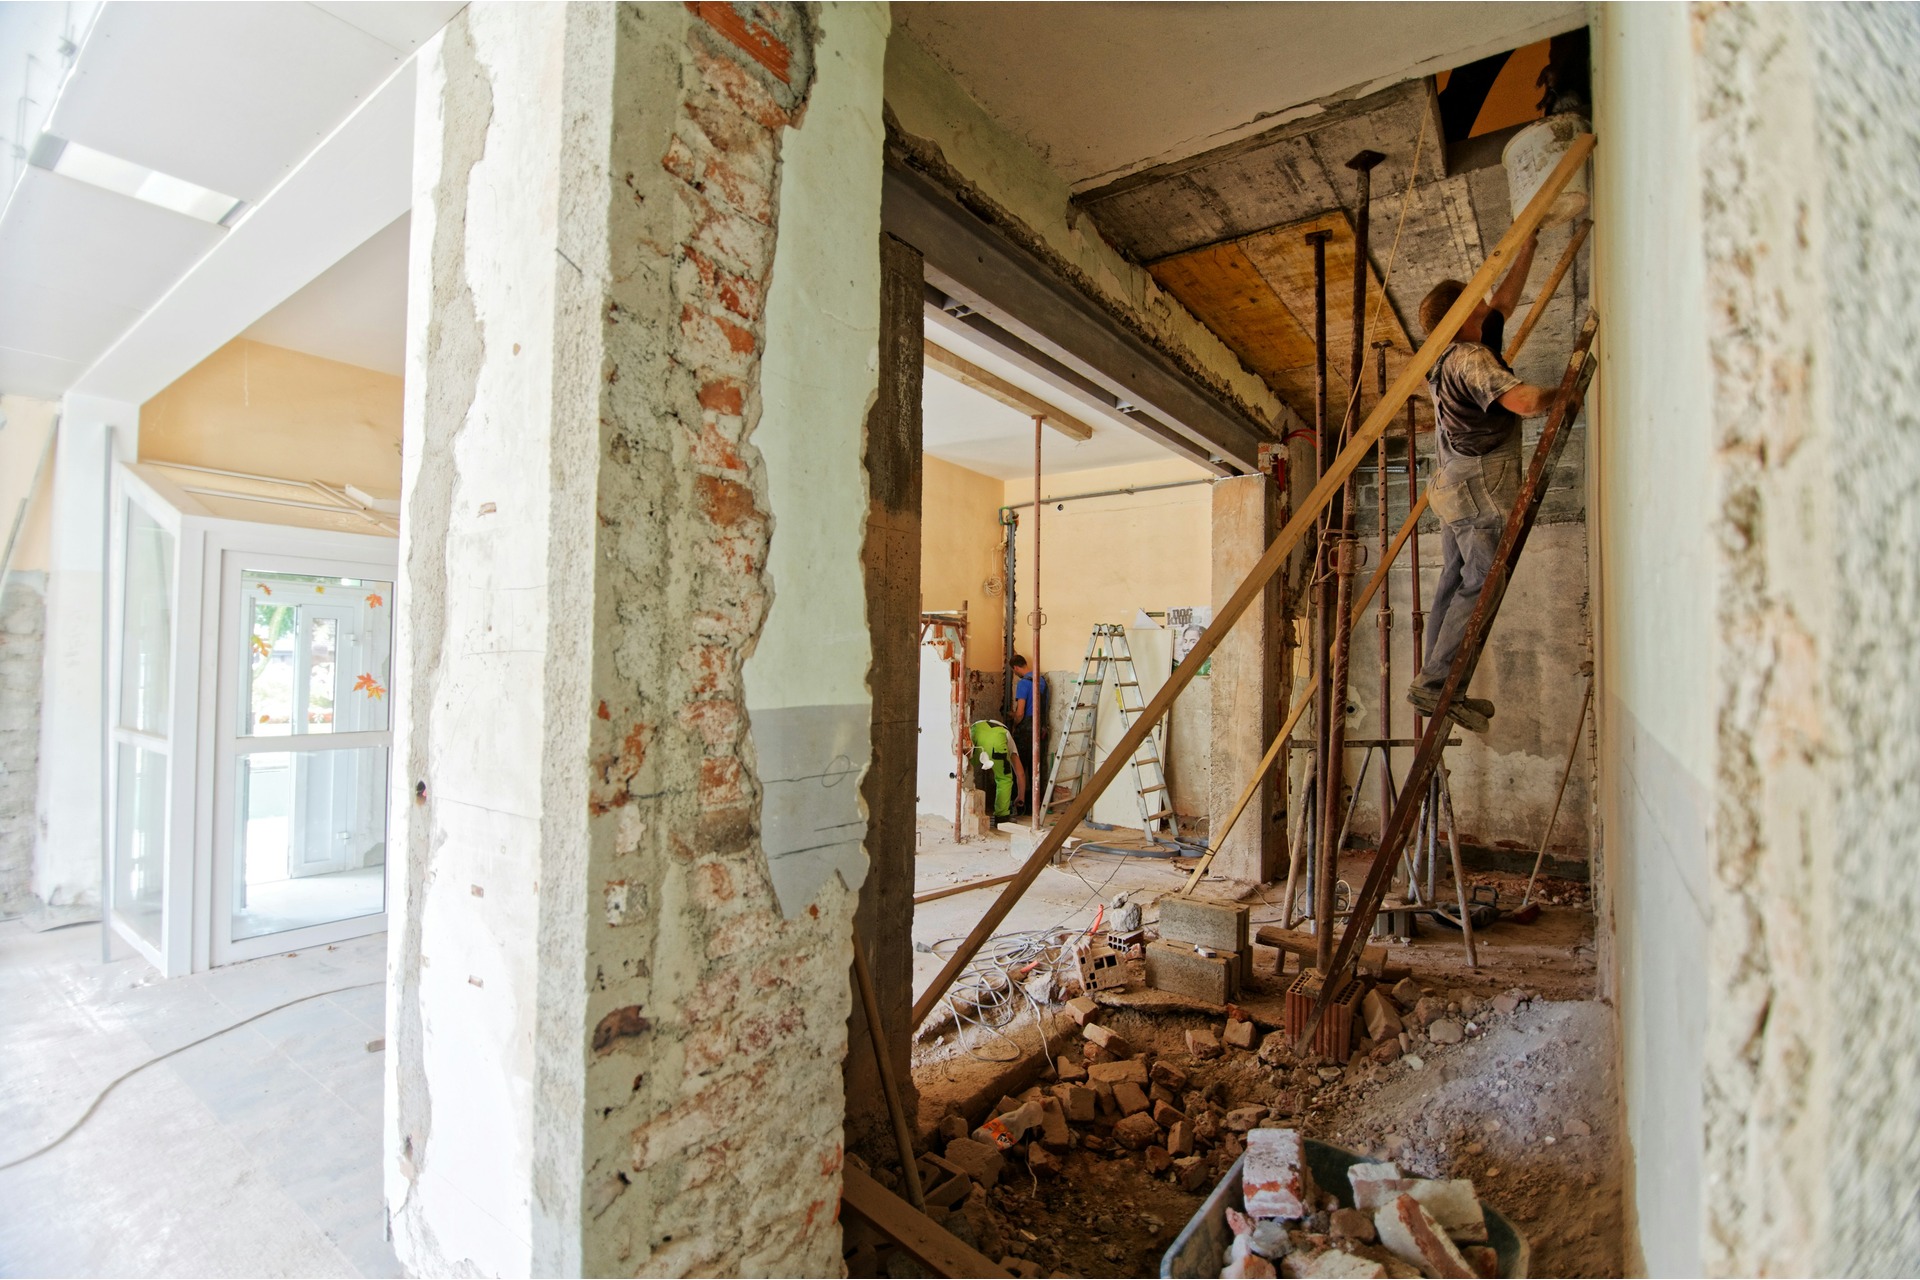
Breaking your project into distinct phases makes even massive renovations highly manageable. Your specific timeline might flex based on contractor availability. Adhering to this exact order of operations protects you from overlapping trades and budget blowouts.
Complete all crucial prep work before lifting a single hammer. Secure permits, hire professionals and develop a realistic budget with a 10-20% contingency fund. These house remodel steps lay the foundation for everything that follows.
Jumping into demolition without a clear design is the most expensive mistake you can make, so create comprehensive renovation plans for every room. Jot down every detail, from precise space measurements to the exact type of furniture you want. This ensures contractors know exactly where to place outlets and fixtures. Changes after demolition starts trigger expensive change orders and extended labor delays.
Your home needs solid bones before beautiful interior finishes make sense. Foundation cracks need repairs, failing roofs need replacement, water issues need mitigation and load-bearing walls need proper modification.
Consider what happens when you prioritize aesthetics over structure. Installing a luxurious new kitchen while ignoring a sagging roof allows a heavy rainstorm to destroy your brand-new cabinets within weeks. Everything else you do depends entirely on establishing this foundation now.
A weathertight shell protects all subsequent interior work from moisture and weather damage. You’ll install new siding, replace drafty windows and doors and upgrade exterior insulation during this phase.
New hardwood floors installed before replacing a leaky sliding glass door leave your space vulnerable. The first major storm could warp your expensive new wood and force costly repairs. Secure the envelope now to prevent these headaches later.
Stripping out old fixtures, tearing up flooring and knocking down non-load-bearing walls generate significant heavy debris. This debris can damage finished surfaces.
Gutting a bathroom after installing new hallway tile, for instance, risks scratching the floors when you’re hauling a cast-iron tub to the dumpster. Demolition at this stage establishes a clean slate for your new systems while protecting the structural reinforcements you completed.
Contractors install everything that lives unseen inside your walls during what they call the “first fix.” This includes plumbing lines, electrical wiring, HVAC ductwork and interior insulation. Forgetting to run electrical wiring for a new kitchen island will force you to rip up your brand-new subfloor to add it later.
Timing this phase correctly matters. City inspectors may need to review and approve these critical systems while the wall cavities remain open and accessible.
Your house starts looking like a home again once drywall installation, mudding, taping and interior framing completion happen. Note that hanging and sanding drywall creates the finest, most invasive dust imaginable.
You want this messy job finished before any expensive appliances or custom cabinets arrive. This phase safely closes up your rough-in systems and creates the blank canvas your interior finishes need.
The “second fix” brings your design to life. Contractors install kitchen cabinets, bathroom vanities, final plumbing and electrical fixtures and main flooring during this phase.
Smart contractors install hard flooring after drywall but before baseboards. This allows them to hide the expansion gap perfectly under the trim. Completing this work after the messy drywall phase significantly lowers the risk of damaging your high-end finishes.
Interior painting, trim work, hardware installation and hanging decorative elements represent the final aesthetic details. These home renovation steps bring genuine satisfaction. Screwing in the brass cabinet knobs, rolling out the rugs and hanging the statement chandelier truly turn your vision into reality.
Delicate cosmetic elements remain the most vulnerable to scratches and dents. This is why you save them for the very end when heavy construction traffic has stopped.

Deciding which room to tackle first when doing a piecemeal home update creates a common dilemma. A strict room-by-room hierarchy helps you avoid damaging already finished spaces.
Your attic, roof or basement must come before the main living areas since gravity becomes your worst enemy during renovation. A leaky roof will quickly destroy a newly remodeled kitchen below. Fixing your basement foundation first prevents your newly tiled main-floor bathroom from cracking when the house settles.
Tackle your kitchen and primary bathroom first, as they take the longest and cause the most disruption. The proper renovation order of operations here pays off significantly.
Match your remodel’s scale to your neighborhood to maximize your financial return. For example, a minor kitchen remodel can see a 113% return on investment (ROI) with an average cost of $28,458. A midrange sits at 51%, while upscale remodels yield around 36% ROI for major work.
Your living room, dining room and bedrooms should follow the heavy-lifting rooms. These spaces involve simpler work and lack extensive plumbing networks. You can often complete these areas while living in the home without severely disrupting your daily life.
Guest bathrooms, laundry rooms and bonus spaces belong at the very end. These secondary rooms can act as temporary staging areas or functional backups while main spaces remain under construction.
|
Project Type |
Sequence Priority |
Why |
|
Structural Projects |
Roof, foundation, load-bearing walls |
Protect everything below, prevent settling damage |
|
Cosmetic Projects |
Paint, fixtures, decorative trim |
Most vulnerable to damage, complete last |
Remaining in your home during construction presents unique challenges to your home renovation timeline. Consider these tips:

Homeowners frequently make renovation mistakes that blow budgets and waste time. Learning what to avoid helps you stay on track.
Sequencing mistakes often stretch budgets, but you can recover costs through smart sourcing. Rather than buying brand-new fixtures, refurbish old materials to save money by visiting salvage yards. Resurfacing an old pedestal sink keeps your budget in check while giving your bathroom a unique focal point.
Every renovation is unique, and your starting point depends entirely on your specific property and end goals. A decision tree helps you allocate your budget logically rather than emotionally.
|
Situation |
Ideal flow |
|
If you’re buying a fixer-upper |
Home inspection → Structural issues → Systems → Cosmetics |
|
If you’re renovating while living in the home |
Least disruptive rooms → One bathroom last → Kitchen last (or set up temporary kitchen) |
|
If you have a limited budget |
Critical structural/safety issues → High-ROI rooms → Cosmetic updates as budget allows |
|
If you’re flipping or selling |
ROI-focused rooms (kitchen, bathrooms) → Curb appeal → Neutral finishes |
Renovating to sell shifts your focus toward ROI-focused rooms and curb appeal that maximize buyer interest. Choose designs that won’t feel dated by selecting a neutral color palette for permanent fixtures. Cabinets and countertops work best in muted tones. Add personality through easily replaceable elements like paint or bar stools.
Realistic timeline expectations prevent frustration with inevitable construction delays. A renovation timeline typically breaks down like this:
The typical trade coordination sequence flows from your general contractor to structural engineers. Then, plumbers and electricians and HVAC technicians follow. Insulation teams, drywall installers, flooring specialists, painters and finally finish carpenters complete the sequence.
Avoid spending over 30% of your home’s value on a single renovation. This prevents over-investing in low-ROI projects while encouraging prioritization across your entire budget. Use this priority matrix to strategically allocate your funds:
Industry veterans share insider secrets that keep projects running smoothly. Many recommend over-ordering materials by 10-15% for waste and mistakes. This ensures you have extra tile on hand to prevent multi-week delays from bad cuts.
Some experts suggest asking for three quotes for every major trade. Having multiple figures will help you understand the true market rate while protecting yourself from overpriced bids.
Photos before, during and after also prove invaluable. Take pictures of open walls to help you locate pipes and wires years later.
Finally, prepare a contingency budget. Renovations often cost more than planned. Set aside 10-20% of your total budget to keep stress levels low when hidden issues arise.
A master checklist helps you stay organized from day one to the final walk through.
Taking the time to plan your project properly sets you up for success. Follow the correct order to save time, stress and money. Remember the ultimate golden rule. Always work Structural → Systems → Surfaces → Finishes. Adapt the sequence to your specific living situation, trust the process and enjoy the rewarding journey to a beautifully remodeled home!