
We are reader-supported. When you buy through links on our site, we may earn an affiliate commission.
Quick Answer: To declutter your kitchen, sort everything into 5 categories (donate, trash, store, redistribute, keep), eliminate duplicate items, rearrange based on frequency of use, maximize vertical space with hooks and shelves, and use bins and jars to organize what remains.
Many people say the kitchen is the heart of the home, but that comes at a cost. Between meals, cooking and storing all your various pots and pans, there’s ample opportunity for the space to get out of control. Luckily, you can declutter your kitchen in just a few short sessions by following these easy tips.
Before you start decluttering, you’ll want to make sure you have all the supplies you’ll need:
Once you have all these items, you’ll be ready to start the first step in the process.
Chances are, you don’t even use half of the “stuff” in your kitchen, whether it’s intended for cooking or just extra junk you ended up shoving in an unspecified drawer. Freeing yourself of extra junk is a key way to declutter your kitchen.
To decide what you really need, start by taking everything out of the drawers, cabinets and shelves in your kitchen. Then, organize them into the following boxes:
This box is the one you’ll drop off at a local donation center. It might contain extra items you don’t need anymore, but that someone else could still use. Donating kitchen items that are still in decent condition is a smart way to eliminate some of the duplicate items you have in your kitchen, like those 25 extra coffee mugs you haven’t touched in years.
The items in this box have, unfortunately, seen their final days. Maybe it’s filled with a few stained extra dish towels, halfway broken appliances or rusty silverware. If you have something you don’t use anymore that someone else probably wouldn’t value, trash it.
This box is for your sentimental items, such as an heirloom, your souvenir coffee mugs and anything else you don’t use every day but just can’t part with. Some people like to hold onto these items to pass down to their kids one day, or just to revisit from time to time. Either way, they don’t need to be taking up the precious real estate in your kitchen. Pack them up neatly in a box, then store them elsewhere in the home.
Fill this box with anything that doesn’t even belong in your kitchen in the first place. This might include the random deck of cards, receipts, instruction manuals, pens and pencils, notecards — you get the gist. Anything you don’t use to prepare food shouldn’t be in the kitchen. Redistribute these items to places in the home where they make sense from an organizational standpoint!
After sorting everything, what you’re left with is your “to keep” box. This will include the cups and dishes you use every day, your silverware, pots and pans, etc.
You hopefully took care of this tip in the first step as you sorted your belongings. Just in case, be sure to eliminate any duplicate items that you don’t need. For example, you don’t need four colanders at hand. Pick one — maybe two — and if you can’t bear to part with the others, put them in storage so you can get them later. You’ll most likely forget you ever had them in the first place.
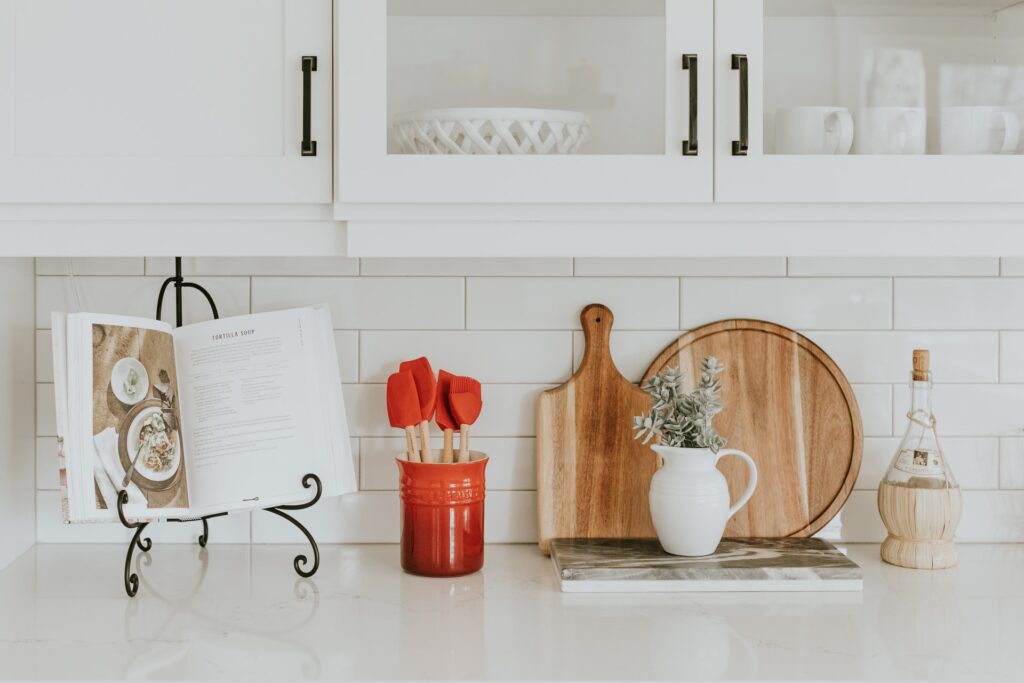
It doesn’t make sense to have items you rarely use be the easiest to access in your kitchen. For example, many people keep things like their toaster and blender right on the countertops — and how often do you really make a bagel or smoothie?
Move these large items underneath your cabinet to free up counter space for food prep. A clear counter is also much easier to keep clean. You could then use the area your toaster or blender once occupied as a coffee or tea station, which you would probably use every morning.
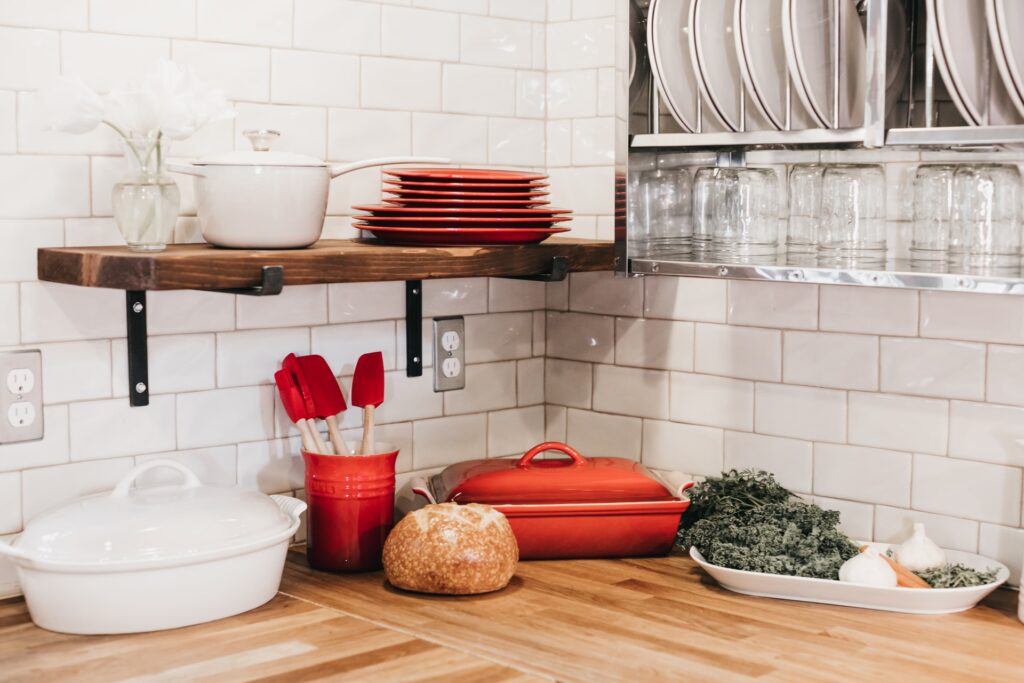
If you have limited cabinet and shelf space, you might have to get creative with where you store certain items. Think logically about how certain pieces will fit together and in a certain place. Then think outside the box to come up with unique ways to save space.
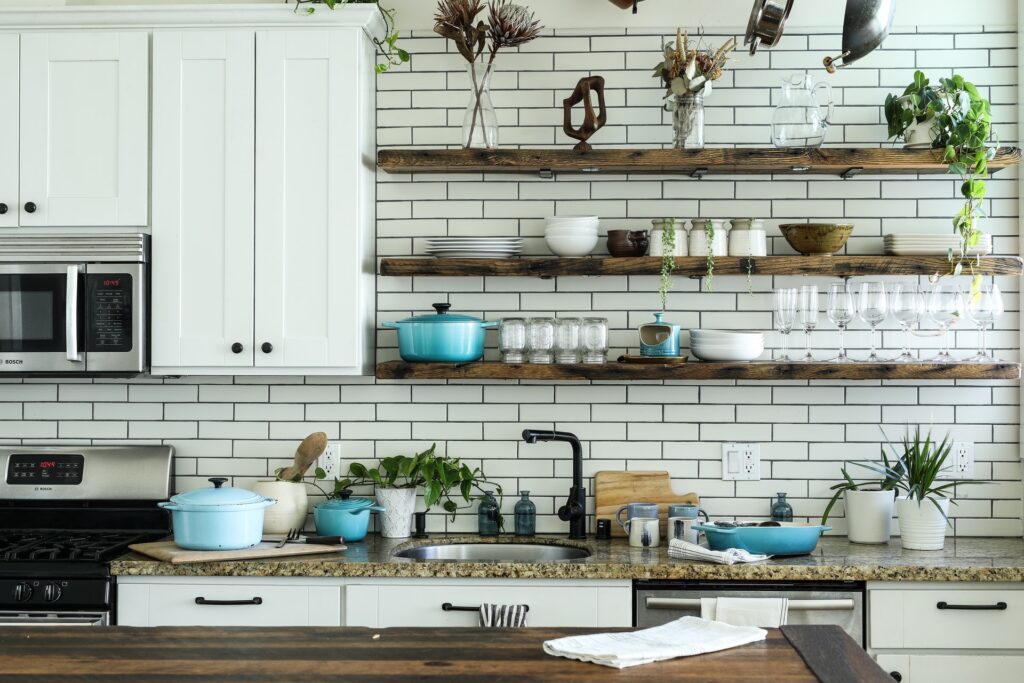
A few ideas include hanging pots and pans, using the top of your refrigerator and cabinets and adding shelving inside cabinets and anywhere else you have room for it.
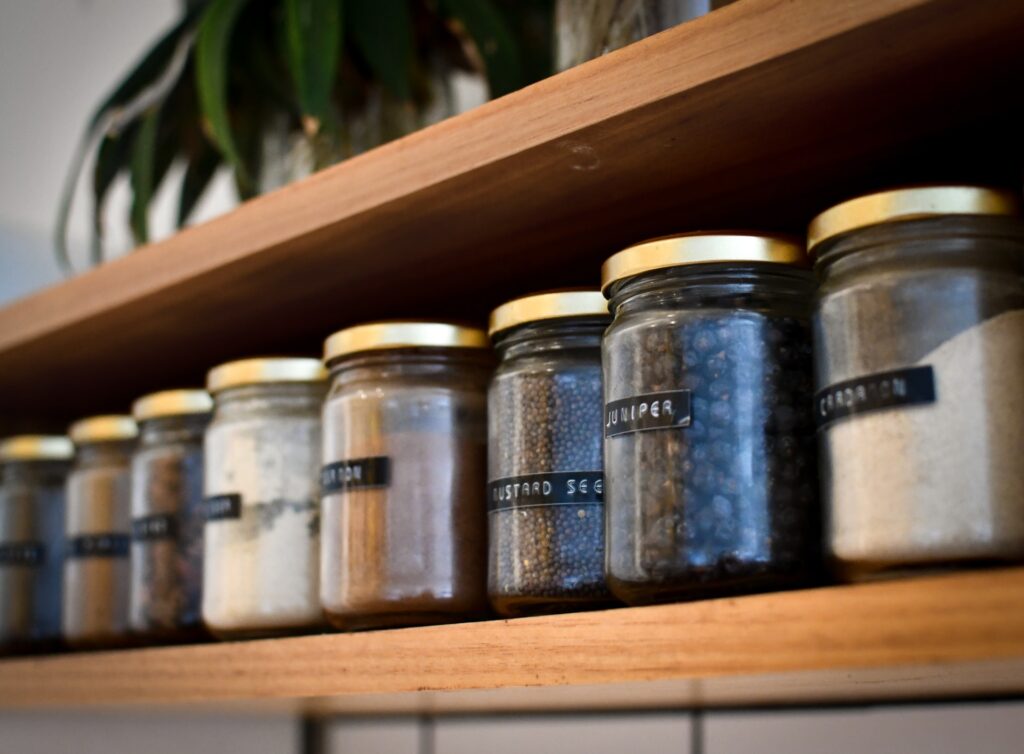
Organization tools like bins, jars and other containers will help you keep your kitchen clutter-free and make it easier for you to find everything you need. This tip is especially important for your pantry or the cabinets where you store your food. You should be able to clearly see all the food items you have available to you to simplify the cooking process and minimize food waste.
How many times have you gone to the store and bought a few new boxes of pasta, only to realize you already had five unopened boxes all the way in the back of your pantry? Keeping your kitchen organized and clutter-free will help you save money and reduce the amount of food you end up wasting.
Below is a full checklist for you to follow as you declutter your kitchen:
| Step | Action Item |
|---|---|
| PREP | Set up 5 boxes or bags labeled: Donate, Trash, Store, Redistribute, Keep |
| STEP 1: Decide What You Really Need | |
| 1.1 | Empty one drawer, cabinet, or shelf completely |
| 1.2 | Sort DONATE items: decent condition items others could use (extra mugs, duplicate utensils) |
| 1.3 | Sort TRASH items: unusable items (stained towels, broken appliances, rusty silverware) |
| 1.4 | Sort STORE items: sentimental items that don’t need to be in kitchen (heirlooms, souvenir mugs) |
| 1.5 | Sort REDISTRIBUTE items: non-kitchen items (cards, receipts, manuals, pens, notecards) |
| 1.6 | Sort KEEP items: daily-use items (cups, dishes, silverware, pots, pans) |
| 1.7 | Repeat sorting for each remaining drawer, cabinet, and shelf |
| STEP 2: Eliminate Endless Duplicates | |
| 2.1 | Count how many of each item you have (colanders, spatulas, mixing bowls) |
| 2.2 | Keep only 1-2 of rarely-used items (not four colanders!) |
| 2.3 | Reduce excessive coffee mug collection to what you actually use |
| 2.4 | Move duplicate items to Donate or Trash box |
| STEP 3: Rearrange Based on What You Use Most | |
| 3.1 | Identify items you use daily (coffee maker, everyday dishes, cooking utensils) |
| 3.2 | Place frequently-used items in easily accessible locations |
| 3.3 | Move large, rarely-used appliances (toaster, blender) underneath cabinets |
| 3.4 | Free up counter space for food prep areas |
| 3.5 | Set up coffee/tea station in a convenient spot |
| STEP 4: Get Creative With Your Space | |
| 4.1 | Install hooks to hang pots and pans |
| 4.2 | Use top of refrigerator and cabinets for storage |
| 4.3 | Add shelving inside cabinets to maximize vertical space |
| 4.4 | Store large appliances underneath cabinets rather than on counters |
| STEP 5: Invest in Bins, Jars & Organization Tools | |
| 5.1 | Purchase storage bins and jars for pantry organization |
| 5.2 | Use clear containers for dry goods so you can see what you have |
| 5.3 | Label bins and containers |
| 5.4 | Organize pantry to prevent food waste and save money |
| FINISH | |
| Final 1 | Take donate items to donation center or schedule pickup |
| Final 2 | Dispose of trash items properly |
| Final 3 | Move “store” items to appropriate storage elsewhere in home |
| Final 4 | Redistribute non-kitchen items to their proper locations |
| Final 5 | Wipe down and clean all empty cabinets and drawers |
| Final 6 | Put back only items in “Keep” category |
| Final 7 | Schedule reminder to declutter again in a few months |
Having a cluttered kitchen eats up your time, adds stress to your life and can lead to mental clutter, as well. By taking the time to declutter your kitchen every few months, the time you spend preparing meals and making your morning coffee will be much more enjoyable.
Note: This article was first published on August 6, 2019, and was revised on September 25, 2026 to reflect the most current information.