We are reader-supported. When you buy through links on our site, we may earn an affiliate commission.
While the thought of painting your ceiling might sound overwhelming, it can be a rewarding and worthwhile task. The first challenge you might face is figuring out where to start. Learning how to paint a ceiling ensures you’ll apply a good-looking coat and avoid injuring yourself while doing it.
Out with the old and in with the new. This DIY guide will help you paint your ceiling safely without hiring someone to do it for you. Here’s everything you need to know and what you will need for this task.
Equipment and Tools You’ll Need
The first thing to do is to ensure you have all the necessary equipment for this job. Here’s a quick rundown of all the required tools and equipment.
- Paint
- 3/8 inch nap roller
- Roller extension pole
- Painter’s tape
- Paint tray
- Bucket
- Ladder
- Plastic tarp
- Stain blocking primer
When choosing the roller pole, be sure to get the correct one for your length. The wrong pole length may lead to excess weight, making it challenging to paint for long periods. You can also head to a paint store if you’re repainting a whole room and need to match colors.
How to Paint a Ceiling
Now, it’s time to jump into the process. Here’s how to paint a ceiling — the safe way.
1. Clean and Remove any Furniture From the Room
First, you should carry out all the furniture and remove any obstructions, such as ceiling light covers, couches and cabinets. You want to be able to move around freely as much as possible, so try to remove most of the furniture. If there are any large objects you can’t take out, use drop cloths to conceal them and the floor from any paint that drips.
2. Gather All Your Equipment
Make sure you have all the equipment you need in the room or close by. You don’t want to climb down the ladder every time you need something. Ensure you have all your equipment with you before you start painting.
3. Clean Your Ceiling First
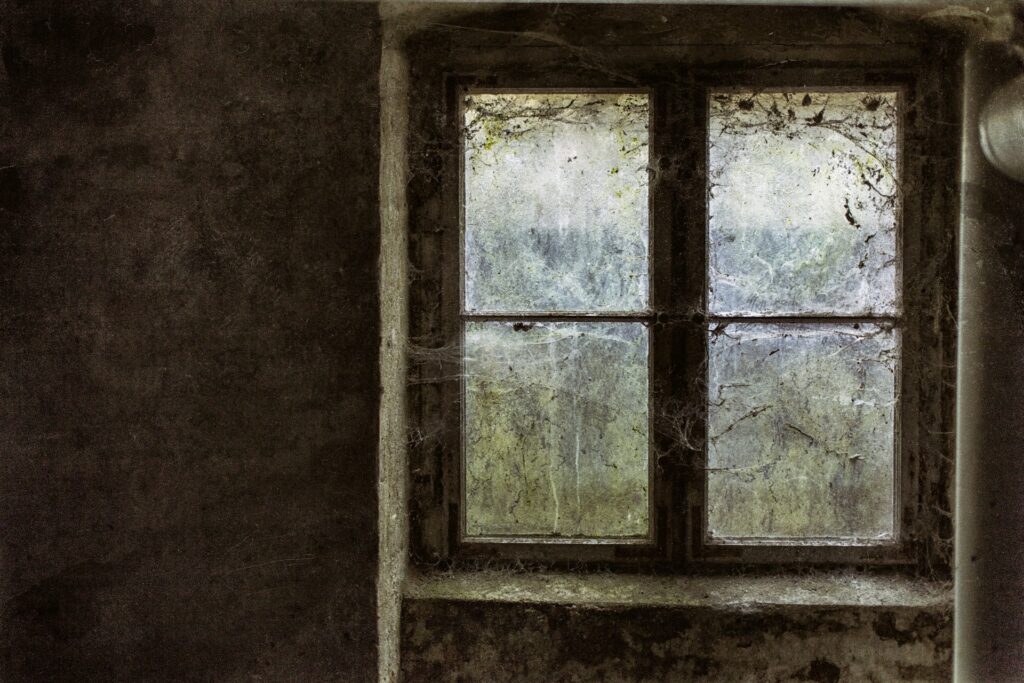
This is an important step you want to take advantage of. Start by sanding down your ceiling. Cleaning it of any cobwebs and dust will help the paint stick better to the surface.
This will also help your ceiling have a smoother and even finish. After sanding down your ceiling, be sure to wipe off any excess dust with a damp cloth.
4. Tape Up All the Corners and Ceiling Lights
This step allows you to have a little peace of mind. By taking the necessary precautions, you can eliminate most of the extra paint that always seems to find its way onto a light or the wall. Be sure to put painter’s tape on all the corners of the wall and on downlighters if you have any.
5. Apply Primer to the Ceiling
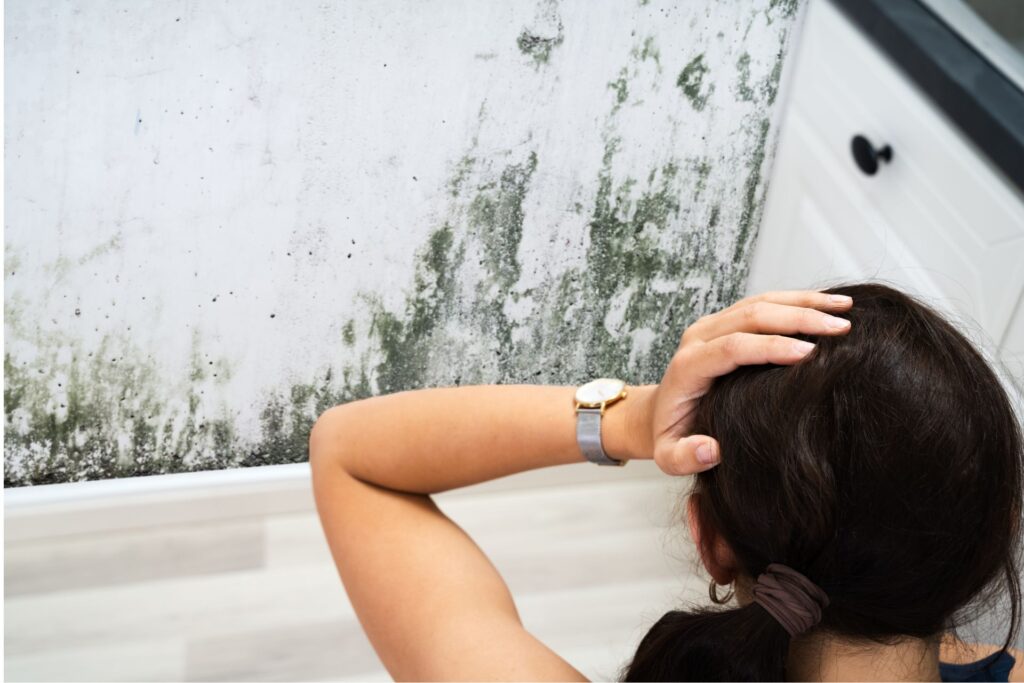
After cleaning your walls thoroughly, ensure they are completely dry before applying your coat of primer. Primer helps cover up any stains on your ceiling or wall, and helps the paint adhere better to the surface.
Sometimes, applying two coats of primer instead of one will be necessary. Be sure to wait for the first coat to dry completely before applying a second one or starting to paint.
6. Start With Cutting In
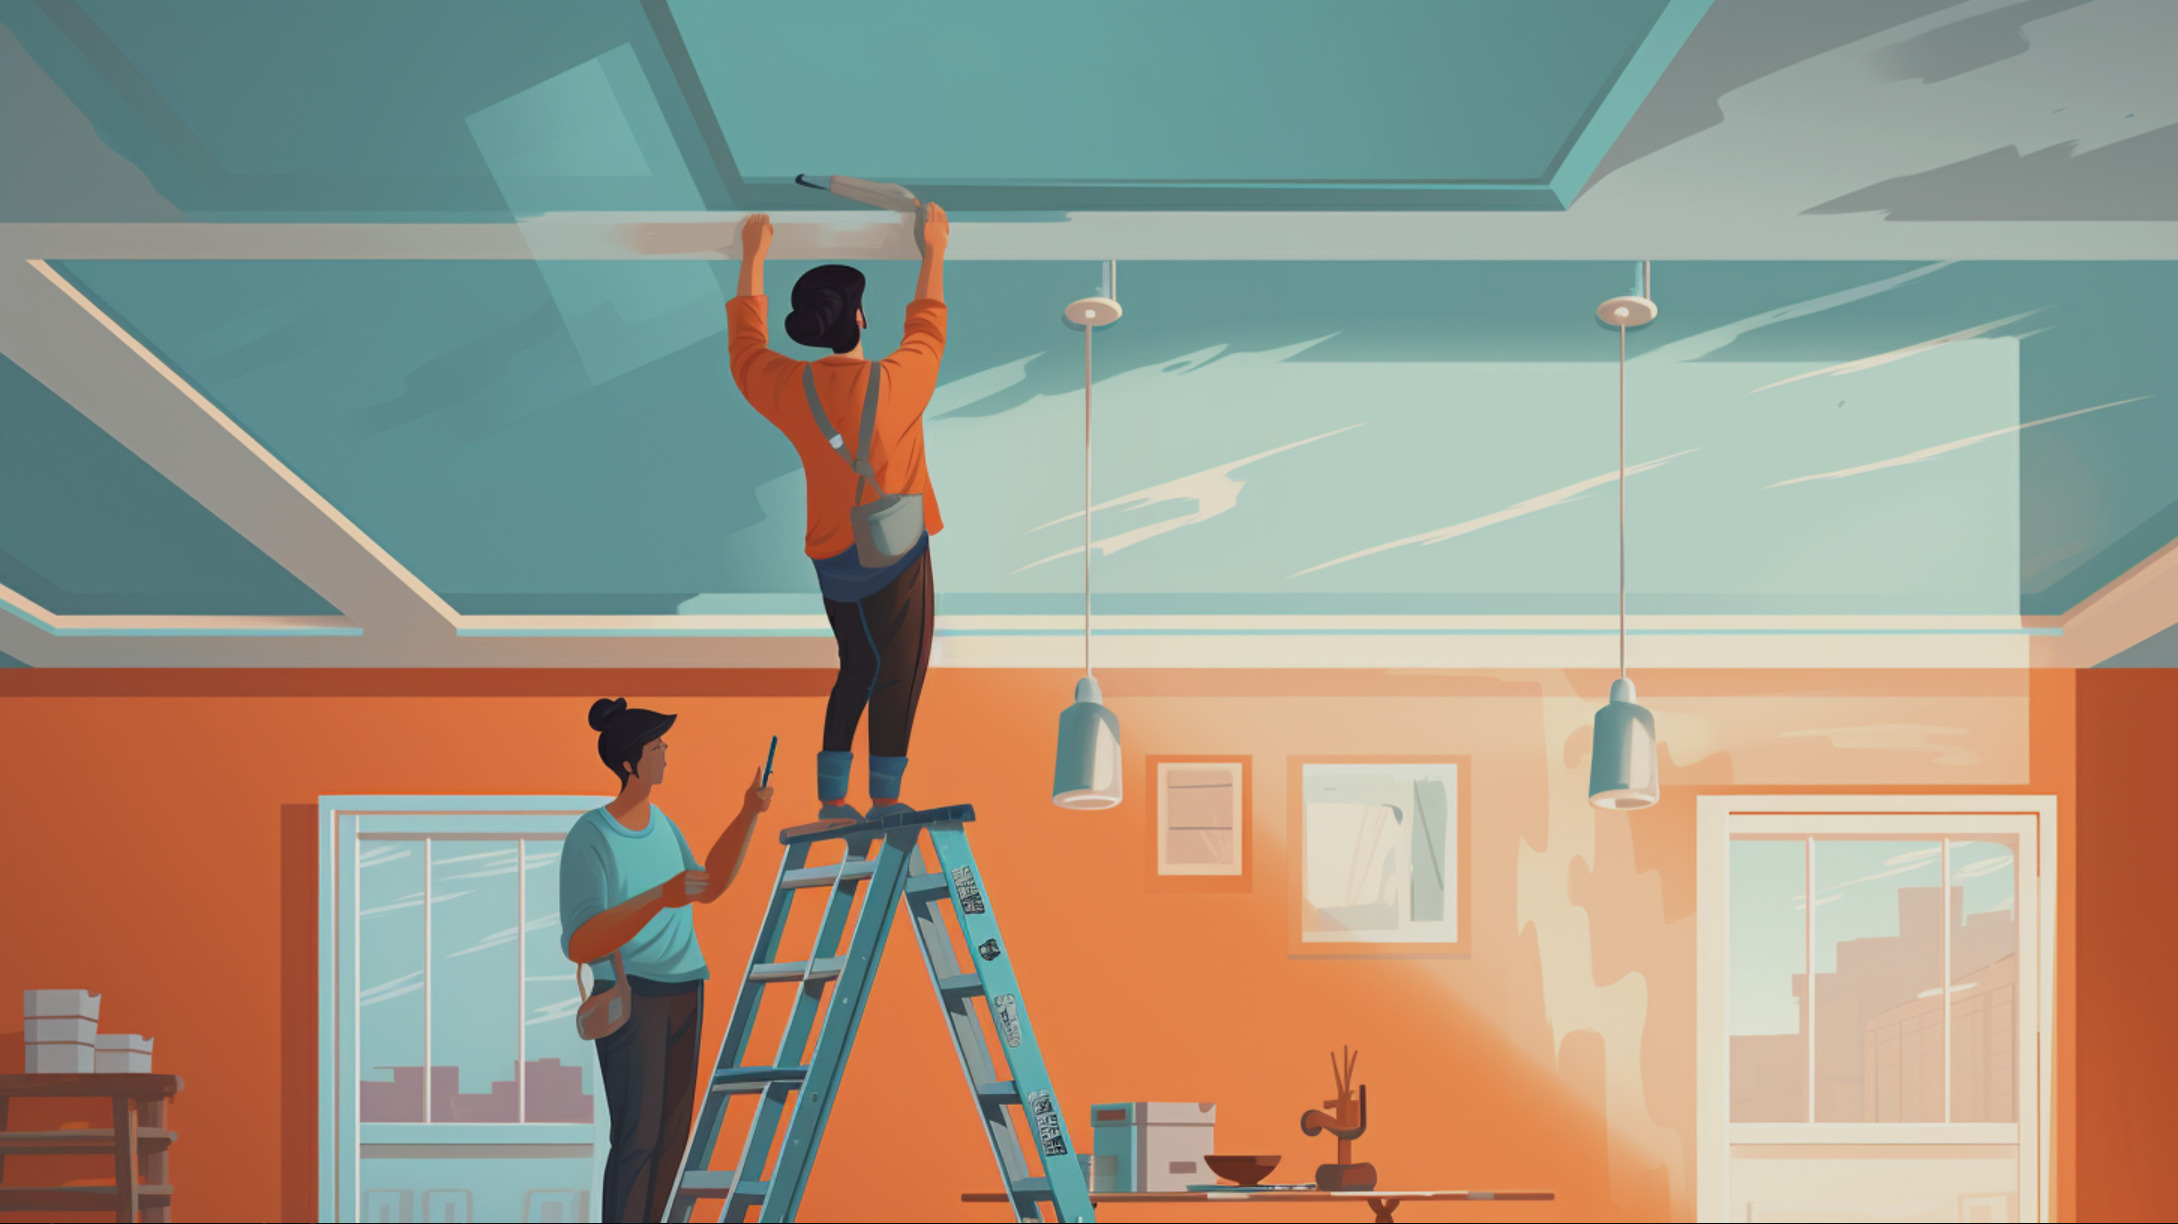
The next step is to start cutting in all the corners. This is where the ladder begins to make an appearance. While standing on the ladder, cover the edge of the ceiling with a paint line that is about three inches wide.
Instead of cutting in the entire ceiling and painting afterward, start rolling the ceiling while your paint line is still wet. This helps reduce visible paint lines and lets you keep track of the painted areas. Be sure to cut in a shorter line and then start the rolling process.
7. Paint the Entire Ceiling
This step is as simple as the heading states. Here, you’ll cover the entire ceiling using the above-mentioned technique in step six. Ensure there’s not too much paint on your roller, as this can cause visible paint streaks and splatter.
If another layer is necessary, allow the first coat to dry properly before applying the second one. In some cases, a second coat of paint is not required, but you should do another for a more even finish. When painting the ceiling, paint in small blocks to help you keep track of which areas you’ve already covered and use the wet edge technique.
8. Clean All Equipment Thoroughly
After closely inspecting the paint job and ensuring there’s no need for any touch-ups or a second coat, clean all your equipment thoroughly. This will ensure its longevity and spare you from rebuying everything when you decide to take on another painting project.
Use a mix of warm water and soap to clean your paintbrushes. Ensure all the paint is off the bristles before giving it a rinse under clean cold water. To clean your paint tray, drain any excess paint into the bucket. Then, use a firm scrubbing brush and soapy water, and rinse off with warm water afterward.
Where Do You Start?
Are you planning on painting the entire room or only touching up the ceiling? If you need to paint the walls as well, you might wonder where you need to start. Do you paint the wall or ceiling first?
If you need to paint both, it’s recommended that you start with the ceiling. This way, you don’t need to worry too much about paint that drips on the walls. The wall paint covers any paint splatter that might drip from the ceiling, saving you another trip to the store.
How to Paint a Ceiling and Stay Safe Doing It
Sprucing up your home often calls for a good coat of paint. However, you could easily hurt yourself when you’re trying to work on such a high surface. Use these steps on how to paint your ceiling to lower your chance of injury and create a gorgeous new interior.


