We are reader-supported. When you buy through links on our site, we may earn an affiliate commission.
Are you looking to put up shelves in your home, apartment, dorm or condo but don’t want to risk damaging your walls? If so, you’re in the right place. Luckily, there are some ways to hang shelves without nails or having to drill. Learn how to hang shelves without nails so you can customize your space without losing your security deposit.
When you own your home, adding shelves to your walls is simple enough. All it takes is drilling a couple of holes and hanging your shelves — it’s as simple as that. Suppose you decide to remove your shelves. In that case, you can easily cover up any holes left behind with spackling and a putty knife.
However, hanging shelves is challenging if you rent a condo or apartment or live in a dorm room. It’s not recommended to drill holes in the walls of your rented space because it could go against the rental agreement you signed with the property owner.
Also, drilling holes into a wall when you don’t know what’s behind them is dangerous. Many living spaces have pipes or electrical wires behind walls, and the last thing you want is to drill into one of those accidentally. It’s best if you can avoid drilling holes entirely. However, most shelves and other hanging decorations look and function best when secured to the wall with nails.
Thankfully, you can hang shelves without nails, so you can avoid using any tools or potentially damaging your walls.
Online retailers and home improvement stores sell various sets of hanging — or floating — shelves to add to your walls. For example, Amazon, Lowe’s and The Home Depot are some stores selling relatively inexpensive shelving units.
Here are the steps to follow if you’re looking to hang shelves without nails in your home, apartment or condo.
Look online or in big box stores for lightweight, hollow shelves. Heavy shelves are more likely to fall off the wall if not secured with nails.
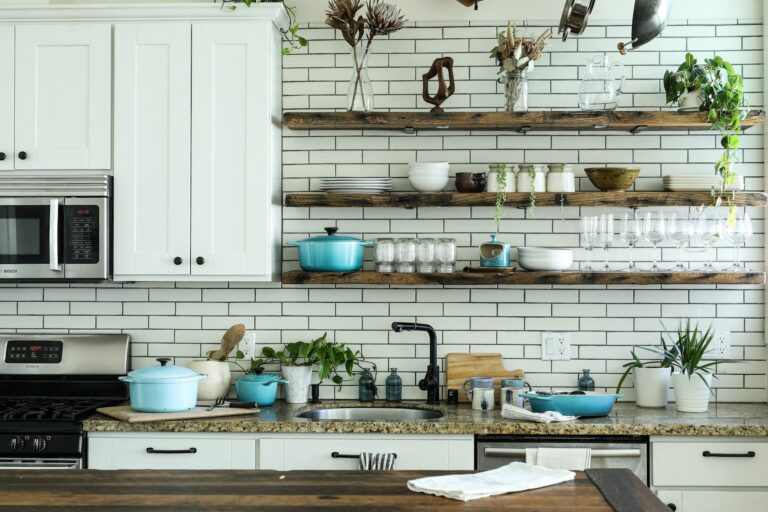
Consider what you’ll be placing on the shelves, too. The heavier the item, the more likely your shelf will fall. Whether you find items from a thrift store on your shelves or use framed photos of your family, make sure you aren’t placing anything too heavy. While shopping for shelves, be sure to choose a set that matches the aesthetics of your room.
After finding the perfect shelving set, the next step is to purchase adhesive mounting strips. Various brands, like Velcro, Scotch and Command, sell strong adhesive strips for large objects or frames.
You must ensure you buy strips with the appropriate weight capacity when shopping. For example, some Command Strips can hold up to 16 pounds. If you purchase the wrong strips, your shelves might not stay secure on the wall. Be sure to consider the shelf’s weight when buying the right adhesive mounting strips.
These are some essential items you’ll need before starting to hang your shelves:
The next step is to clean the area of the wall in which you’re hanging your shelves. Use isopropyl alcohol and a cleaning cloth to wipe away any dust or debris from the wall gently. Allow it to dry completely before making any marks on the wall. This will ensure that the adhesive strips can stick to the wall securely.
The next step is to stick your adhesive strips to your shelves. Depending on the strips you buy, you might need to fasten two strips together. If not, place one sticky side on the shelf. Press the strips down for around 30 seconds to ensure they’re firmly attached to the shelf.
Make sure to carefully place the strips on your shelf and space them out so the shelf has the greatest hanging strength possible. Consider stapling the adhesive strips to the shelf if you want extra support, but only if they’re wood shelves.
If you’re a perfectionist, you probably want to ensure that your shelf is level before attaching it to the wall. Use your level to ensure the shelf is even and use a pen or pencil to make small marks on the wall to help guide you.
Press the shelf against the wall firmly to secure it to the wall. You should hold the shelf against the wall for a minute to ensure it stays in place.
After completing these five steps, the shelf should be firmly attached to the wall. Wait a couple of hours before placing any items on the shelf to ensure the shelf is securely attached to the wall. If possible, avoid placing large or heavy objects on the shelf, as they could become too heavy for the shelf to hold.
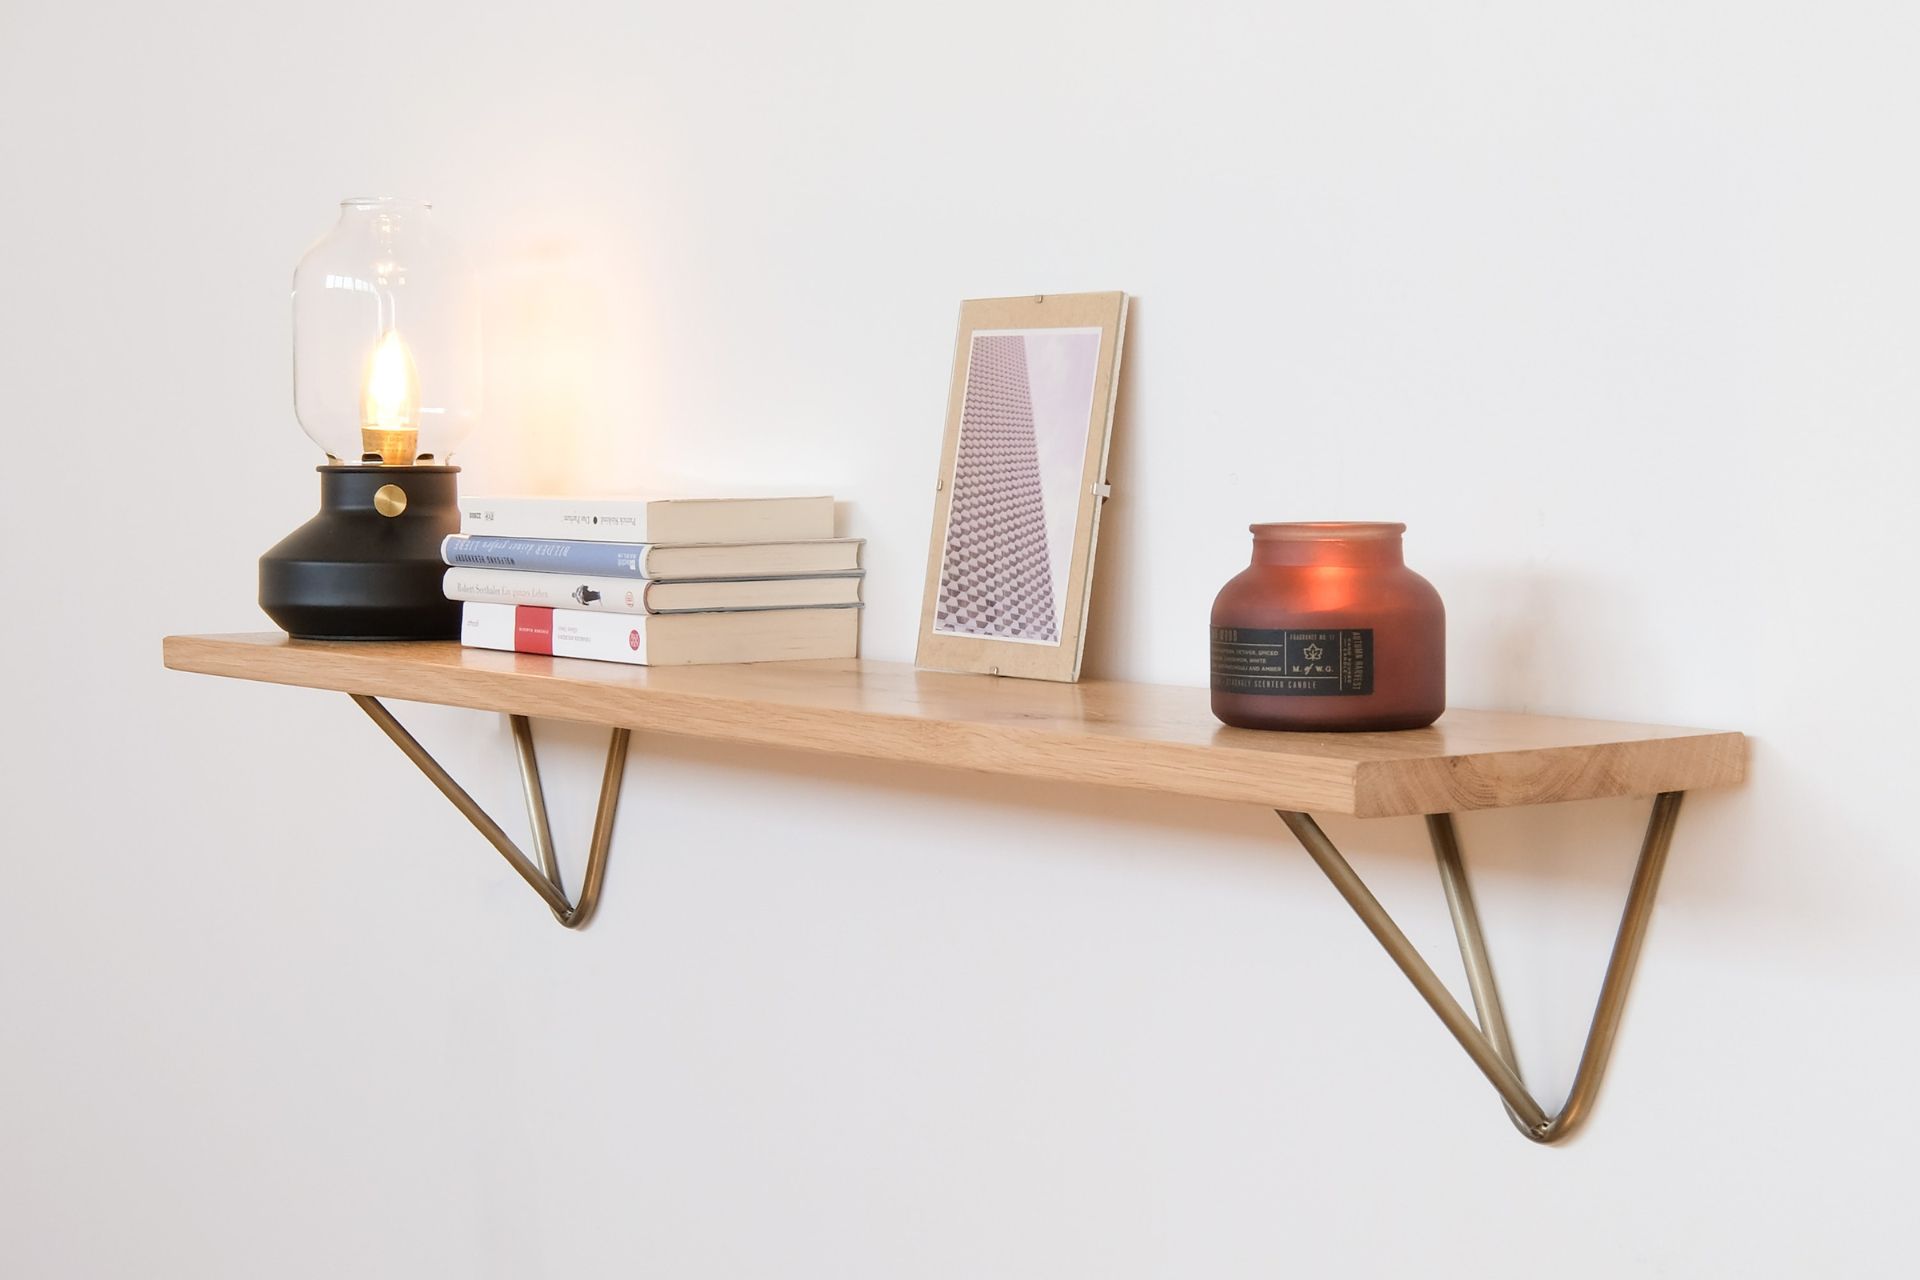
Hanging shelves can make rooms feel bigger, add flair and allow you to display collectibles, photos or other decorative items. Hanging shelves without nails is possible, but remember that they will not be as sturdy as using a drill and nails. Be mindful of the weight you place on the shelf and ensure the shelves are attached firmly to the wall. Good luck with your DIY shelving projects!