

We are reader-supported. When you buy through links on our site, we may earn an affiliate commission.
Hardwood floors provide a classic look for any modern home and can last for decades. Yet, over time, these surfaces can build up dirt, especially if you have younger kids or pets, and they need to be cleaned regularly. Learn how to clean hardwood floors.
Quick Answer: Dust or vacuum your hardwood floor weekly to reduce dirt and allergens, wipe up spills immediately and use a hardwood-safe cleaner instead of a wet mop. Test any solution in a hidden spot first, treat stains based on your finish type and plan for professional refinishing every seven to 10 years, depending on foot traffic. Skip harsh chemicals, steam cleaners and standing water, which can dull or damage the finish over time.
To properly clean and protect your hardwood floors, you may need the following supplies:
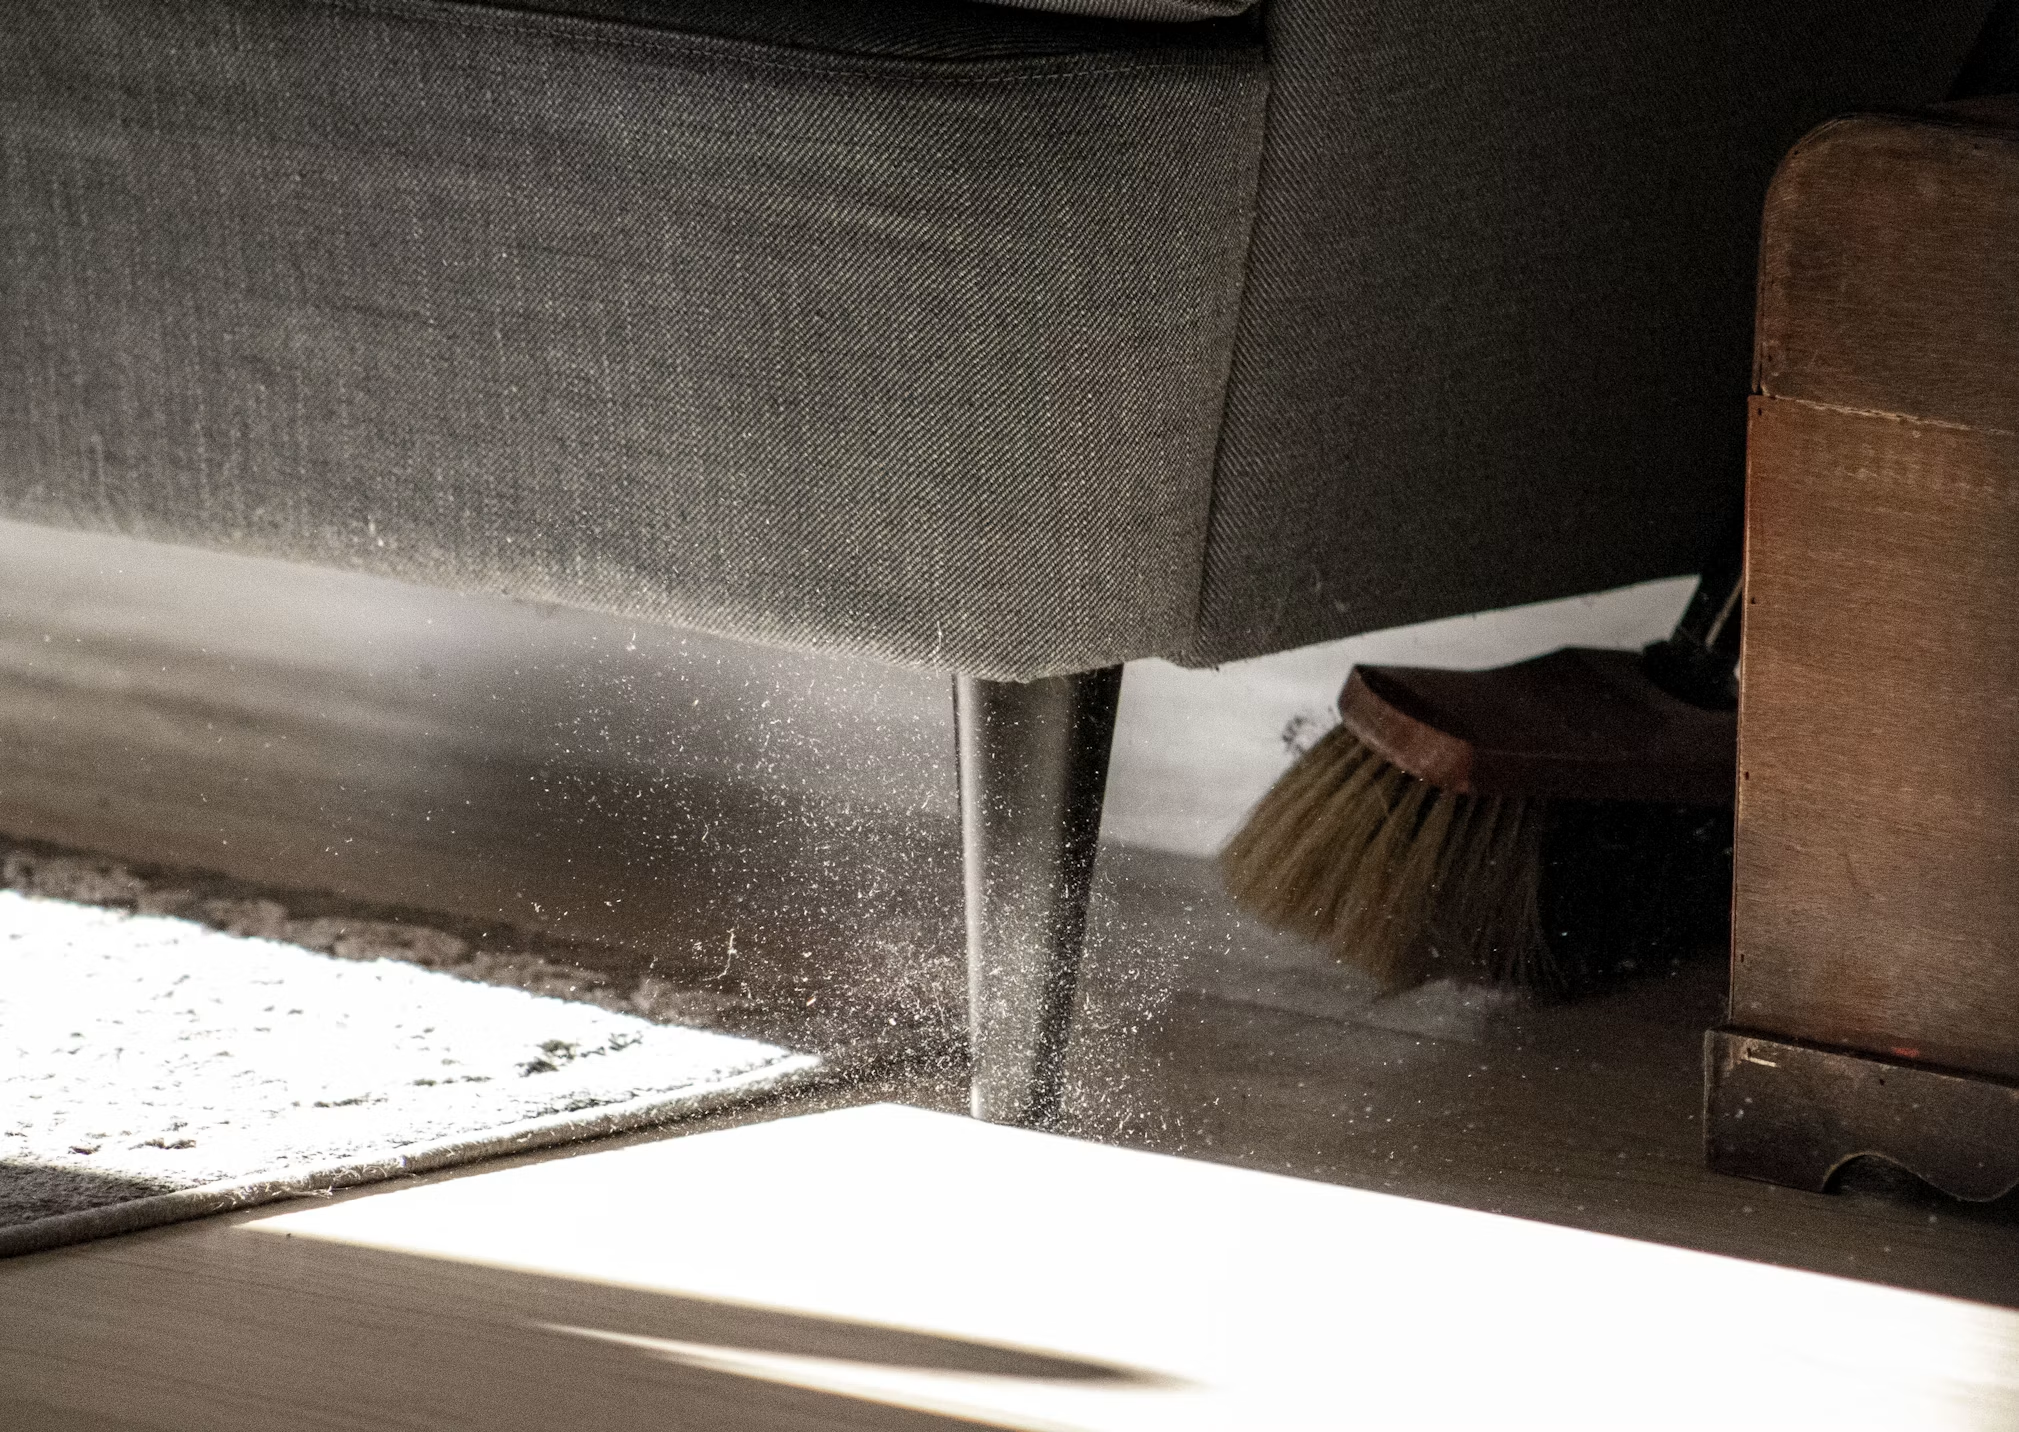
Start by removing any dust or hair buildup. Find a broom with a pretreated dusting agent to prevent any scratches. When you vacuum your floors. Use the floor-brush attachment and turn the brush tool off to minimize damage to the surface. You should vacuum and dust at least once a week to help keep your indoor air safe and your family breathing easily.
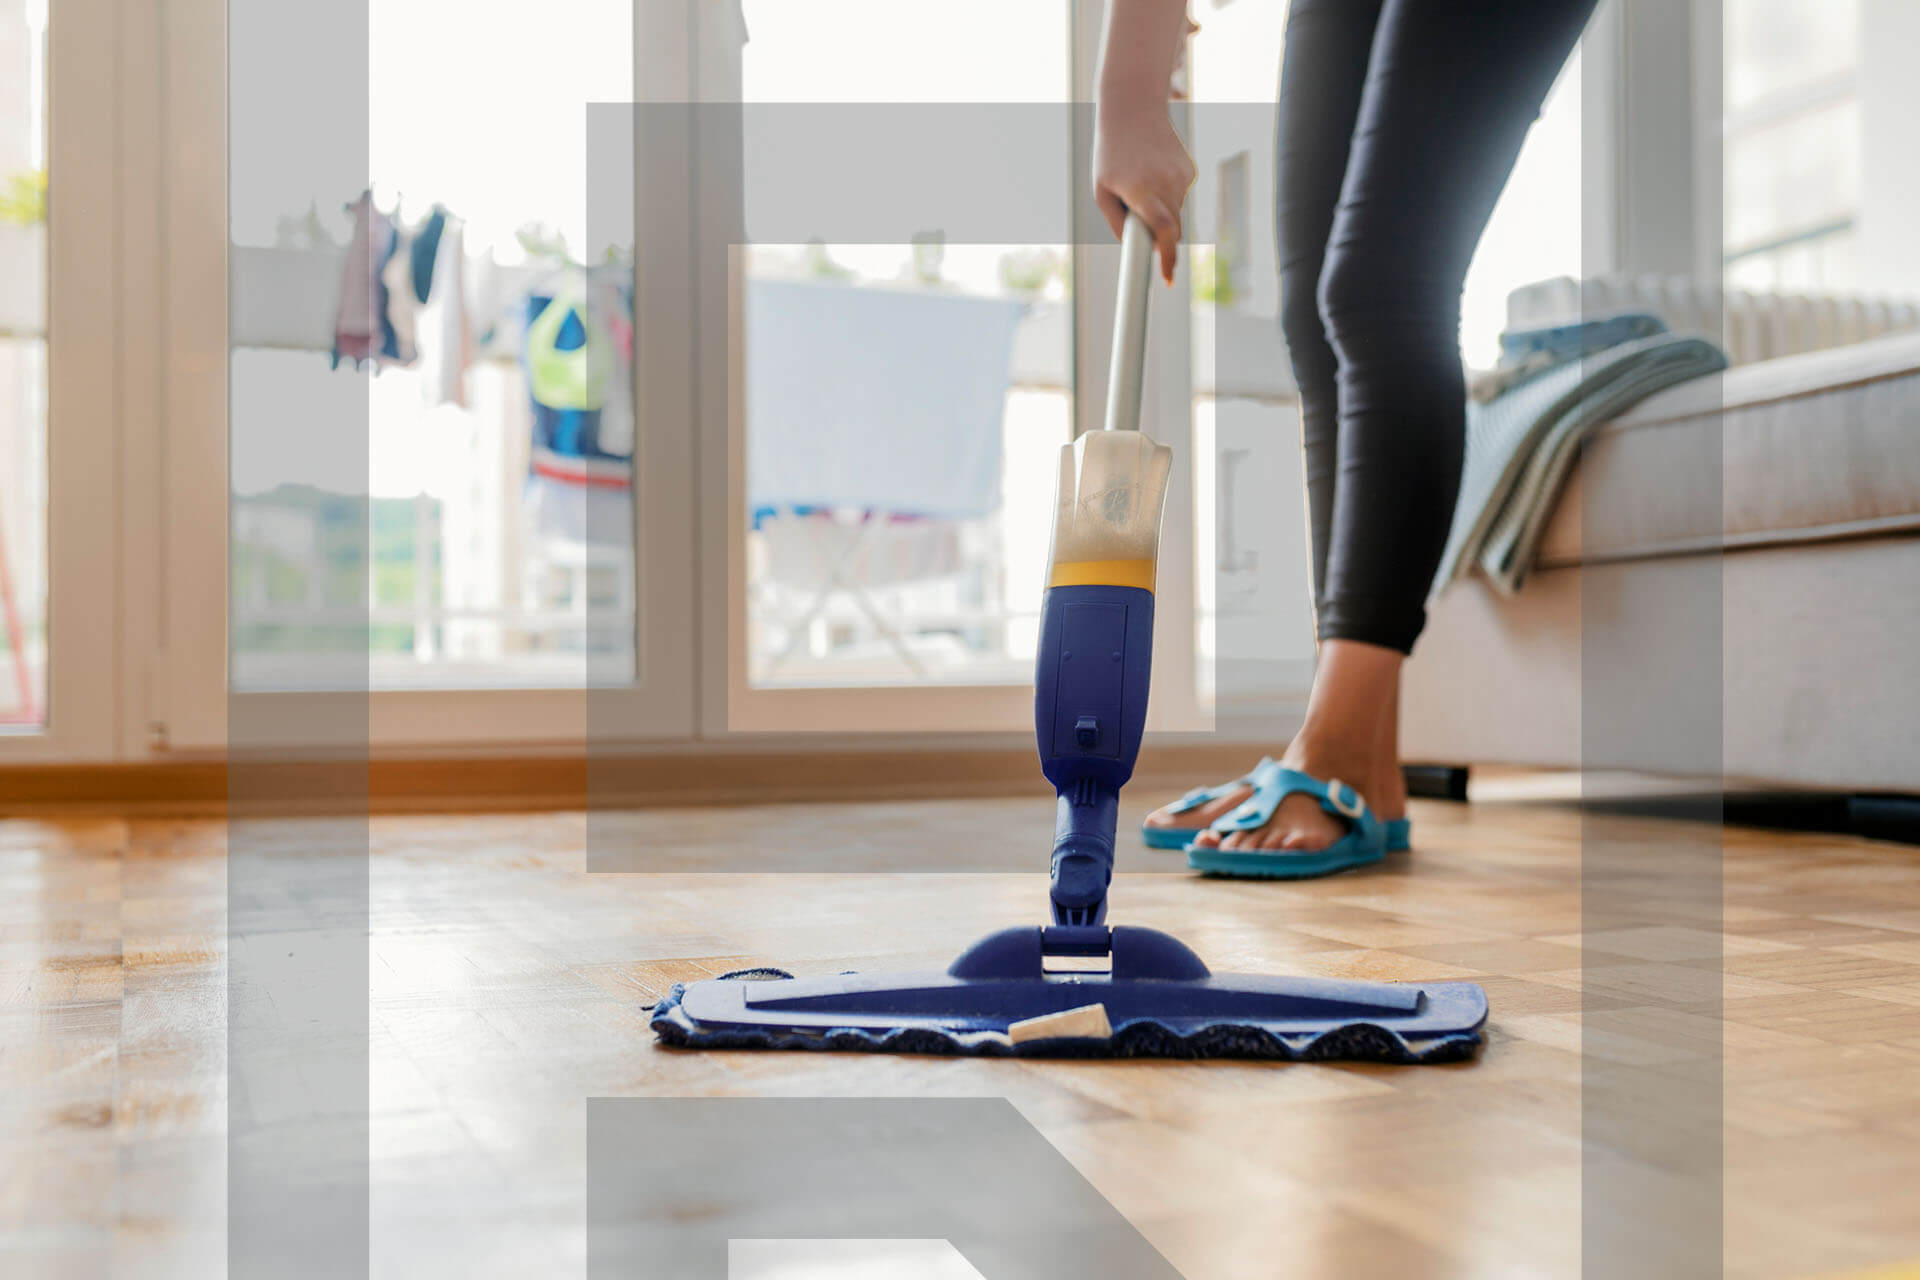
Dusting won’t remove built-up dirt or grime. For a deeper clean, use a liquid cleaner designed for hardwood from providers like Bona or Murphy, and avoid harsh detergents or steam cleaning, which can dull the surface. Another option is using a spray-and-mop product or disposable wet pads. Follow these steps to clean the surface:
If you want to skip the harsh chemicals, try using tea bags. You may already have them in your cabinets, saving a trip to the grocery store.
Steep tea bags in boiling water for a few minutes, and then pour the tea into a bucket and place a soft cloth inside. It just needs to be damp, not completely soaked. That will allow the floors to dry quicker. Then wash the surface to get that beautiful shine. You can also add Castile soap and essential oils for natural cleaning.
Removing stains is an essential step when cleaning hardwood floors. Start by determining your flooring’s finish, which impacts the washing method. If there is a stain on the surface, you have a hard finish. If the stain penetrates through the wood, you have a soft finish.
Wipe with a soft, clean cloth for surfaces with a hard finish. Stay away from sandpaper and harsh chemicals because they can damage the finish. However, if you have a soft oil finish, use steel wool and floor wax for dark spots and pet stains.

Once you wash your floors, ensure that they still look visually appealing. This involves covering up any remaining scratches. Find a crayon the color of your floor and rub it on the surface to fill in the gap. Then use a blow dryer to heat the area and buff with a soft cloth.
Another good option is liquid scratch concealers, such as WearMax. Once dry, these create a permanent seal that stays on even after cleaning. You can then restore your floor’s shine with wood floor polish. Here are some other tricks to revitalize your hardwood:
Regular vacuuming and mopping are essential, along with applying a fresh coat of finish every two years. It can keep your floors looking shiny and impress your guests. Place the base coat before the water-based poly one to prevent discoloration.
Another maintenance task is to sand and refinish your surfaces every 10 years. It gives them a brand–new look, reducing their faded or worn-out appearance. If you’re handy, you can do the project yourself. However, it takes time and precise expertise.
If you opt to hire a professional, read online reviews, check the Better Business Bureau and verify their licenses.
Once your floor is cleaned, you can take steps to protect it. Place doormats in entryways to reduce the amount of dirt and moisture tracked inside. You can also minimize scratches by using floor protectors under heavy furniture, such as chairs, sofas and tables.
Rugs are another way to keep your floors looking nice. Place them in high-traffic areas, such as the kitchen or living room. Clean up any spills or other day-to-day messes right away to prevent permanent stains. Most rugs need deep cleaning every 12 to 18 months, which is a bit less often than your floor’s weekly routine.
A few habits can undo all your hard work, so avoid the following mistakes when cleaning your home’s hardware floors:

If you’re building up your hardware floor cleaning routine, there are a few things you should include:
|
Task |
Frequency |
|
Dust or dry-sweep |
Daily to a few times a week |
|
Vacuum with a hard floor attachment |
Weekly |
|
Wipe up spills |
Immediately, as they happen |
|
Deep clean with a hardwood cleaner |
Monthly, or as needed for heavy traffic |
|
Check for scratches or dull spots |
Monthly |
|
Apply a fresh finish coat |
Every two to three years |
|
Full sand and refinish |
Every seven to 10 years, depending on traffic |
Here are answers to common questions about keeping hardwood floors clean that might help you understand your floors better.
Steam mops work best on tile and vinyl, not hardwood. The heat and moisture can warp boards and dull the finish over time. Stick to a barely damp mop or a hardwood-specific cleaner.
A mix of warm water and Castile soap works well between deeper cleanings.
Wipe up pet accidents immediately, then clean the area with a hardwood-safe cleaner. A light sprinkle of baking soda left to sit before vacuuming can help absorb lingering odor.
No, daily sweeping or dry mopping is a good habit in high-traffic homes. It removes grit before it can scratch the surface.
Your hardwood floors accumulate dirt and debris over time, and they experience wear and tear from heavy foot traffic. You need to regularly and properly clean them and keep up with long-term maintenance. With the right supplies and approach, you hardwood floors will look pristine for years to come.
This article was first published on January 29, 2023, and was revised on August 28, 2026 to reflect the most current information.