We are reader-supported. When you buy through links on our site, we may earn an affiliate commission.
Does the inside of your refrigerator resemble a science experiment? If you can’t detect the source of that icky odor, you need to learn how to clean your fridge, stat.
This project isn’t for the faint of heart, but nor do you need any special skills or Herculean muscles. All you need is a few hours on your weekend. Here’s how to clean a refrigerator of the funk and make it as fresh as new.
1. Empty and Defrost
You’ll never finish your chore of cleaning your fridge if you spend the entire time moving various containers around like so many chess pieces. To thoroughly disinfect and organize your refrigerator, you need to take everything out to reach all the surfaces.
When you get to your freezer, wrap everything in cool bags to keep it from defrosting while you tackle that chore on your appliance. Choosing a chilly day will help your items stay cold longer.
Taking everything out also includes removing your refrigerator’s drawers and shelves. You’ll also want to locate the drain trap near the bottom of your refrigerator, typically behind your crisper drawers. This outlet can become infested with mold, but a vinegar solution will kill it while keeping your food safe for human consumption.
To defrost your freezer, chip away at large ice pieces with a plastic tool like a spatula — don’t use metal, as it could scratch. You can speed this process by placing bowls of hot water to let the steam work its magic.
When you finish, wipe all surfaces with baking soda. Finish your freezer with a coating of glycerine to prevent future ice buildup.
2. Banish Nasty Germs
Subzero freezer temperatures do a better job of eliminating germs. While bacterial growth slows in cooler climates, it can still flourish within your refrigerator. When completing your refrigerator deep-clean, adjust the thermostat — you should keep it between 32 and 40 degrees to promote food safety.
After you remove all items, wipe down every refrigerator surface with an EPA-approved cleaner known to kill nasties like the novel coronavirus. A bleach solution works well and costs little, but some people find the smell offensive.
If you are in the market for a new appliance, some models use UV light to eliminate bacteria and make your fruits and vegetables last longer. While these devices won’t eliminate the need for deep-cleaning your refrigerator, they do eradicate some germs.
3. Eliminate Odors
Does the inside of your refrigerator still smell like last week’s salmon? Odors can linger in this enclosed space, stealing your appetite every time you open the door.
The first step in odor elimination is eradicating the bacteria that causes it, so your fridge deep-clean does half the battle. To keep these pesky odors from returning, you can place a container of baking soda inside to absorb food odors from leftovers.
What if you don’t find it effective enough? If you have deeper pockets, you can also use activated charcoal, which does a superior job of absorption — at a higher price point.
4. Mind Your Expiration Dates
In general, you want to stay away from packaged foods in favor of those close to their natural forms. You’ll enjoy superior nutrition and reduce your consumption of sugar, salt, and other additives. However, one advantage of convenience is a handy label that lets you know when to toss that container of mayonnaise or pre-packaged egg salad.
Understand the difference between the best-by, sell-by and use-by dates. Surprisingly, none of them have to do with safety — rather, freshness.
- Best-by: This date has to do with freshness, not food safety. It indicates the peak flavor experience.
- Sell-by: This date indicates when manufacturers must pull their products from store shelves. You still have several days to even weeks of freshness.
- Use-by: Pay attention to this date, even though it doesn’t serve as a reliable safety indicator. It represents the last possible day food will taste its best.
You can’t always tell how fresh food is by smell or even taste. When in doubt as to whether something is still good, toss it. You can also use the USDA’s free FoodKeeper app to help you determine what’s worth keeping.
Meal prepping and cooking means you need to know when to toss those leftovers. According to the FDA, you should discard any open perishable foods within seven days. However, some items go bad much more quickly. Label each item with the last edible date to avoid any unnecessary confusion for your family. If someone in your household has a visual impairment, you can rewrite the dates in large block letters with a Sharpie as part of your refrigerator-cleaning process.
5. Invest in the Best Storage Solutions
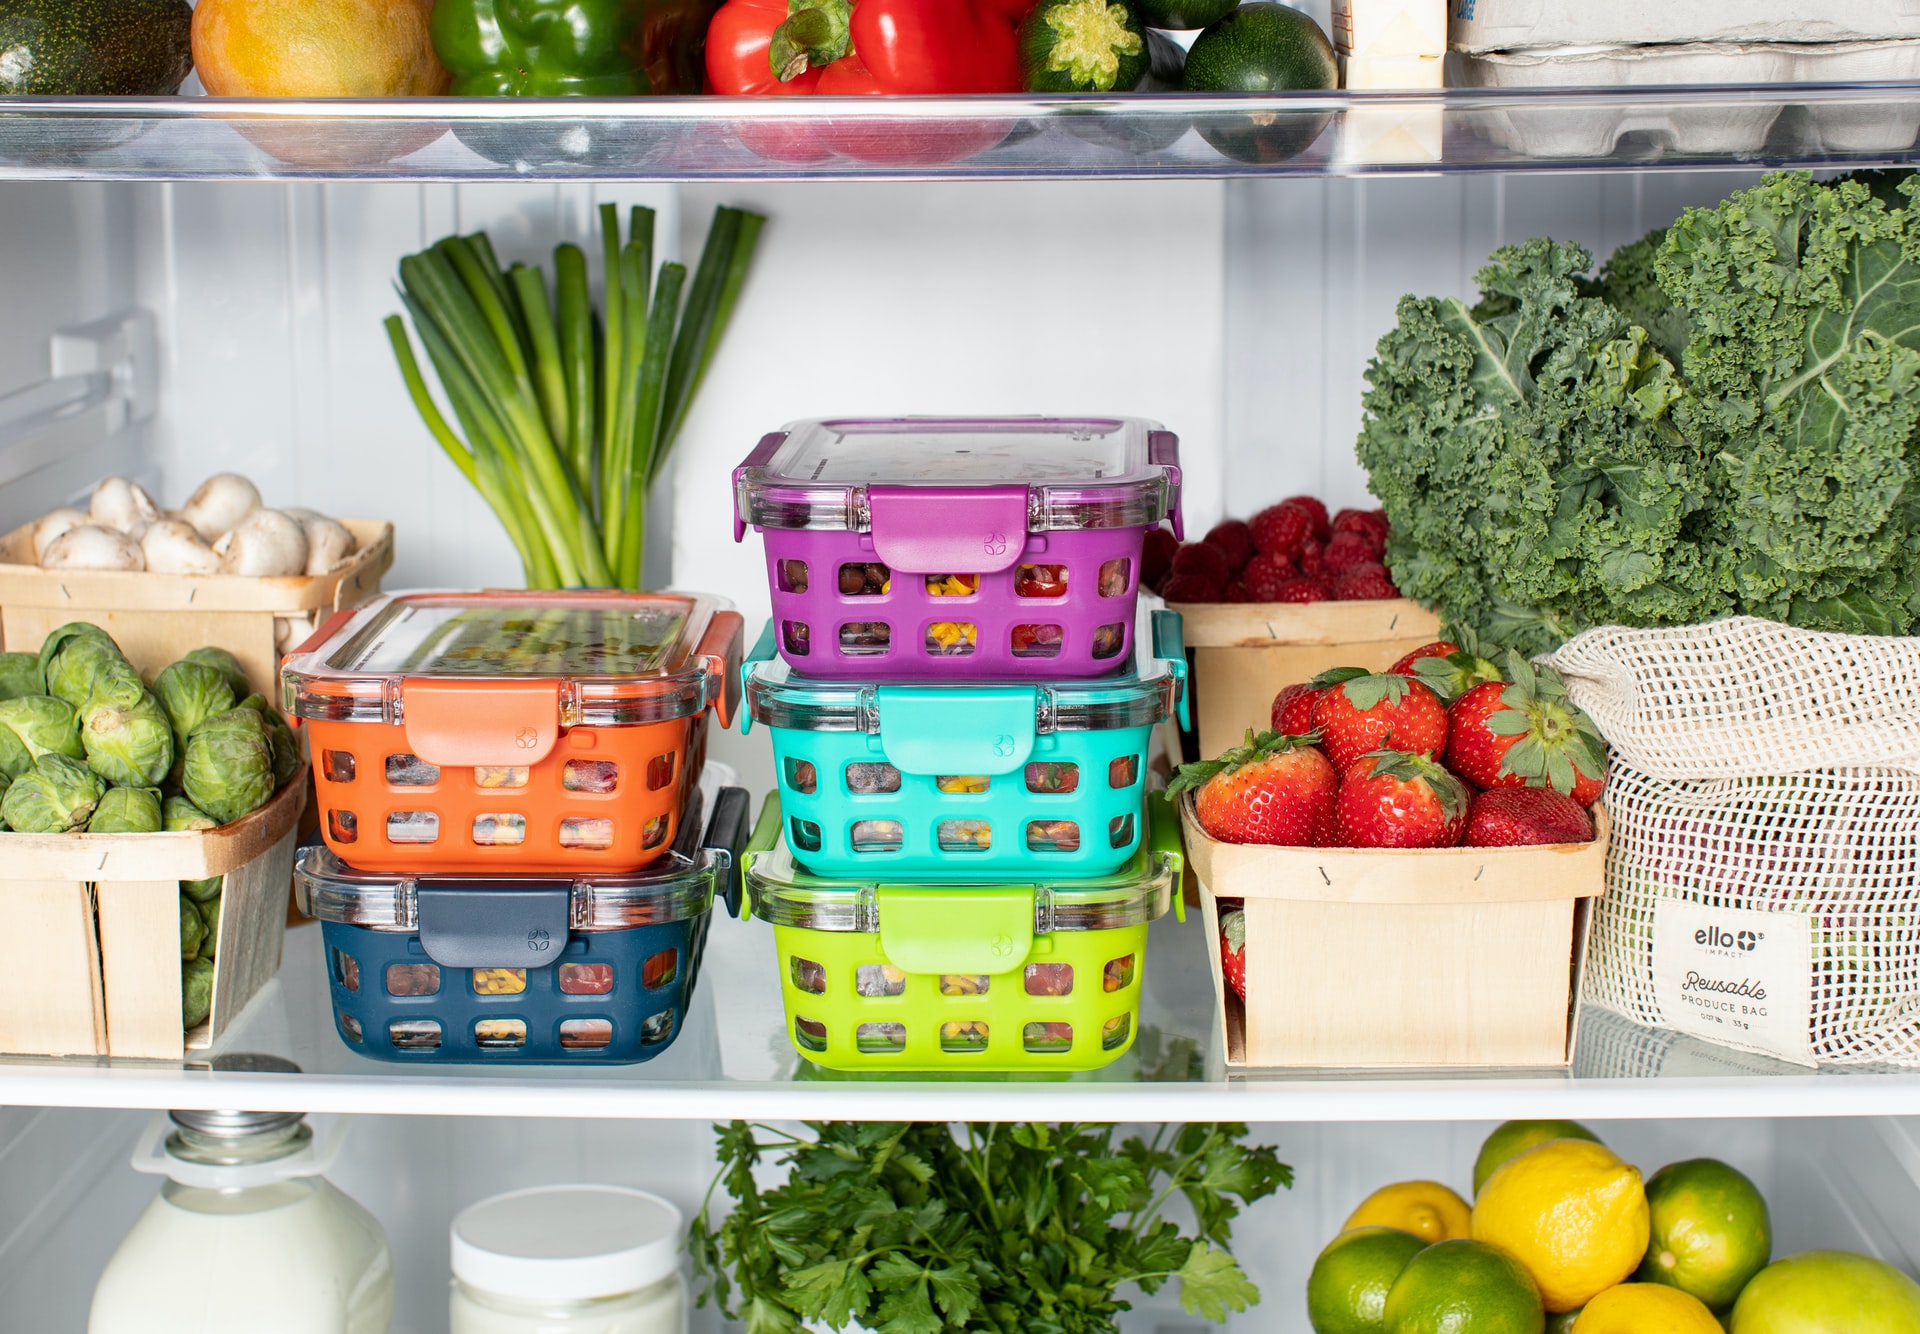
Once you have deep-cleaned your refrigerator, it’s time to put everything back — and you want to make it look organized. The right container can significantly extend the life of your perishable foods.
If you want to make your fresh fruits and vegetables last longer, seek out produce-saver containers that feature trays that wick moisture away, delaying bacterial growth. You can also find drawer liners that absorb excess dampness from your crisper drawer. A few paper towels will do in a pinch, but you should frequently replace them.
When choosing plastic containers, look for those labeled BPA-free. This substance can bind to hormonal receptors and adversely impact bodily functions, including your reproductive health. When in doubt, stick with natural glass.
Learn How to Clean a Refrigerator With This Guide
If opening your fridge makes you wince at the mess, tackle that chore now. Learn how to clean a refrigerator with this handy guide. The result? You can deep clean your appliances on a regular basis to keep the task from getting scary over the long-term.
