We are reader-supported. When you buy through links on our site, we may earn an affiliate commission.
Tiny homes can help you embrace a simple lifestyle by putting intention back into your living space. Because they’re small, every feature can be designed to support your daily activities without wasting space or materials. Many people move into tiny homes because they want to live on the road or skip paying for a mortgage. By spending less on a home, you can put money toward your location and find property you love. Here’s an overview of how to build a tiny house.
1. Check Regulations
Tiny houses are subject to zoning laws and some cities only allow them under certain conditions. For example, you may be allowed to build a tiny home in the backyard of a primary residence but not permitted to build on empty land.
Before you get started on your tiny home, it’s essential to talk to city officials and ensure your plans are legal. Tiny homes on foundations follow different rules than mobile tiny homes. You’ll also need to learn about local building regulations that could affect your house plans.
2. Calculate Costs
Just because a home is small doesn’t mean that it’s inexpensive. In fact, appliances designed for tiny spaces can be more expensive than usual. To build a tiny home, you may need to pay for permits as well as materials, contractors and land. Continued costs after construction include taxes, utilities and insurance.
It’s difficult to build a tiny home for free. However, you can build a tiny home for a fraction of the cost of a traditional house. Tiny homes cost homeowners $45,000 on average, but you can construct them for much less if you use secondhand materials and do most of the work yourself.
3. Plan the Layout
The more you plan ahead, the easier this project will be. You can purchase plans for a tiny home or use software to create your own. You may want to hire an architect to ensure your plans are structurally sound and your tiny home can withstand difficult weather conditions.
Always double-check your measurements before you purchase and cut materials. You can save a lot of time and money by catching calculation mistakes before starting the work. If you’re not sure where to start, search YouTube for beginner tiny home construction videos.
4. Lay the Foundation
The foundation of your tiny home is its most important element. If you decide to go mobile, you’ll need to invest in a trailer bed and ensure the dimensions of your home fit regulations for legal transport. You can build right on the trailer bed so it’s easy to move your completed house later.
If you decide to build on a foundation, there are several models to consider. Many homeowners use a shallow concrete slab because it lasts a long time and protects against pests. If you use cinderblocks, your home could become destabilized over time. Do research to find the best solutions for your area.
5. Framing and Exterior
Once you’ve laid the foundation, the next step is to frame the floor and walls of your tiny home. Make sure to measure and leave space for windows and doors. Use a nail gun to add house wrap and cladding on the outside. You’ll add insulation, drywall and mudding on the home’s interior. The walls will need temporary braces until they’re secured to each other.
You can construct a simple roof with wood framing, waterproofing material and inexpensive corrugated metal. Make sure the roof overhangs your home to keep it watertight. After the home is assembled, you’ll need to use tape, caulking and trim to ensure everything stays warm and dry.
6. Plumbing and Electricity
If your home is very simple, you can probably do the plumbing and electricity on your own. Before you close up the interior walls, you’ll need to string the wiring through the frame. Then, you’ll cut openings in the drywall to access the wires from inside the finished home.
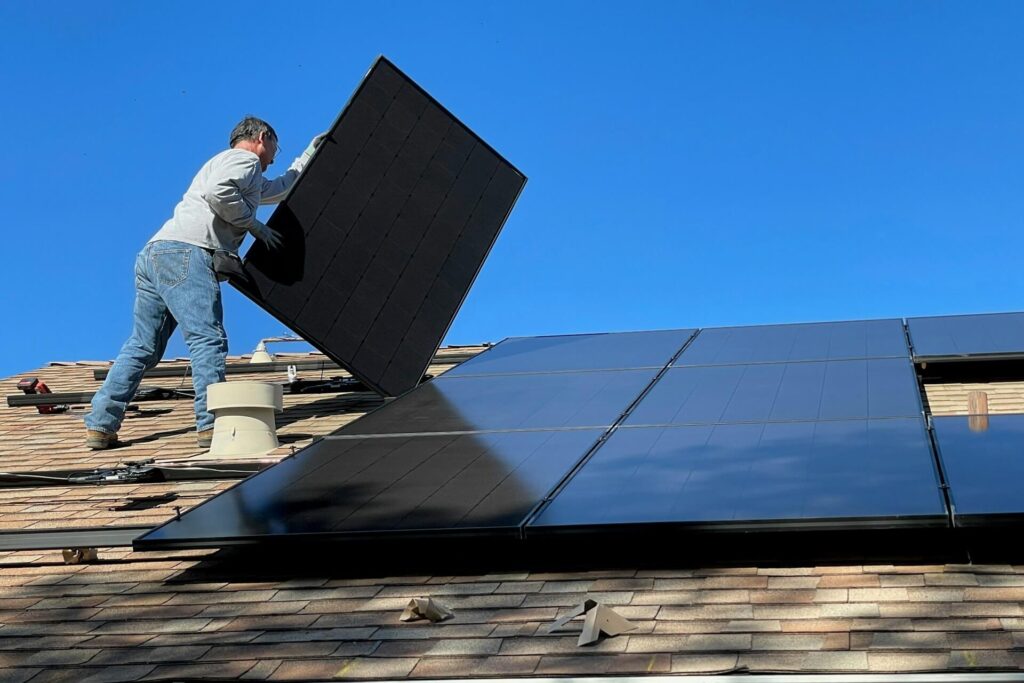
Plumbing will also run through your framing. If you’re planning to have a drain in your bathroom, you’ll need space under the floor to run the drain outside. After you add plumbing and electric lines, you’ll need to attach them to either city utilities or off-grid solutions like a septic tank and solar panels.
7. Interior Finishes
After you’ve completed your home’s exterior and added drywall, it’s time to paint. You can add built-ins to your home’s interior, lay the floors and bring in appliances. Tiny homes include strategic storage solutions, like stairs that double as drawers and cabinets under couch cushions.
You can also paint your home’s exterior after taping off the windows and covering the grass. Some homeowners add a modular deck around their home that extends their living space. If your home is mobile, you can pack this deck up and take it with you to a new location.
Creating Your Dream Life
When building your tiny home, it’s important to think through every step in detail. It’s more fun to look at land, design the interior and imagine living inside your new home. However, research, hard numbers and planning are what will take your dreams to reality.
Follow these seven steps to tackle your tiny home one piece at a time. The more work you do yourself, the less expensive your final project will be. However, don’t hesitate to call in a professional when it really matters. With collaboration and dedication, you’ll finish your tiny home before you know it.


