
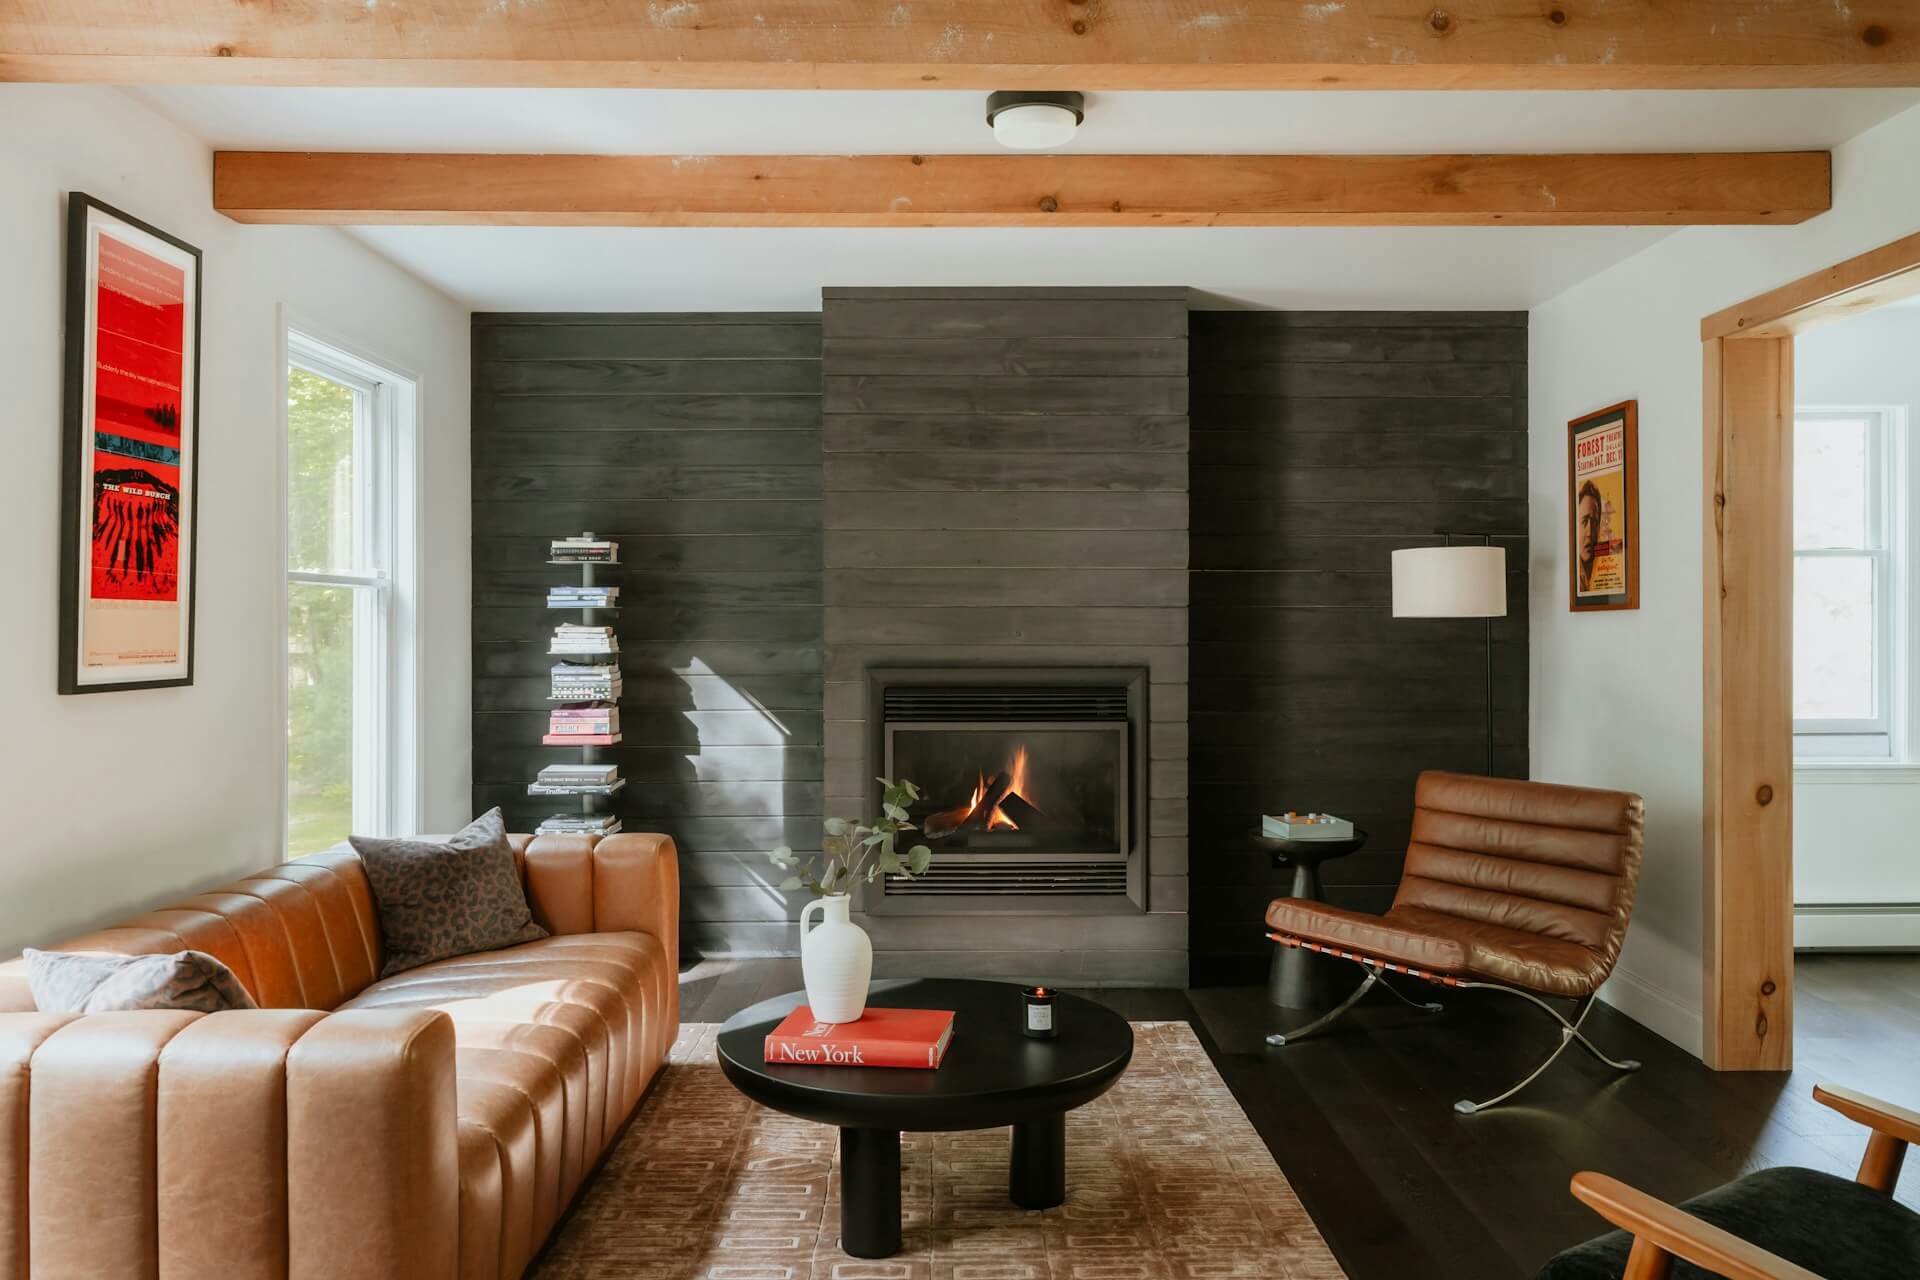
You don’t need a full renovation budget to turn a blank wall into the best-looking part of a room. When you’re ready to swap flat paint for real texture, one material makes the whole project shockingly affordable — pine shiplap boards. You can build a wood accent wall for under $200 using basic tools, a free weekend and a little patience.
Below is the full breakdown, from the shopping list to the math that keeps your total in check.
Wood-forward accent walls aren’t a fad you’ll regret in five years. National Association of Home Builders design trend research points to warm, natural wood finishes replacing the stark white interiors that dominated recent years. That staying power matters when you’re investing a weekend — and real money — into a wall you’ll look at every day.
Pine shiplap works because it’s inexpensive, forgiving to install and easy to find in bulk. It’s sold in multi-board bundles rather than one plank at a time, which is what keeps the per-square-foot cost down compared with buying single boards. Unlike stone veneer or large-format panels, pine shiplap doesn’t require special adhesives or a second pair of hands to hang safely.
It also plays well with the rest of your home. You can leave the boards raw for a rustic look, stain them for warmth or paint them to match a moodier, more modern palette — all without changing your material or your budget.
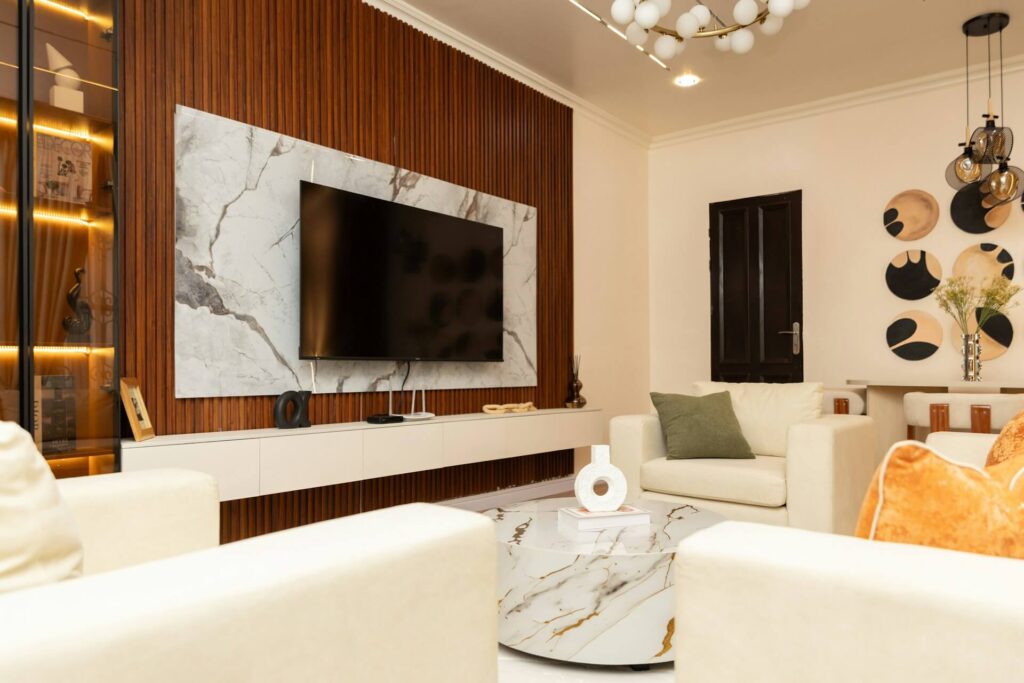
Before you start, gather your materials. This list assumes a standard 8-by-8-foot wall, a common living room or bedroom accent wall size that keeps your board count and cost manageable for a first project.
Most homeowners already own the tools on this list, or can borrow them from a neighbor, which is part of what keeps this project so cheap.
Once your materials are on hand, the process moves faster than most people expect. Below is the order that keeps your boards straight, your seams tight and your finish looking intentional rather than rushed.
Clear the wall completely and wipe it down to remove dust and grease. Use your stud finder to mark every stud from floor to ceiling — you’ll nail into these later — and mark the wall’s exact center so your boards stay balanced left to right.
Measure the wall’s width and cut your first row of boards to length, leaving a small gap at each end for expansion. Working room by room or wall by wall prevents costly measurement mistakes that waste material.
Starting at the floor, nail your first board level across the wall, securing it into each stud. Stagger the seams of each subsequent row so they don’t stack directly on top of one another, keeping the finished wall looking cohesive rather than gridded.
Once all boards are up, fill nail holes with wood putty and run a bead of paintable caulk along any visible seams. Let everything dry, then apply your paint, stain or sealer in thin, even coats.
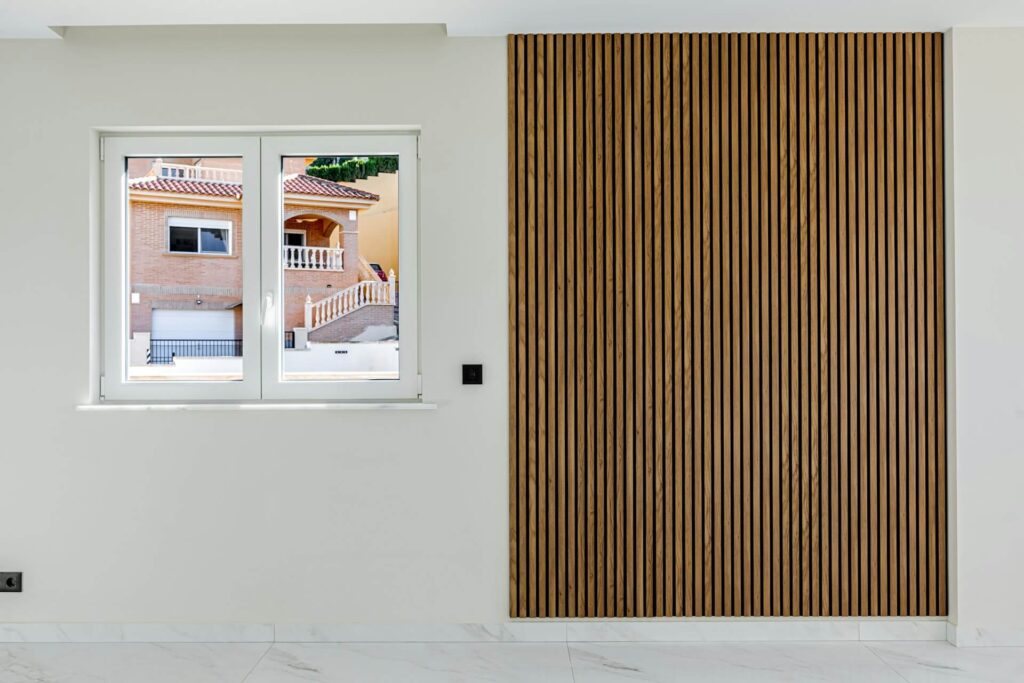
The $200 budget isn’t a guess — it comes down to simple square footage math. Bob Vila’s cost breakdown for shiplap materials puts pine specifically in the $2.50 to $4 per square foot range, well below cedar or hardwood. An 8-by-8-foot wall covers about 64 square feet, so choosing boards toward the lower end of that range puts your material cost around $160, leaving roughly $40 in your budget for wood putty, caulk and a basic stain or paint finish.
Choosing a larger wall, a premium pine grade or a specialty stain pushes you toward the higher end of that per-square-foot range fast, so the size and finish decisions you make up front are what keep the project at $200 rather than $400.
A few small decisions make the difference between a $150 wall and one that creeps past your budget.
If wood ends up not being the right fit for your space, a faux-stone accent wall goes up by securing stone paneling to cement board with heavy-duty construction adhesive instead of framing lumber, which is worth knowing before you commit to one material over another.
Even a simple project has a few ways to go sideways. Watch for these before you pick up a nail gun.
A wood accent wall proves you don’t need a contractor, a demo crew or a five-figure budget to change how a room feels. With one weekend, a little patience and one material, you’ll end up with a wall that looks custom — for a fraction of what most homeowners assume it costs.
We are reader-supported. When you buy through links on our site, we may earn an affiliate commission.