
We are reader-supported. When you buy through links on our site, we may earn an affiliate commission.
Sometimes, stain can make your wood features look dated. To keep your house looking fresh, you should restain certain areas or let the natural wood shine through. Knowing how to remove stain from wood can help you through numerous projects and teach you how to complete a home upgrade safely.
There could be a thousand reasons why you want to remove stained wood from your home, but they typically boil down to two — because you have to or because you want to. Some upgrades might require removing wood staining, whereas a change in aesthetic may warrant lighter, more natural-looking wood finishes. Regardless of your reasoning, you should learn how to remove stain from wood, as it may come in handy quite a few times throughout your life.
You don’t necessarily have to remove wood stain for home upgrades, but it can give you the best result. When you work with a canvas with something already on it, the finished product may not look how you think it will. Stripping the stain from the wood is a great way to ensure the final product of whatever you’re doing will look as close to the finished product as you imagined in your mind.
When you upgrade hardwood floors, you want to spend the extra time and investment in removing stain before trying to do anything with your flooring. According to Angi, installing new flooring in a 500-square-foot room can cost up to nearly $4,500, so you want to make sure you’re doing things right from the get-go. Otherwise, you might be wasting your time and money.
Sometimes, stains aren’t applied as thoughtfully as they should be. Stains aren’t like paint — they take a little more care and time to apply. You might have jumped into a previous project to stain your wood without realizing all its properties. Maybe it’s a denser type of wood that doesn’t hold the stain well, or maybe it ended up a color you didn’t quite like.
Certain woods also require excess sanding or another technique before applying the stain. Maybe you didn’t use a clear preservative before adding the stain. In any case, maybe you’ve seen how the wood looks with its stain and would prefer it to be without. Your home’s aesthetic should match what you want it to look like.
Regardless of if you plan to upgrade your wood features or just want a more natural look for your home, you’ll find that removing stain from wood can take some time. However, if you follow the right procedures, it’s a doable process that you might feel comfortable repeating again in the future.
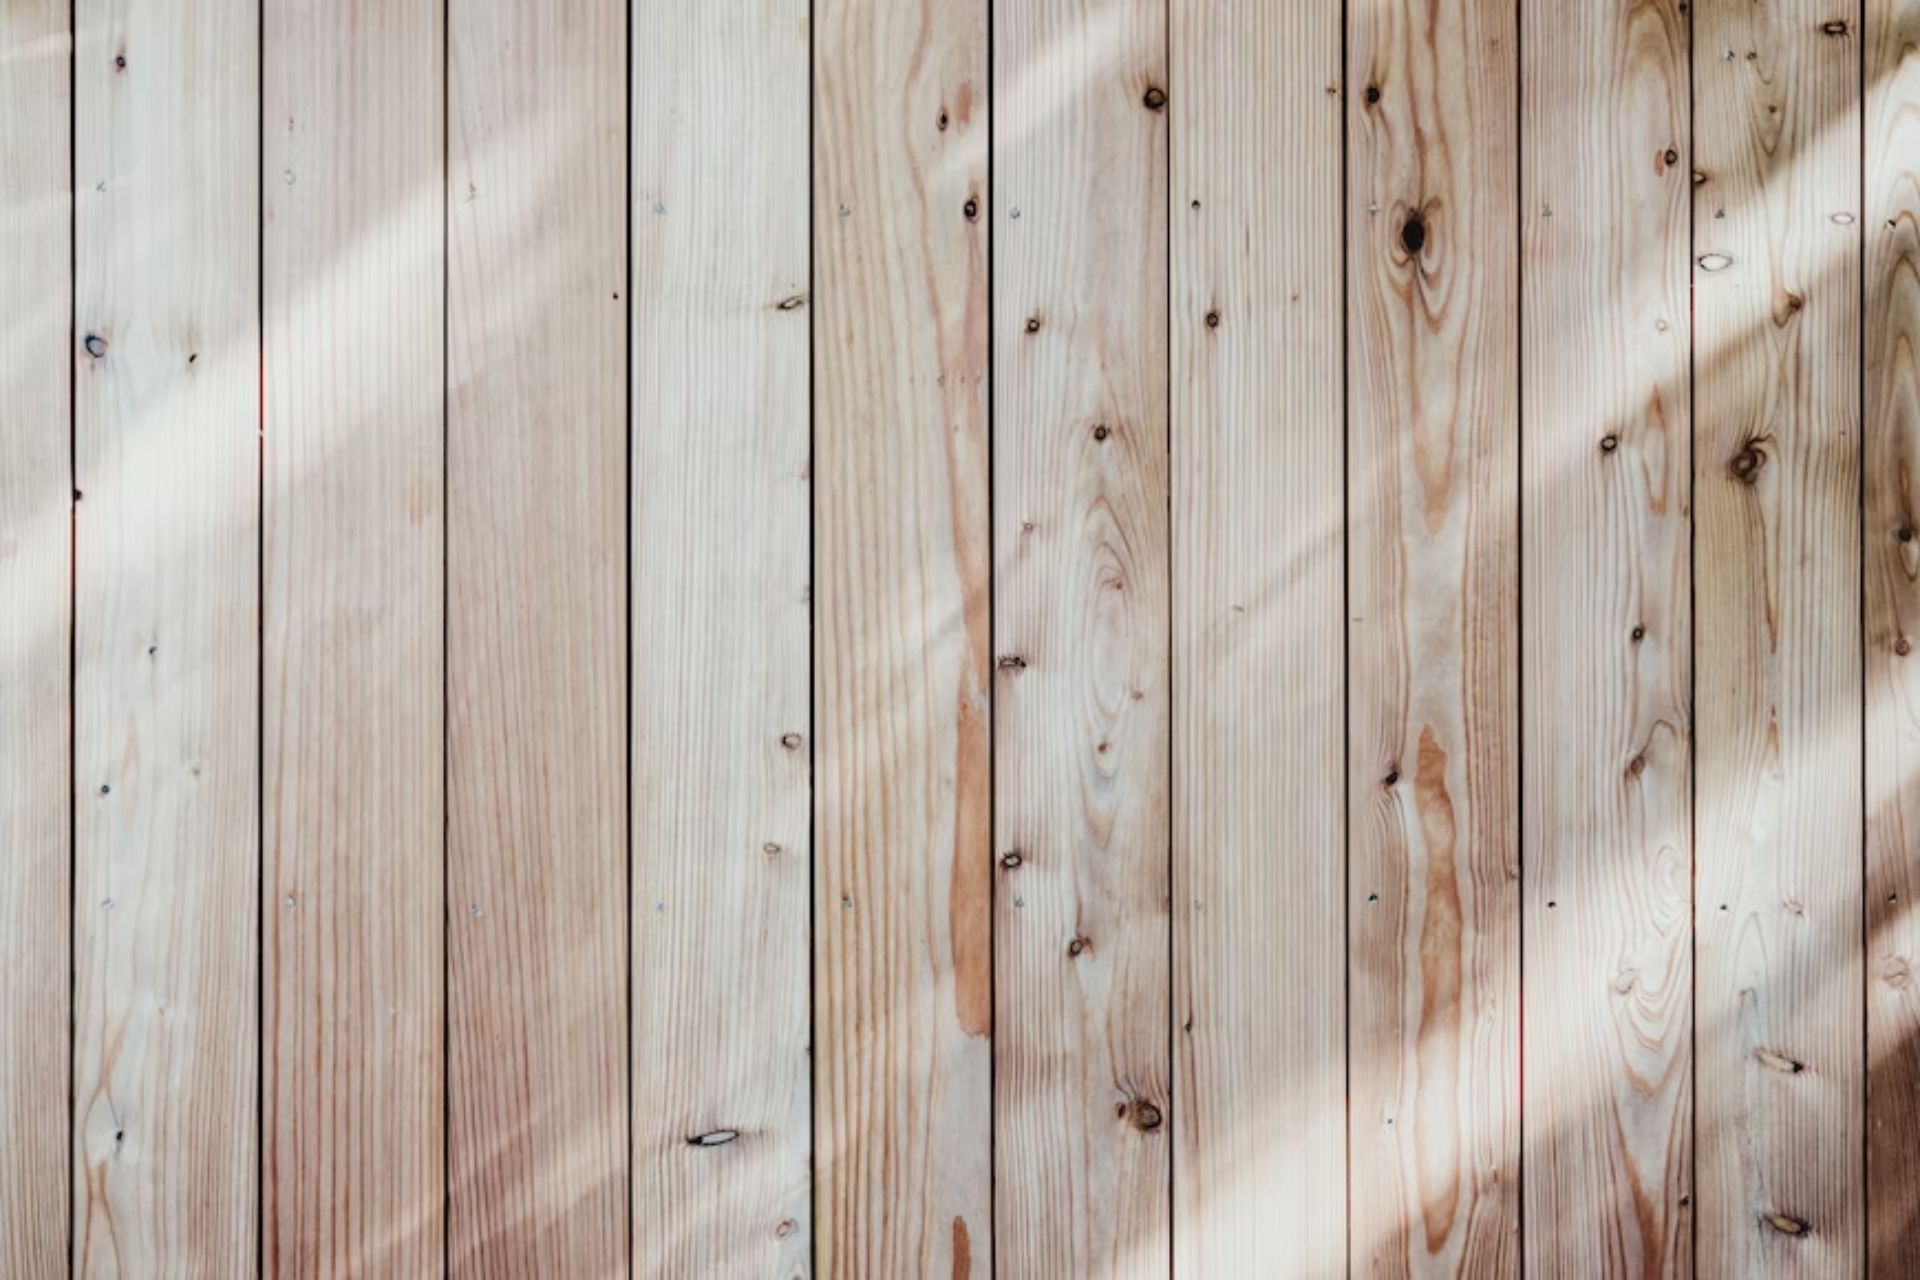
Unfortunately, stain can sink into the wood grain, making it tricky to remove. Some wood features also have a protective varnish you’ll have to eliminate before the job is done. Because stain sinks into the wood rather than sits on top of it, learning how to remove stain from wood can be a difficult and long process — but it’ll be well worth your time.
Before you remove the wood stain, you should also consider if you’ll be restaining the wood. Wood stain often only lasts a few years before it needs to be restained, meaning you’ll have to complete this process again, possibly sooner than you think. If you plan to restain the wood, you may decide not to focus on small spots that give you a little trouble. If you want to leave the wood its natural color once you’re done, you may want to do more of the intense detail work or hire a professional to help you out.
You’ll need to take precautions when working inside your home. If you’re not stripping the floors themselves, make sure to lay down a drop cloth so the chemical stripper doesn’t accidentally hit anything you don’t want it to. If you’re working on your floor, use tape to help you mark it off and seal any seams between the walls and floor so you can keep your project neat.
Fumes are another thing you must worry about. When working indoors, you need to open every window and possibly use a box fan to blow the fumes away from your working area. Inhaling too many of the fumes can result in dangerous symptoms, like coughing up blood or difficulty breathing, as can consuming any of the stain remover. Seek help immediately if you start to feel off in any way.
You’ll also want to start prep work on the wood, especially if it’s a piece of furniture. If it has any screws you need to take out or parts to disassemble, now is the time to get everything separated. That way, you won’t have to stop working when you’re on a roll. You can also take this time to spot if any part of the wood has a thicker finish than anywhere else. Then, you can divide how much wood stripper you think you’ll need for which areas.
Follow the directions carefully on the stripping agent. You want to make sure you use it most effectively. You’ll likely need a paintbrush to apply the stripper in an even coat. That way, the same amount of stain will be lifted from every area of the wood — unless you need to use more on a certain area where the finish was applied thicker. Try to use a smaller brush to get all the detail areas. How long your remover takes to dry will be up to the brand you’ve chosen.
After you’ve allowed the stripper to sit for a while, you should begin to scrape it off and see the new color of the wood left behind. What tool you use depends on the type of wood you’re working with.
There are two types of wood you should know about when refinishing furniture:
Softwoods typically bear cones, meaning they’re of the variety that doesn’t lose their leaves at some point in the year. For the hardwoods, you can use any kind of scraper to get the remover off. However, softwoods might not like such harsh means. You have to be a bit gentler with softer woods by using something made of plastic, a little flimsier so it won’t make dents or scratch up the wood.
After you’ve removed the stripper from every nook and cranny of the space you’re working in, now you need to sand the wood down. If you’re working with a piece of furniture, you can manually sand it down with #220 fine-grit, which will help you even out the surface and keep it looking as even as it was before you started your project. Make sure to use the right sandpaper for the project, and don’t apply more pressure than necessary.
Dispose of any waste responsibly. You can use a cloth to wipe up any wood stripper residue. Make sure to vacuum up the sawdust from your sanding. You’ll also want to keep the windows open and the fan running for a while to ensure you eliminate all the fumes. Once the area is cleaned up, take a break. Then, you can focus on the next step of your project or enjoy the new natural wood look.
It might take some time to figure out how to remove stain from wood in your home, but after a few instances of trial and error, you may just become a pro at it. Whether you’re stripping wood for a project or just a change of scenery, you can evaluate your project space and take all the necessary precautions.
Remember, when working on a project, you should prioritize safety above all else. Any part of the project can wait when you’re working with chemicals. Take it step by step, and you’ll soon have a home improvement project you’re proud of.


