
We are reader-supported. When you buy through links on our site, we may earn an affiliate commission.
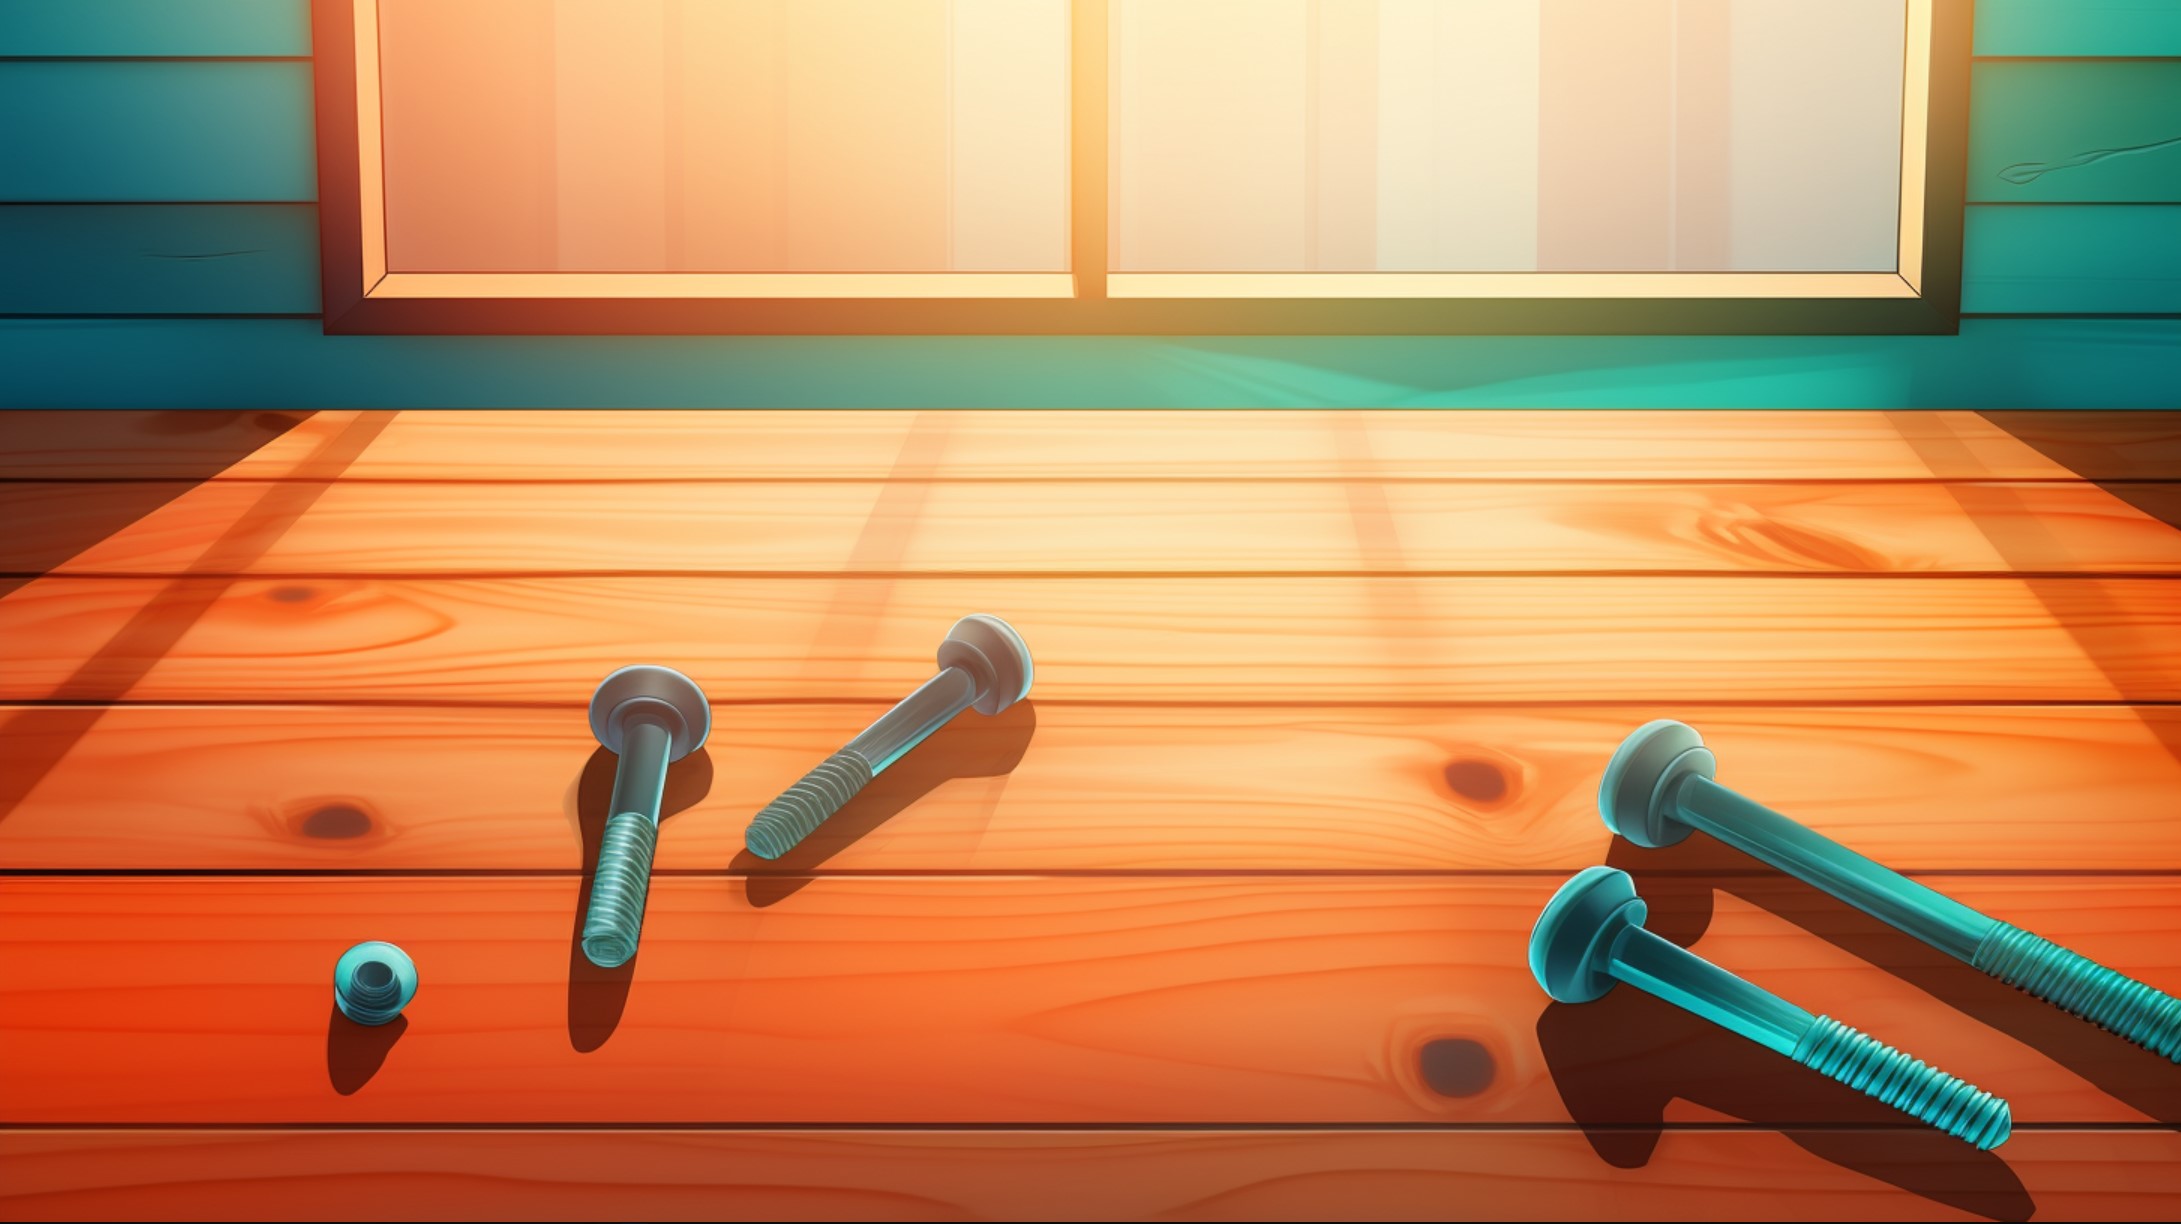
Whether you’re a seasoned contractor or are embarking on your first home renovation project, stripping a screw — destroying the notch on the screw head — is a common, very frustrating mistake. It can leave you swearing that you’ll only use a hammer and nails from here on out! Thankfully, you don’t have to do that, because there are several ways to remove a stripped screw and carry on with what you were doing.
You have a few options for removing a stripped screw. Here are some common methods, listed from the least invasive to most involved techniques requiring specialized tools.
First, put down the drill and insert a manual screwdriver into the stripped screw. You can lightly tap the screwdriver with a hammer to help the screwdriver lodge deeper into the screw. Push down and slowly turn the screwdriver to the left.
In some cases, a manual screwdriver is all you need to remove a stripped screw. If not, it will at least give you an idea of whether the screw is going to slip or let you get a slight grip on it.
If the manual screwdriver method doesn’t work — and the head of the screw is sticking up above the surface — use a pair of locking pliers to lock onto the screw. Then, rather than trying to yank the screw out, turn the pliers counterclockwise to unscrew it.
This technique requires that the screw still has a head — in other words, you haven’t broken the head all the way off.
Start by laying a rubber band across the head of the stripped screw. Put your drill in reverse so it will turn the screw counterclockwise. Then, press the drill bit firmly into the rubber band and squeeze the trigger.
With any luck, the rubber band will give the drill a better grip on the screw, allowing you to pull the screw out. It may shred the rubber band in the process.
If you do a lot of DIY home improvement projects, a screw extractor is a very specific — but useful — type of drill bit to have on hand. A screw extractor has two different tips, both designed to work on screws that still have a head.
The first one, a left-hand drill bit, is used for cutting. Use it first to drill a round hole in the center of the head of the stuck screw.
After drilling a hole in the screw head, switch to the other side of the screw extractor. This tip has a grooved edge that helps it grip a screw head from inside the hole you just drilled. Insert it and turn the drill counterclockwise to remove the screw.
If you own a dremel, use it to cut a straight line across the screw head. Hold the dremel steady with both hands so you can get an even cut across the head. Make the cut deep enough that you can insert a manual screwdriver into it. Then, use a short, stubby, flathead screwdriver to turn the screw counterclockwise and extract it.
Be aware that this technique could potentially damage the surface in which the screw is embedded. It may leave a tiny cut in the drywall, wood, plastic or whichever material the screw is in.
What if the screw head has broken off? In that case, you’ll need to use a different type of screw extractor, often called a tap screw extractor or hole saw. This drill bit is hollow and shaped like a sheath that slips over the screw. Before using it, be aware that it will damage the wood or drywall that the screw is sticking out of.
Insert the hole saw bit into your drill. Then, use it to bore a deep hole around the screw. The extractor will remove a core of wood or drywall along with the screw, but the screw will be free. Afterward, you can use spackle, wood or wood filler to repair the resulting hole.
Preventing a screw from being stripped in the first place is a lot easier than trying to remove it. Here are some tips to avoid accidentally stripping a screw:
The drill or screwdriver should be in line with the screw. In other words, if the screw is sticking horizontally out of the wall, your screwdriver should be perfectly horizontal as well. If you’re drilling a screw straight down into a piece of wood, the screwdriver should be straight up and down. Going in at an angle strips the screw.
Using the proper-sized drill bit for the job is one of the best ways to prevent a stripped screw. If your drill bit is too small, it will slip around inside the slot. Before using a drill bit, test it by inserting it into the screw head and ensuring that it holds tight.
If you don’t push hard enough on the drill or screwdriver, then as soon as you start turning the screw, you will likely strip it. Not applying enough force allows the screwdriver or drill bit to move around within the screw head, damaging it in the process. Push hard on the screwdriver or drill — again, keeping it perfectly in line with the screw — as you drill.
Add a drop of liquid grip to the screw head before drilling it. This substance makes it easier for the screwdriver or drill bit to grab onto the screw. A little goes a long way! When you’re done drilling, wipe the residue off the screwdriver or drill bit and wash your hands.
If you accidentally strip a screw, don’t panic! You may need to try two or more methods to get the screw out, but by using one of these methods, you can more than likely remove the stripped screw and carry on with your renovations.