We are reader-supported. When you buy through links on our site, we may earn an affiliate commission.
Knowing how to install wainscoting is a great way to level up the appearance of your home. If you plan to sell soon, wainscoting is a creative project that can add a pop of color to any home and help potential buyers visualize their lives in your house. Even if you don’t plan to sell your house, this DIY is simple enough to implement throughout your home once you get the hang of it.
Wainscoting is a perfect way to protect your walls while adding character and decorative flair to your favorite rooms. Wainscoting costs about $5 or more per square foot, so it’s important to budget before undertaking this project. However, if you weren’t DIYing your wainscoting, you would expect to pay around $100 an hour for a professional to do the job.
You’ll need quite a few tools for this undertaking. If you plan on tackling more home renovation projects in the future, you may want to acquire these tools for yourself rather than renting or borrowing them:
Depending on your level of DIY project, you may need fewer or more tools. Work with your comfort level, and always be safe when using tools. If you’re unsure of how to use something, wear the appropriate safety gear and have someone with you, preferably someone who knows how to use the tool.
Before you get started on anything, you need to map out how you plan your wainscoting to look. If you have the pieces cut already, try laying it out on your floor to get a better idea of what it’ll look like when it’s put together. You’ll be able to see issues with your vision once you have it all laid out. Then, you can make a plan to fix it once it’s on the wall, or you can trim things down to where they need to be before you put them up.
Mark your walls with painter’s tape. The tape should help you see where each piece of wainscoting is going, so you won’t have to guess about everything being level or an equal distance apart. The painter’s tape will be a guideline for you when you start to put every piece of wainscoting on the wall.
Once you have everything mapped out on the floor and on the wall, you should remove the baseboard. You can put a new baseboard on the wall once you finish your project. Use a pry bar to remove the baseboard after you’ve cut its seams. For now, you don’t need it, as it’ll only get in the way.
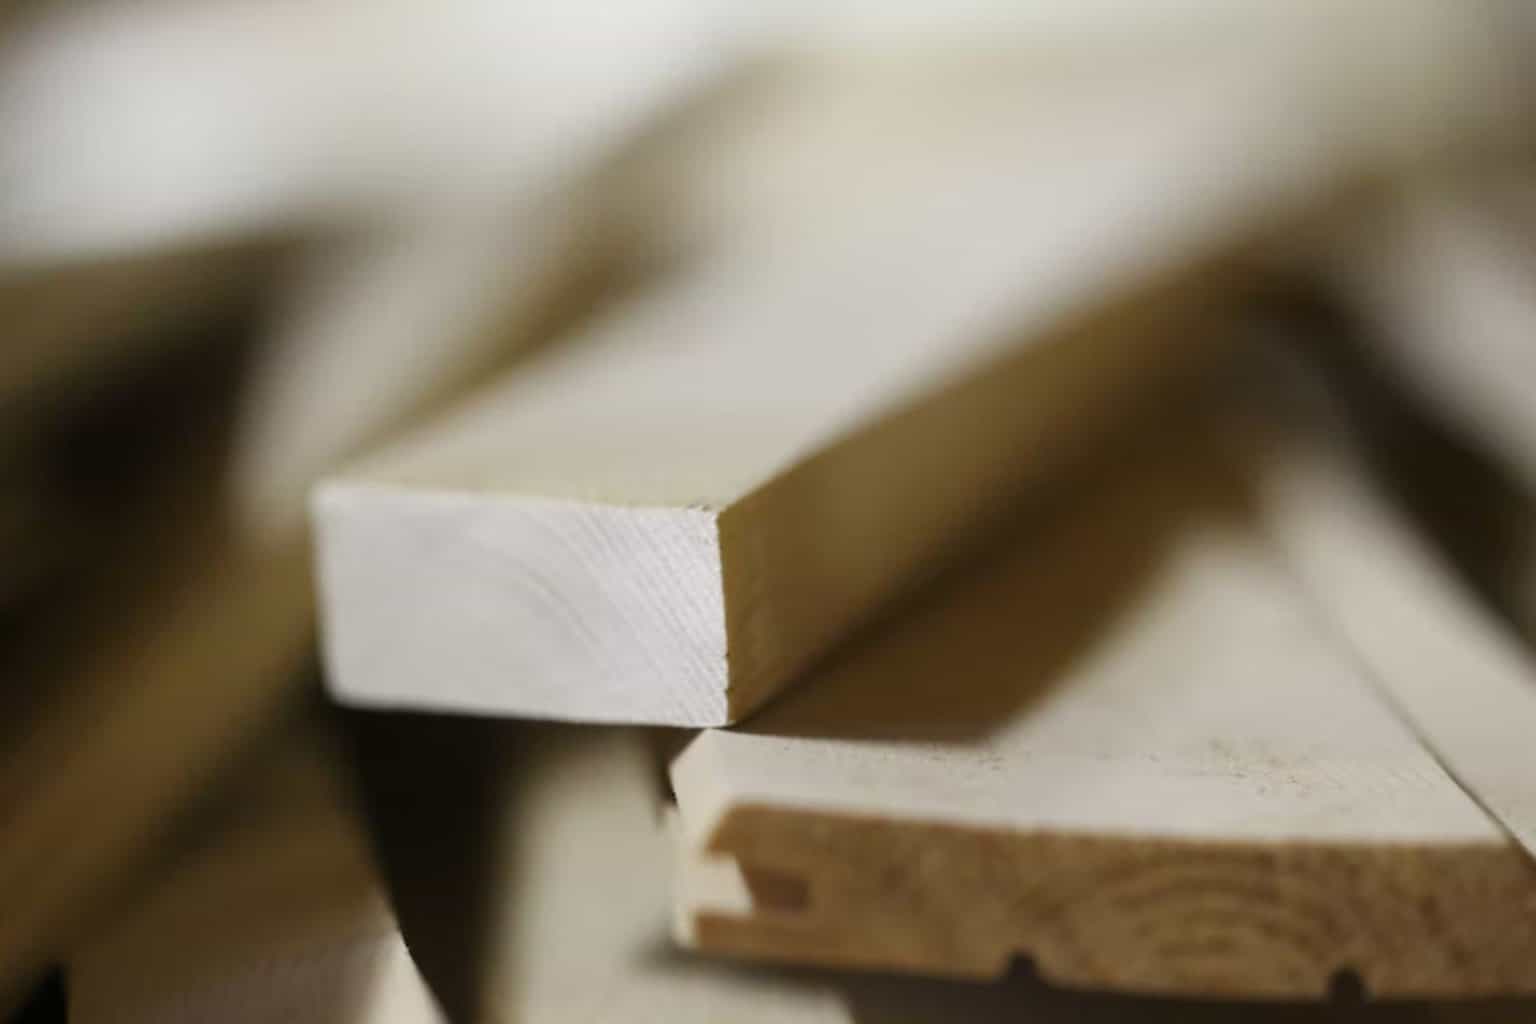
Next, you’ll need to apply your paneling to the walls. The paneling gives your wainscoting an easy backing to adhere to, and it’ll make your walls look more smooth. Even if it doesn’t match your wainscoting, you should plan on painting over everything instead. Be careful when cutting or deconstructing wood, as many injuries occur during this process when people aren’t watching out for themselves.
Follow these guidelines to help you install crucial parts of your wainscoting. An essential part of knowing how to install wainscoting and putting together the top rail and stiles is the main event of assembling your wainscoting. Get someone to help you hold the top rail in place, then use your stud finder to identify the studs. From there, you can use the nail gun to put the nails in place.
Once you’ve put the top rail in place, it’s time to figure out the stiles. The stiles will help you map out a general pattern of your wainscoting. The stiles are flat sections that will help define and separate your inner panels. Use panel adhesive on the back of each stile, then add them to the wall. You’ll be applying your panel molding on top of these stiles to frame cut-outs where the plywood is.
If you’re just using beadboard, you still need to make sure it’s trimmed adequately to your wall. After you know that it’s the right side, apply adhesive to the panels and stick them to the wall. You can then use the nail gun to adhere nails to the studs, holding your beadboard wainscoting in place. The process is simpler, but it’s less customizable. Still, it can add a new look to your wall, especially if you paint it in a coordinating color.
The corners of your wainscoting may need some trimming. When you have stiles in the corner, the one overlapped by the other needs to be wider. Work as you go, and ensure that the corner stiles meet one another flawlessly. The wider piece should be adhered and nailed down first, and then you can go in and adhere the other one. Learning how to install wainscoting properly is crucial for these DIY projects, and you shouldn’t skip learning how to install corners properly.
The bottom rail will go flush against the end of the stiles. You need the bottom rail to serve as a spacer between the stiles and the bottom of the floor. The baseboard will cover any gaps that the bottom rail leaves, but the bottom rail still needs to be there to provide an overall smooth look that will make your wall aesthetically pleasing once everything is painted.
You’ll want to ensure that the bottom rail and baseboard are parallel to one another. Take your time measuring everything, so you know the job is done well. Even if this DIY project is your first, you can still conquer it by taking the time you need to ensure everything is correct. Completing DIY projects can be empowering and help you feel motivated to start another — and it’s something to be proud of whenever you finish something you didn’t think you were capable of.
You may notice that the top of your project doesn’t look so clean and neat. Installing a decorative apron can help as a transition piece between your wainscoting and the rest of your wall. You’ll also want to customize the returns to your wall. If you’re planning for a chair rail return to overlap with other parts of your wall, you need to cut it to the correct specifications. It may take some extra effort, but it can make your project look all the more professional.
The base cap and shoe moldings come next. The potentially ugly spot near your baseboard and bottom rail can be covered up by these edges that add a decorative flair. Cut them evenly and attach them to the wall. Use adhesive caulk to clean up any part of the project you’re unsure about. At the end of the project, you can paint or dress it up however you see fit. Then, step back and admire your work. It’ll be a learning process, but it’s well worth it when you learn how to install wainscoting.
No home DIY project is cheap — and if it is, it may need to be redone in the near future. If you want your DIY project to be done right, you’ll have to invest time and money into the right processes and materials. Wainscoting can dress up an average wall and make it look more like the home of your dreams. Knowing how to install wainscoting is essential to any home DIYer’s toolkit. Overall, wainscoting will cost you time and effort more than anything else, though the materials may vary depending on your location and the time of year. As long as you learn new skills and are happy with the outcome, this project will be worth any investment you put into it.