We are reader-supported. When you buy through links on our site, we may earn an affiliate commission.
Lead-based paint may hide beneath layers of color in homes built before 1978 — and it’s not something you want to ignore. As the paint deteriorates, it creates toxic dust and chips that can harm brain development, especially in children. The health risks are real, but lead paint removal is entirely manageable with the right steps.
This guide walks you through how to prepare, remove and clean safely, and how to compare removal to lead paint encapsulation as a long-term solution.
Signs You Might Have Lead Paint
You might not have to worry if your home is fairly new, as only 24% of homes built between 1960-1978 have contaminated paint. Three common warning signs can signal lead paint in older homes.
First, look for cracking patterns that resemble reptile skin, often called alligatoring. Second, run your hand along the wall or trim — if a white powdery substance rubs off, that chalking could indicate aging heavy-metal-containing paint. Lastly, check around windows and doors where friction is highest — peeling or flaking paint in these spots is a red flag. These visual cues aren’t definitive, but they warrant testing.
Testing Options
There are a few ways to check for lead. Swab-based DIY test kits are quick and inexpensive, though they require careful use to avoid false positives. Professionals use X-ray fluorescence (XRF) tools to scan surfaces without disturbing paint. For lab-level accuracy, you can send paint chip samples to certified labs for in-depth analysis. Regardless of the method, always test before beginning any home renovation or scraping project.
Encapsulation vs. Removal
Once you have a positive test for lead-based paint, you have two choices — remove it or create a safe barrier over it, also known as encapsulation.
Lead paint encapsulation involves applying a specialized coating that seals in the harmful metal beneath a durable barrier. It’s faster and more affordable than removal and works well if the paint underneath is still intact and smooth. However, encapsulation won’t hold up on surfaces already peeling or exposed to moisture and friction, like windows or high-traffic trim.
In contrast, complete removal physically strips the heavy-metal paint from the surface, eliminating the hazard. It’s more labor-intensive and costly, but considered a permanent solution. Removal is also the only option if you plan to sand, drill or renovate those surfaces.
For many homeowners, the decision depends on surface condition, budget and long-term plans.
How to Prepare for Safe Lead Paint Remediation
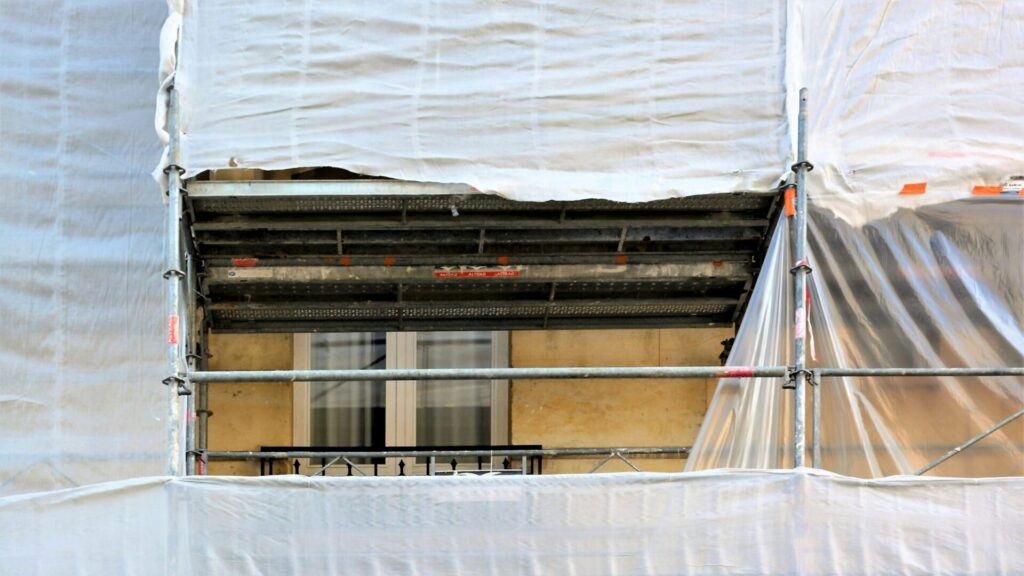
Removing contaminated paint safely starts before you touch a single surface. Begin by clearing the room or outdoor area completely, or covering any furniture and flooring with thick plastic sheeting. Windows, vents and doors should be sealed tightly with tape and plastic to prevent toxic dust from spreading.
Next, lay heavy-duty plastic sheeting across the ground, extending at least 10 feet from your work zone. Secure the edges so they don’t lift in the wind or as you move around.
Before starting, ensure pets, pregnant women and children avoid the work area — and they should remain clear until the space is thoroughly cleaned and secured. If you work over multiple days, put up signage or physical barriers to limit access.
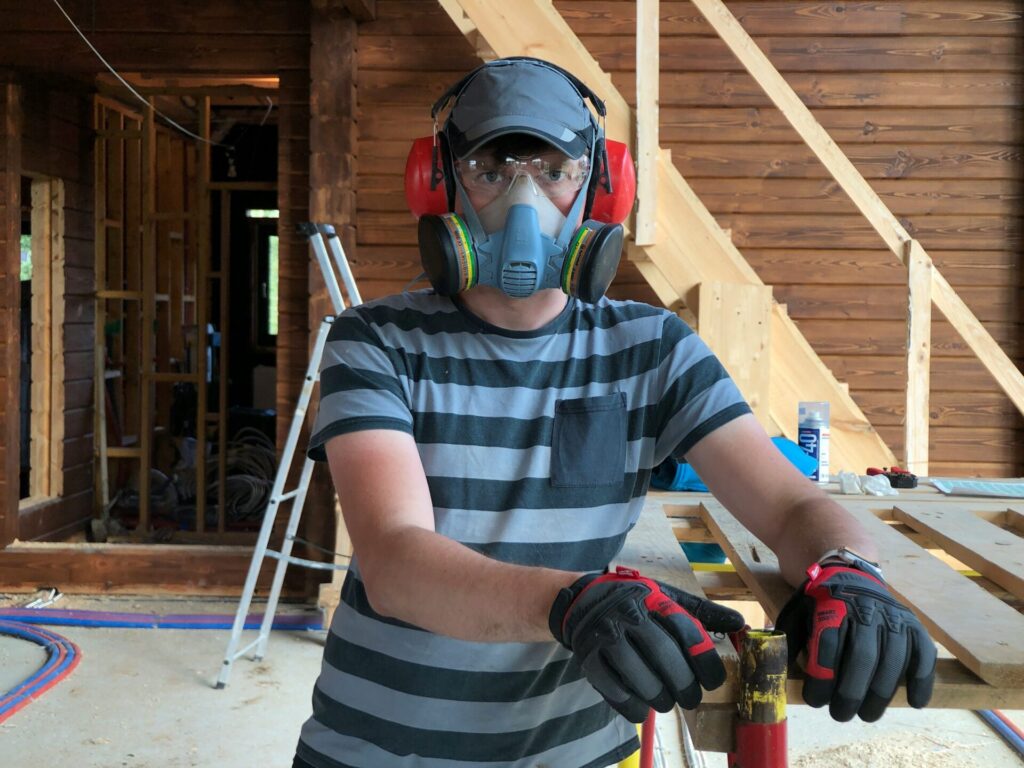
Personal protective equipment (PPE) is just as necessary. Wear a P100 or N100 respirator, not just a dust mask, and suit up in disposable coveralls, gloves, goggles and shoe covers. Designate a clean zone at the exit point where you can safely remove your gear before leaving the home.

Methods to Remove Lead Paint Safely
There are three primary methods for removing contaminated paint, each requiring a careful, step-by-step approach to reducing the spread of hazardous particles.
1. Wet Scraping
The simplest method for small areas where the paint is already flaking is that you scrape it off. Lightly mist the surface with a spray bottle, suppressing dust and then scratch off the loose paint with a handheld tool. Continue to re-wet the area as you work. Keep a lined container nearby for immediately storing any chips, and avoid creating piles of debris.
2. Chemical Stripping
This method is ideal for decorative moldings or multiple layers of paint. Choose a paint remover product labeled lead-safe for exterior or interior use, apply it with a brush and wait the recommended dwell time before checking whether the paint softened. When the paint softens, gently remove it with a scraper. Rinse the area thoroughly with a clean, damp rag to remove any leftover residue.
3. HEPA Sanding Systems
Advanced systems are sometimes used to smooth rough patches after scraping or stripping. Only use sanding equipment with a HEPA-filtered vacuum attachment — traditional dry sanding spreads dangerous lead dust through the air. This method should be done sparingly and only with full PPE.
Avoid any technique that involves high heat, power washing or uncontrolled sanding. These methods can release fumes or fine dust that contaminates the entire home.
Cleaning Up and Disposing of Lead Waste
Post-removal cleanup is just as important as the removal itself. Start by vacuuming all surfaces, tools and containment areas using a HEPA vacuum that can capture 99.97% of contaminants — a regular vacuum won’t filter out microscopic lead dust. Once vacuumed, wipe down all surfaces with a cleaning solution like trisodium phosphate (TSP), then rinse with clean water. Be thorough around windowsills, floors and corners. Take special care around skirtings, which can trap lead-containing dust.
All waste — including paint chips, disposable suits and used wipes — should be double-bagged in heavy-duty plastic bags and clearly labeled as “Lead Waste.” According to the EPA, you or the contractor must take these materials to a certified construction and demolition waste facility or municipal landfill for correct disposal, but this may vary according to state. Never burn or bury lead-containing waste. If any soil near the work area has visible chips or dust, it may also need to be removed and replaced.
Cost of Lead Paint Removal and Encapsulation
Professional lead remediation costs vary, with the average for a standard project setting you back between $1,478 and $5,520, depending on the method used, the square footage involved and whether you hire a contractor. Manual removal by professionals costs between $8–$17 per square foot, while encapsulation may cost $4–$8 for the same area. Demolition and replacement of features such as trim may cost between $1,000–$15,000. Depending on your area’s regulations, you’ll also need to budget for disposal, which may add $100 to $500 or more.
When to Hire a Professional
Some situations legally require professional help. Federal regulations mandate that a certified lead abatement contractor perform the work if you’re dealing with a rental or multifamily property. Large or heavily deteriorated surfaces are also best left to professionals who follow EPA Renovation, Repair and Painting (RRP) standards. You can legally lead-renovate your own home, but not one that you renovate or sell for profit.
Even if it’s not required, hiring a certified pro means the job will be done safely, thoroughly and with documentation — which matters for home sales, appraisals or insurance.
Final Tips to Keep Your Home Lead-Safe
Once removal or encapsulation is done, keep those surfaces clean and well-maintained. Don’t let new paint chip or peel. Inspect windows, baseboards and doors regularly for wear. Continue to clean with HEPA vacuums and wet wipes to prevent dust buildup. Most importantly, store all test results, contractor reports and permits for future reference.
FAQ
Can I Just Paint Over Lead Paint Without Testing It?
Painting over contaminated paint without using a proper encapsulant can actually worsen the hazard over time, especially if the original paint begins to peel. Always test before making a decision.
Is Lead Paint Still Dangerous If It’s Covered by Other Layers?
Even buried heavy-metal paint can become a problem if it starts to degrade, chip or is disturbed during renovations. Encapsulation can help, but you may need to remove it if the layers are unstable.
What Happens If I Skip Containment Or Cleanup?
You risk contaminating your home’s air, floors, soil and HVAC system. Lead dust is invisible and persistent. Proper containment and cleanup aren’t optional — they’re essential. And if you don’t perform correct containment, you may become liable should your neighbors complain or become ill.
Your Home, Your Responsibility
Lead paint is more than a historical artifact — it’s a health hazard that requires deliberate action. Whether you choose full removal or encapsulation, the key is to act early, follow safety protocols and know when to bring in professionals. With the right plan, your home can be both charming and lead-free.
About The Author
Peter is an associate editor for Renovated with over 5 years of experience writing in the home improvement and real estate sectors. He grew up learning woodworking and DIY skills from his grandfather, giving him a unique perspective on home renovation and maintenance. His personal interest in business has also led to him becoming a well-informed voice in the real estate world. He specializes in offering insightful, practical advice to new homeowners, guiding them on how to maximize their ROI.
When Peter has downtime, you'll find him at the top of a mountain, enjoying a scenic view. He also spends a lot of time cultivating his vegetable garden and tinkering in his woodshop.