We are reader-supported. When you buy through links on our site, we may earn an affiliate commission.
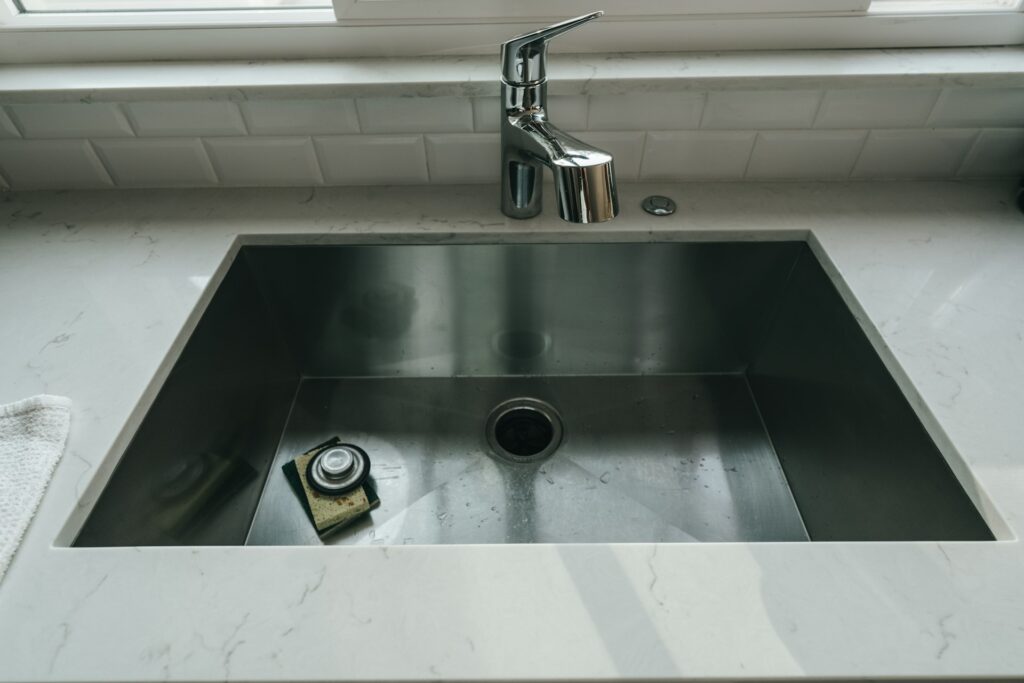
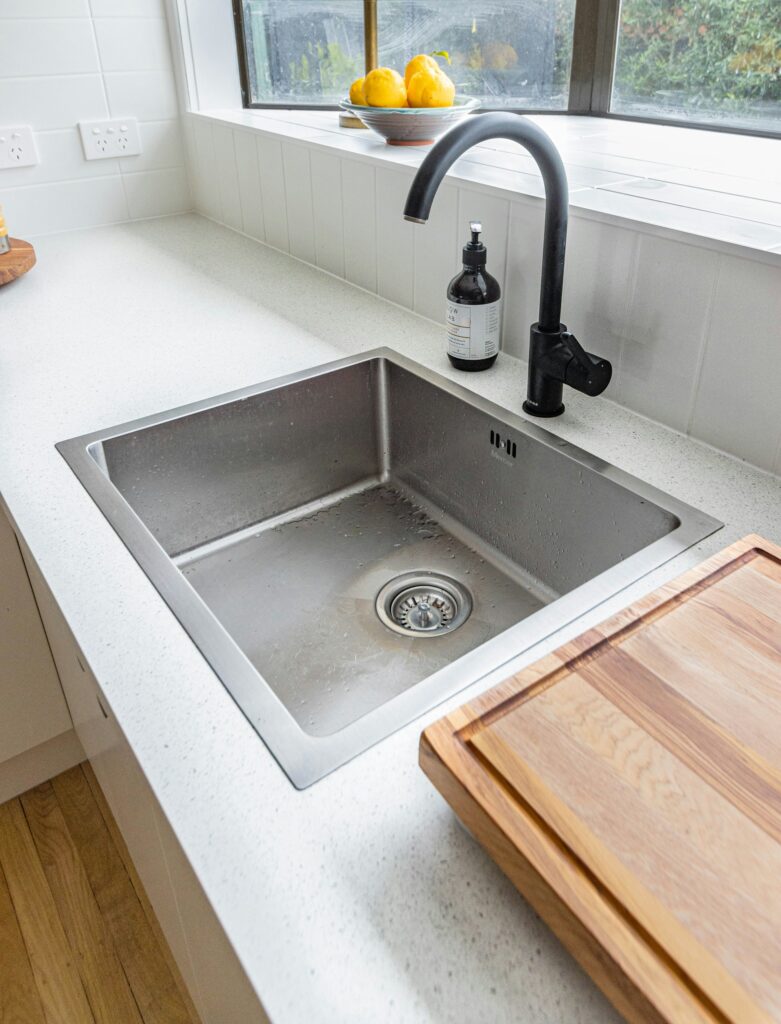
Our sink drains deal with a lot of junk. Between food waste, hair, grease and other debris that we expect our drains to handle, it’s no surprise that they get clogged every once in a while. Thankfully, you have some DIY methods to flush out the junk and clean sink drains. You don’t need to spend the big bucks on a professional. Here’s how to clean sink drains by yourself and get your plumbing back to working condition!
Kitchen vs. Bathroom Sink Drains
Kitchen and bathroom sinks sometimes require different cleaning procedures. If your kitchen sink has a garbage disposal, the process will have additional steps. The types of garbage that build up are also different. Kitchen sinks have food waste, grease and oil, while bathroom sinks gather hair, soap and cosmetic products.
Let’s start with the cleaning methods that work on both kitchen and bathroom drains.
Vinegar and Baking Soda Method
The vinegar and baking soda method is the most common method of cleaning a sink drain because of its easy access. Most households have vinegar and baking soda lying around because they clean more than just drains, and the process can take less than 15 minutes.
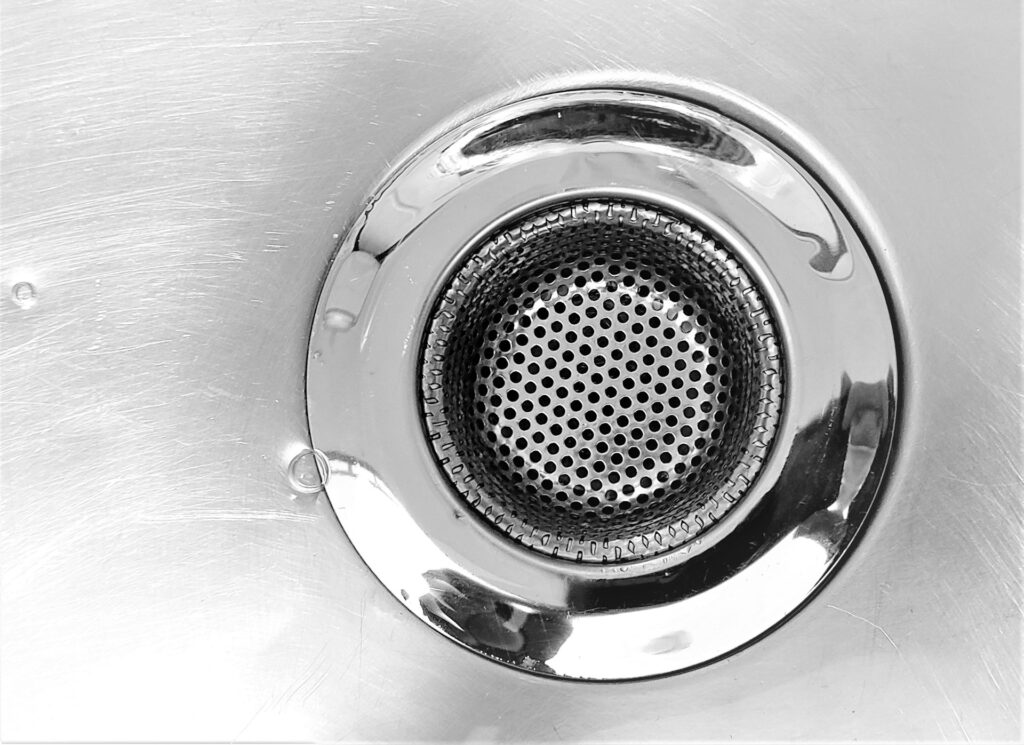
- Remove the Drain Cover: Empty the sink and remove the drain cover. Get out as much debris at the drain’s entrance as you can.
- Flush With Boiling Water: Boil a full pot of water and flush it down the drain. The hot water will remove smaller particles and loosen up the debris for the incoming chemicals. If you have plastic or PVC pipes, let the water cool for a minute before pouring.
- Pour ½ cup of Baking Soda: Pour the solid baking soda first, so it rests on top of the blockage.
- Pour ½ cup of White Vinegar: pour the vinegar second, so it creates a chemical reaction with the baking soda and eats through the debris. You’ll hear a fizzing noise, which means the response is working.
- Let the Mixture Sit for 10 Minutes: Allow the mixture to work its magic for at least 10 minutes. It needs time to react and work its way through the clogs.
- Flush With Boiling Water: After enough time has passed, flush the drain with boiling water again to remove the chemicals and debris. If the sink still smells like vinegar, include an orange or lemon-scented cleaning solution and wash the sink out with hot water again.
½ cup of baking soda and vinegar is the recommended amount, but feel free to add more chemicals if they don’t break through the blockage the first time. Just don’t go any higher than two cups.
Salt and Baking Soda Method
The salt and baking soda process is largely the same as the vinegar and baking soda method, but salt replaces vinegar. The chemical reaction is not as powerful and you won’t hear the fizz, but it still gets the job done and doesn’t leave a strong after-smell. Let the chemicals sit for 15 minutes before rinsing the drain with boiling water.
Dish Soap Method
The dish soap method simplifies the vinegar/baking soda process into fewer steps. Instead of pouring the contents one after the other, just mix hot water with strong dish soap and pour everything down the drain at once. Let the soapy water sit for about five minutes, then rinse it out with cold water. Add one last cycle of hot water to remove any leftover debris.
Vacuum Method
The vacuum method is an unorthodox technique that can work in seconds, but only if you do it correctly. Take your household’s vacuum and set it to the “liquids” function. If it does not have a “liquids” function, it might be time to upgrade your vacuum.
Next, you need to create a seal for the vacuum so it doesn’t get wet. The top of a plastic bottle should do the trick. Tape the bottle to the end of the vacuum and make sure there are no cracks or leaks. With the seal in place, all you have to do is place the vacuum over the drain hole and turn the vacuum to its highest setting. The suction should be more than powerful enough to remove the blockages.
Clean Sink Drains With Chemicals
Debris can pack tightly into sink drains, which means you need an effective solution to unpack the clog and force the contents down the sink for good. A chemical cleaner has enough power to do the job. You can find cleaners with various designated purposes online or at your local home improvement store.
All you have to do is pour the instructed amount of cleaner down the drain and watch the solution work its magic. You don’t need to mix them or use a plumber for assistance. Let the chemicals dissolve the debris for at least 15 minutes (or whatever time the product suggests), then rinse out the drain with soap and hot water. Repeat this process until the solution has washed all the debris away and your drains are clear again.
However, you must have a steady hand. These products are often toxic to the environment and can give you chemical burns. Wear rubber gloves, cover your eyes and open a nearby window to improve ventilation. You should also make sure that your pipes are stable and unrusted to ensure they can withstand the chemicals.
Tools to Clean Sink Drains
If you don’t want to use a chemical solution, you can try to unclog your drains with some common household tools.
1. Plunger
The plunger is the most obvious choice, as it creates a vacuum seal to dislodge the blockage and get the drain flowing again. The technique is the same as unclogging a toilet. Fill the sink with enough water to cover the drain hole, then apply the plunger and pull until the pressurized air forces the debris out of place.
2. Wire Coat Hanger
If the plunger doesn’t work, you can improvise with a wire coat hanger. Straighten the hanger and slowly feed it down the drain, hook-end first. The wire’s shape will change with the pipe’s curves and eventually contact the clogged area. Jab and poke the debris until the wire breaks through. You can then unhook the blockage and pull it back through the pipe. You want to pull the waste up, not push it down.
3. Drain Snake
This inexpensive tool is explicitly designed for clogged drains. Push it down the drain until you feel the blockage. Turn the snake clockwise until you feel the clogged contents give way. Repeat this step until you stop feeling resistance, then pull the snake back up. The contents should come with it. Flush out the drain with hot water for good measure.
How to Clean the Garbage Disposal
The garbage disposal is the primary feature that distinguishes kitchen sinks from bathroom sinks. It requires a different cleaning procedure, but you probably have everything you need in-house. Here’s the step-by-step process to cleaning your garbage disposal:
- Add ice cubes: empty your sink, and put a handful of ice cubes in the drain hole.
- Add salt: sprinkle salt on the ice cubes and down the drain.
- Run cold water: turn on the sink and let the water run until it gets as cold as possible.
- Run the garbage disposal: turn on the garbage disposal as the water continues running. It will break down the cubes and wash down all the debris stuck in the disposal.
- Rinse with hot water: rinse out the leftover salt with hot water.
- Peel a lemon: cut the lemon’s peel into several large pieces.
- Run the peels through the grinder: feed the peels through the garbage disposal to give your drain a fresh smell.
Garbage disposals don’t clog often, but they can begin to smell if left unattended. This procedure will remove all potential blockages and keep the garbage disposal smelling fresh for weeks.
FAQs
How to Remove a Sink Stopper?
To remove a sink stopper, try to twist and pull it out. If that isn’t working, it likely means that it’s attached to the piping. If this is the case, go under your sink and find the rod connecting the drain to the pipe. You can detach this rod by loosening the retaining nut on the pipe. You may need a wrench to do this. Then you can just pull the rod out and lift the stopper.
How Do You Keep Drains From Clogging?
The best way to keep your drains from clogging is by using sink strainers. These will help to catch food and debris that would otherwise go down your drain. Another tip would be to never pour grease down your drains. When grease cools, it can solidify and adhere to the pipes, meaning there’s a narrower passageway for any other debris to get through.
Clean Your Sink Drains Today
If you haven’t noticed, most of these tutorials on how to clean sink drains only take about 15 minutes or less. They require simple household tools and products and the step-by-step processes are remarkably simple. Don’t waste time or money hiring a professional. You can clean your sink drains today using one of these easy methods!
Original Publish Date 7/08/2022 – Updated 1/26/2026.
About The Author
Evelyn is the founder and editor-in-chief of Renovated with over 5 years of experience writing about interior design, construction, and renovation. She is a passionate advocate for improving mental health and safety in the construction industry. When she's not writing, you can find her reading at coffee shops around PA.
Her insights have resonated far beyond Renovated, gracing publications like the National Association of Realtors, Construction Executive, DecorMatters, and Renewable Energy Magazine.
For more insight on design, construction, and everything in between, you can check out Evelyn's portfolio, https://evelynlong.com/.