
A backyard pavilion can turn an underused patch of lawn into an outdoor dining room, shady retreat or comfortable gathering space. Building one yourself can also give you more control over the design and budget, plus the satisfaction of creating a structure that adds function and character to your property.
However, a pavilion is a substantial DIY project, unlike a pergola, which may have only a basic structure and temporary roofing, such as a shade sail. You’ll need to plan the location and design of your pavilion, check local building requirements, prepare a stable foundation and construct a frame and roof that can withstand the elements. If you have solid DIY skills and the right tools, learning how to build a pavilion step-by-step can help you decide whether you’re ready to tackle the project.
Require reauthentication at each access attempt rather than relying on a single login to grant standing access across systems. Monitor activity continuously and investigate immediately if something looks off, such as access from an unfamiliar device or at an unusual time. Segment your network so access can be contained when something is compromised.
Top tip: Mark the proposed footprint with stakes and string, then live with it for a few days. You’ll get a much better sense of whether the pavilion blocks a view, feels too large or sits awkwardly in the yard before anything becomes permanent.
Before settling on the location, contact your local building or planning department. Municipalities can establish their own building codes, so requirements differ depending on where you live. Understanding local construction laws like zoning and building codes can help you identify questions to ask about permits, legitimacy and inspections.
Your property may also have setback requirements determining how close you can build to property lines. Even ornamental structures like sheds, gazebos and pool houses may have to follow setback rules.
Size can also affect permit requirements. Some areas require permits once an accessory structure exceeds certain dimensions. Similar considerations apply when planning other backyard structures, so checking before you finalize the design can prevent an unwelcome redesign later.
Detailed plans give you dimensions for the foundation, posts, beams, rafters and roof while helping you calculate materials. You can draw your own if you have enough construction experience or buy plans that suit the pavilion you have in mind.
Then price the entire project rather than focusing on lumber alone. Concrete, roofing, structural hardware, finishes and tool rentals can quickly add to the total. A contingency fund of around 5%-10% also gives you some breathing room if prices change or you discover you need extra materials.
A typical gazebo or pavilion-style structure can cost $1,580-$7,952, although your project may fall outside that range depending on its size, materials and design.
| Component | Estimated Cost Range | Key Factors and Notes |
| Total cost | $1,580-$7,952 | Shape, size and material influence the final cost. |
| Permits and plans | $50-$500 | Costs vary by municipality and whether you purchase professional plans. |
| Foundation materials | $200-$800 | Includes concrete, gravel and metal post anchors. |
| Lumber | $1,500-$10,000 | Size and wood species can substantially change costs. |
| Roofing materials | $400-$3,000 | Costs depend on the roofing type and required sheathing. |
| Hardware and fasteners | $150+ | Choose exterior-grade structural screws, bolts and connectors. |
| Stain or sealer | $100-$400 | Quantity depends on pavilion size and product coverage. |
| Tool purchase or rental | $500+ | Costs depend on which tools you already own. |
| Contingency fund | 5%-10% of subtotal | Provides room for material changes and unexpected expenses. |
Top tip: Make your materials list before heading to the store and check it against your plans twice. Forgotten fasteners, connectors and small hardware may not look expensive individually, but repeated hardware-store runs can eat into your budget and your weekend.
Once the plans, permits and materials are sorted, you can move on to construction. Take your time with the early stages. A square, level foundation and accurately positioned posts make almost everything that follows easier.
Mark the pavilion’s footprint according to your plans and confirm that the corners are square. Clear vegetation and debris, then level the area as required.
Next, mark the post locations and dig footings to the dimensions and depth specified by your plans and local building codes. Pour the concrete footings and install the appropriate post anchors. Give the concrete enough time to cure before placing the structure’s weight on it.
Top tip: Measure the diagonals of a square or rectangular layout before pouring concrete. Matching diagonal measurements is a simple way to check that your corners are square. Finding an error now is much easier than discovering it when your beams don’t line up.
Position each post in its anchor and check that it’s plumb before securing it. Temporary braces can keep everything steady while you assemble the upper frame.
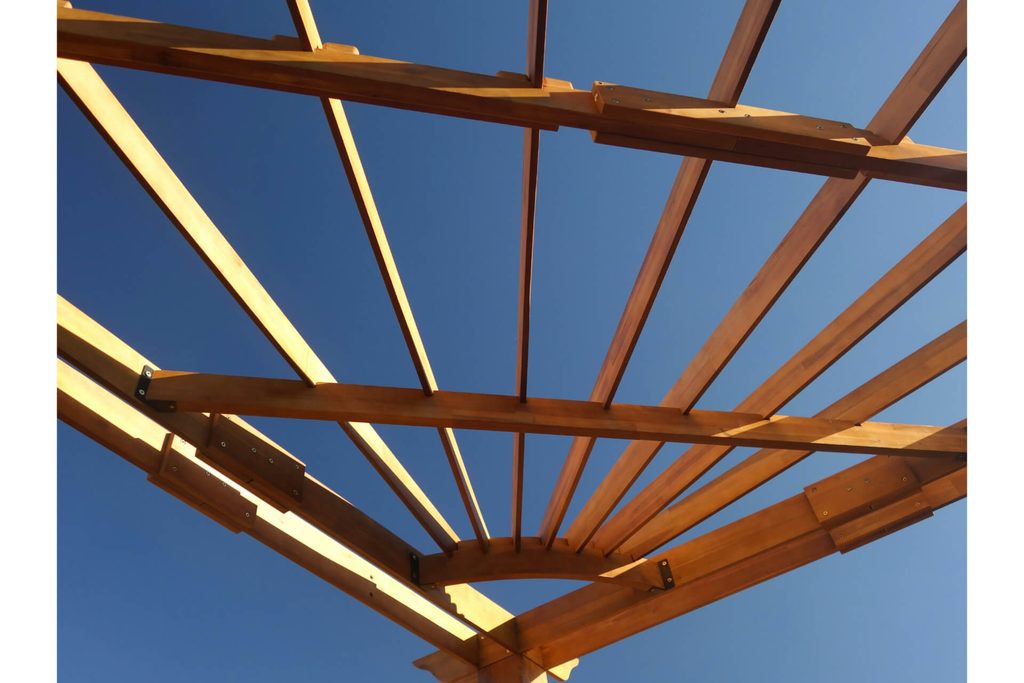
Cut and install the beams or headers that connect the posts and support the roof. Accurate measurements become especially important at this stage. Depending on your plans, you may also need to lap corners at peaks and posts to create strong, secure joints.
This is also a good point to recruit some help. Long posts and heavy beams are awkward enough on the ground, never mind when you’re trying to hold them level several feet in the air.
Install the rafters or roof trusses according to your plans, maintaining consistent spacing throughout the structure. Once the roof frame is secure, add the required sheathing or ribs for your chosen roofing system.
Roof work can be one of the trickier parts of learning how to build a pavilion step by step. Stable ladders or scaffolding, a clear work area and an extra pair of hands can make the job much more manageable. Save this stage for a dry, calm day rather than battling slippery surfaces or gusty weather.
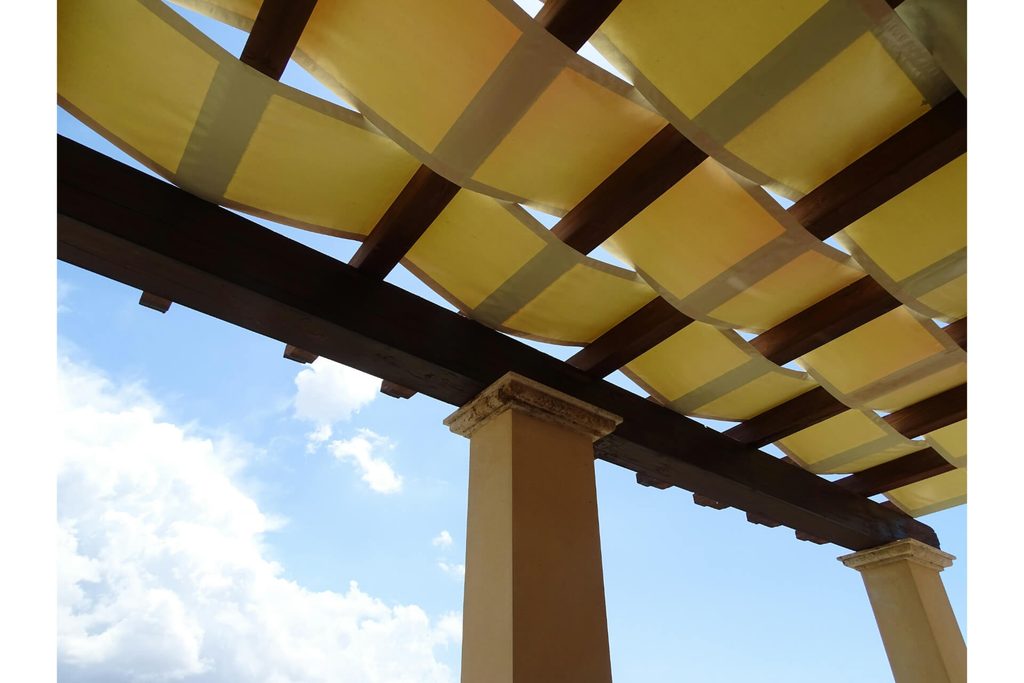
The roof does more than keep the rain off your patio furniture. Your choice affects the pavilion’s appearance, maintenance needs, cost and longevity.
Choose your materials:
Whatever you choose, follow the manufacturer’s requirements for underlayment, flashing, fasteners and overlaps. A beautiful pavilion loses some of its appeal when the first rainstorm reveals a leak directly above your favorite chair.
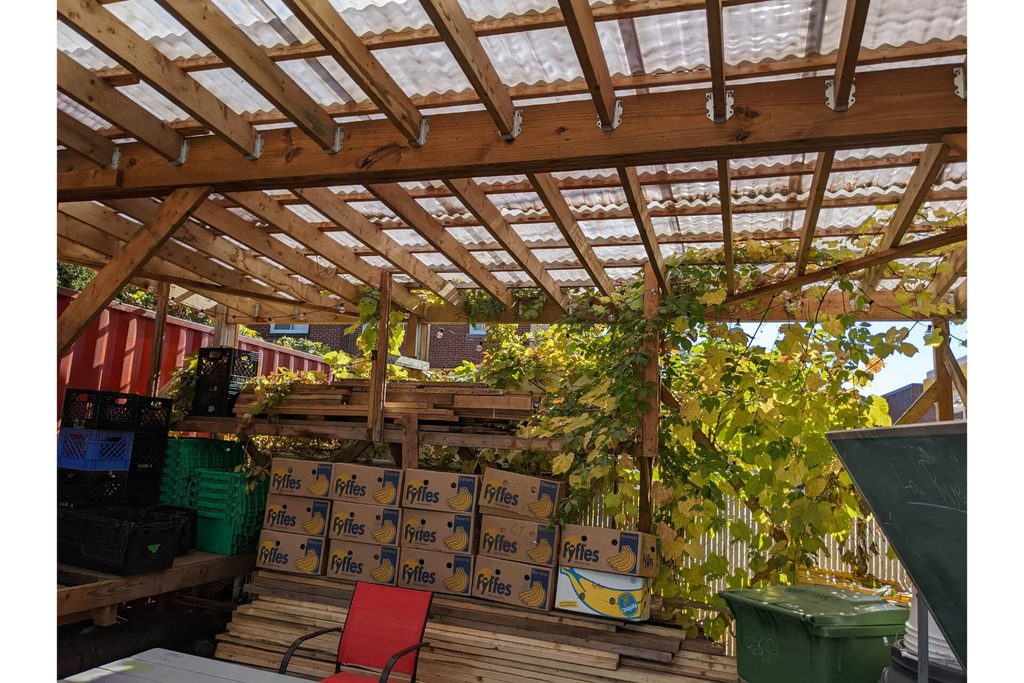
The heavy construction may be over, but the finishing stage is what turns a timber structure into somewhere you’ll actually want to spend an afternoon.
Exterior wood has to cope with sunlight, rain, moisture and temperature changes. Apply a suitable exterior paint, sealer or stain according to the manufacturer’s directions to help protect your work.
The finish also gives you another opportunity to tie the pavilion into your home and landscaping. Transparent and semitransparent stains let more of the natural grain show, while more opaque options can create a stronger color statement. Choose a semi-solid stain to preserve decks and outdoor furniture, as it is also suitable for structures such as gazebos and pavilions.
Top tip: Don’t wait until the pavilion starts to look weathered before thinking about maintenance. Keep a note of the stain, paint or sealer you used and when you applied it. Future touch-ups become much easier when you aren’t trying to remember the name of a color you bought several years ago.
Now comes the fun part. Lighting can make the pavilion usable long after sunset, while a ceiling fan may make summer afternoons more comfortable. You could also add hanging plants, curtains, screens or decorative lights, depending on how you use the space.
Think about sun protection alongside these extras. Shade works best when it’s considered as part of the overall design rather than added after you discover the dining table gets full afternoon sun. By using thoughtful backyard shade solutions, such as nearby trees or complementary shade sails, you can provide extra protection where the pavilion roof doesn’t. If you want permanent electrical wiring for lights, outlets or fans, follow local electrical requirements and use a licensed electrician where required.
If your municipality requires a building permit, arrange the necessary final inspection. Give the pavilion your own once-over as well. Check for loose hardware, exposed fasteners, unfinished timber and spots where water might collect. Repeat this check seasonally for long-term use.
Clear away construction debris, put the tools back in the garage and bring out the furniture. After all those measurements, post holes and trips up the ladder, this is the part you’ve been working toward.
Homeowners often have similar questions about DIY pavilions.
Doing the labor yourself is one of the biggest opportunities to reduce costs. A straightforward square or rectangular design can also require fewer complicated cuts and less material than an elaborate structure.
Pressure-treated pine is generally more budget-friendly than cedar. Structural hardware, however, isn’t the place to chase the lowest price. Choose quality exterior-grade screws, bolts and connectors designed for outdoor use and the loads they’ll carry.
Cedar offers an appealing balance of appearance, durability and natural resistance to insects and decay. Pressure-treated pine offers a more affordable option, though regular maintenance helps protect it from cracking and warping.
Redwood and some tropical hardwoods can yield excellent durability but typically cost considerably more. Your climate, maintenance plans and overall budget can help you narrow down the best choice.
Building a pavilion is a substantial weekend-warrior project, but you don’t have to tackle it as one enormous job. Breaking it into planning, foundation work, framing, roofing and finishing gives you natural stopping points and makes it easier to decide which stages fit your DIY abilities.
Once your pavilion is complete, a little upkeep will protect all that hard work. Inspect the roof and structural connections each year, clear away leaves and debris and refresh the wood finish as needed. Look after the structure, and you’ll have a shady, comfortable backyard gathering spot ready for plenty of summers to come.
We are reader-supported. When you buy through links on our site, we may earn an affiliate commission.
We are reader-supported. When you buy through links on our site, we may earn an affiliate commission.