

We are reader-supported. When you buy through links on our site, we may earn an affiliate commission.
Reading a sandpaper grit chart properly is a useful skill for DIYers. Since sandpaper products come in different textures, they’re seldom interchangeable. Choosing the right grit for your tasks is key to achieving desired results.
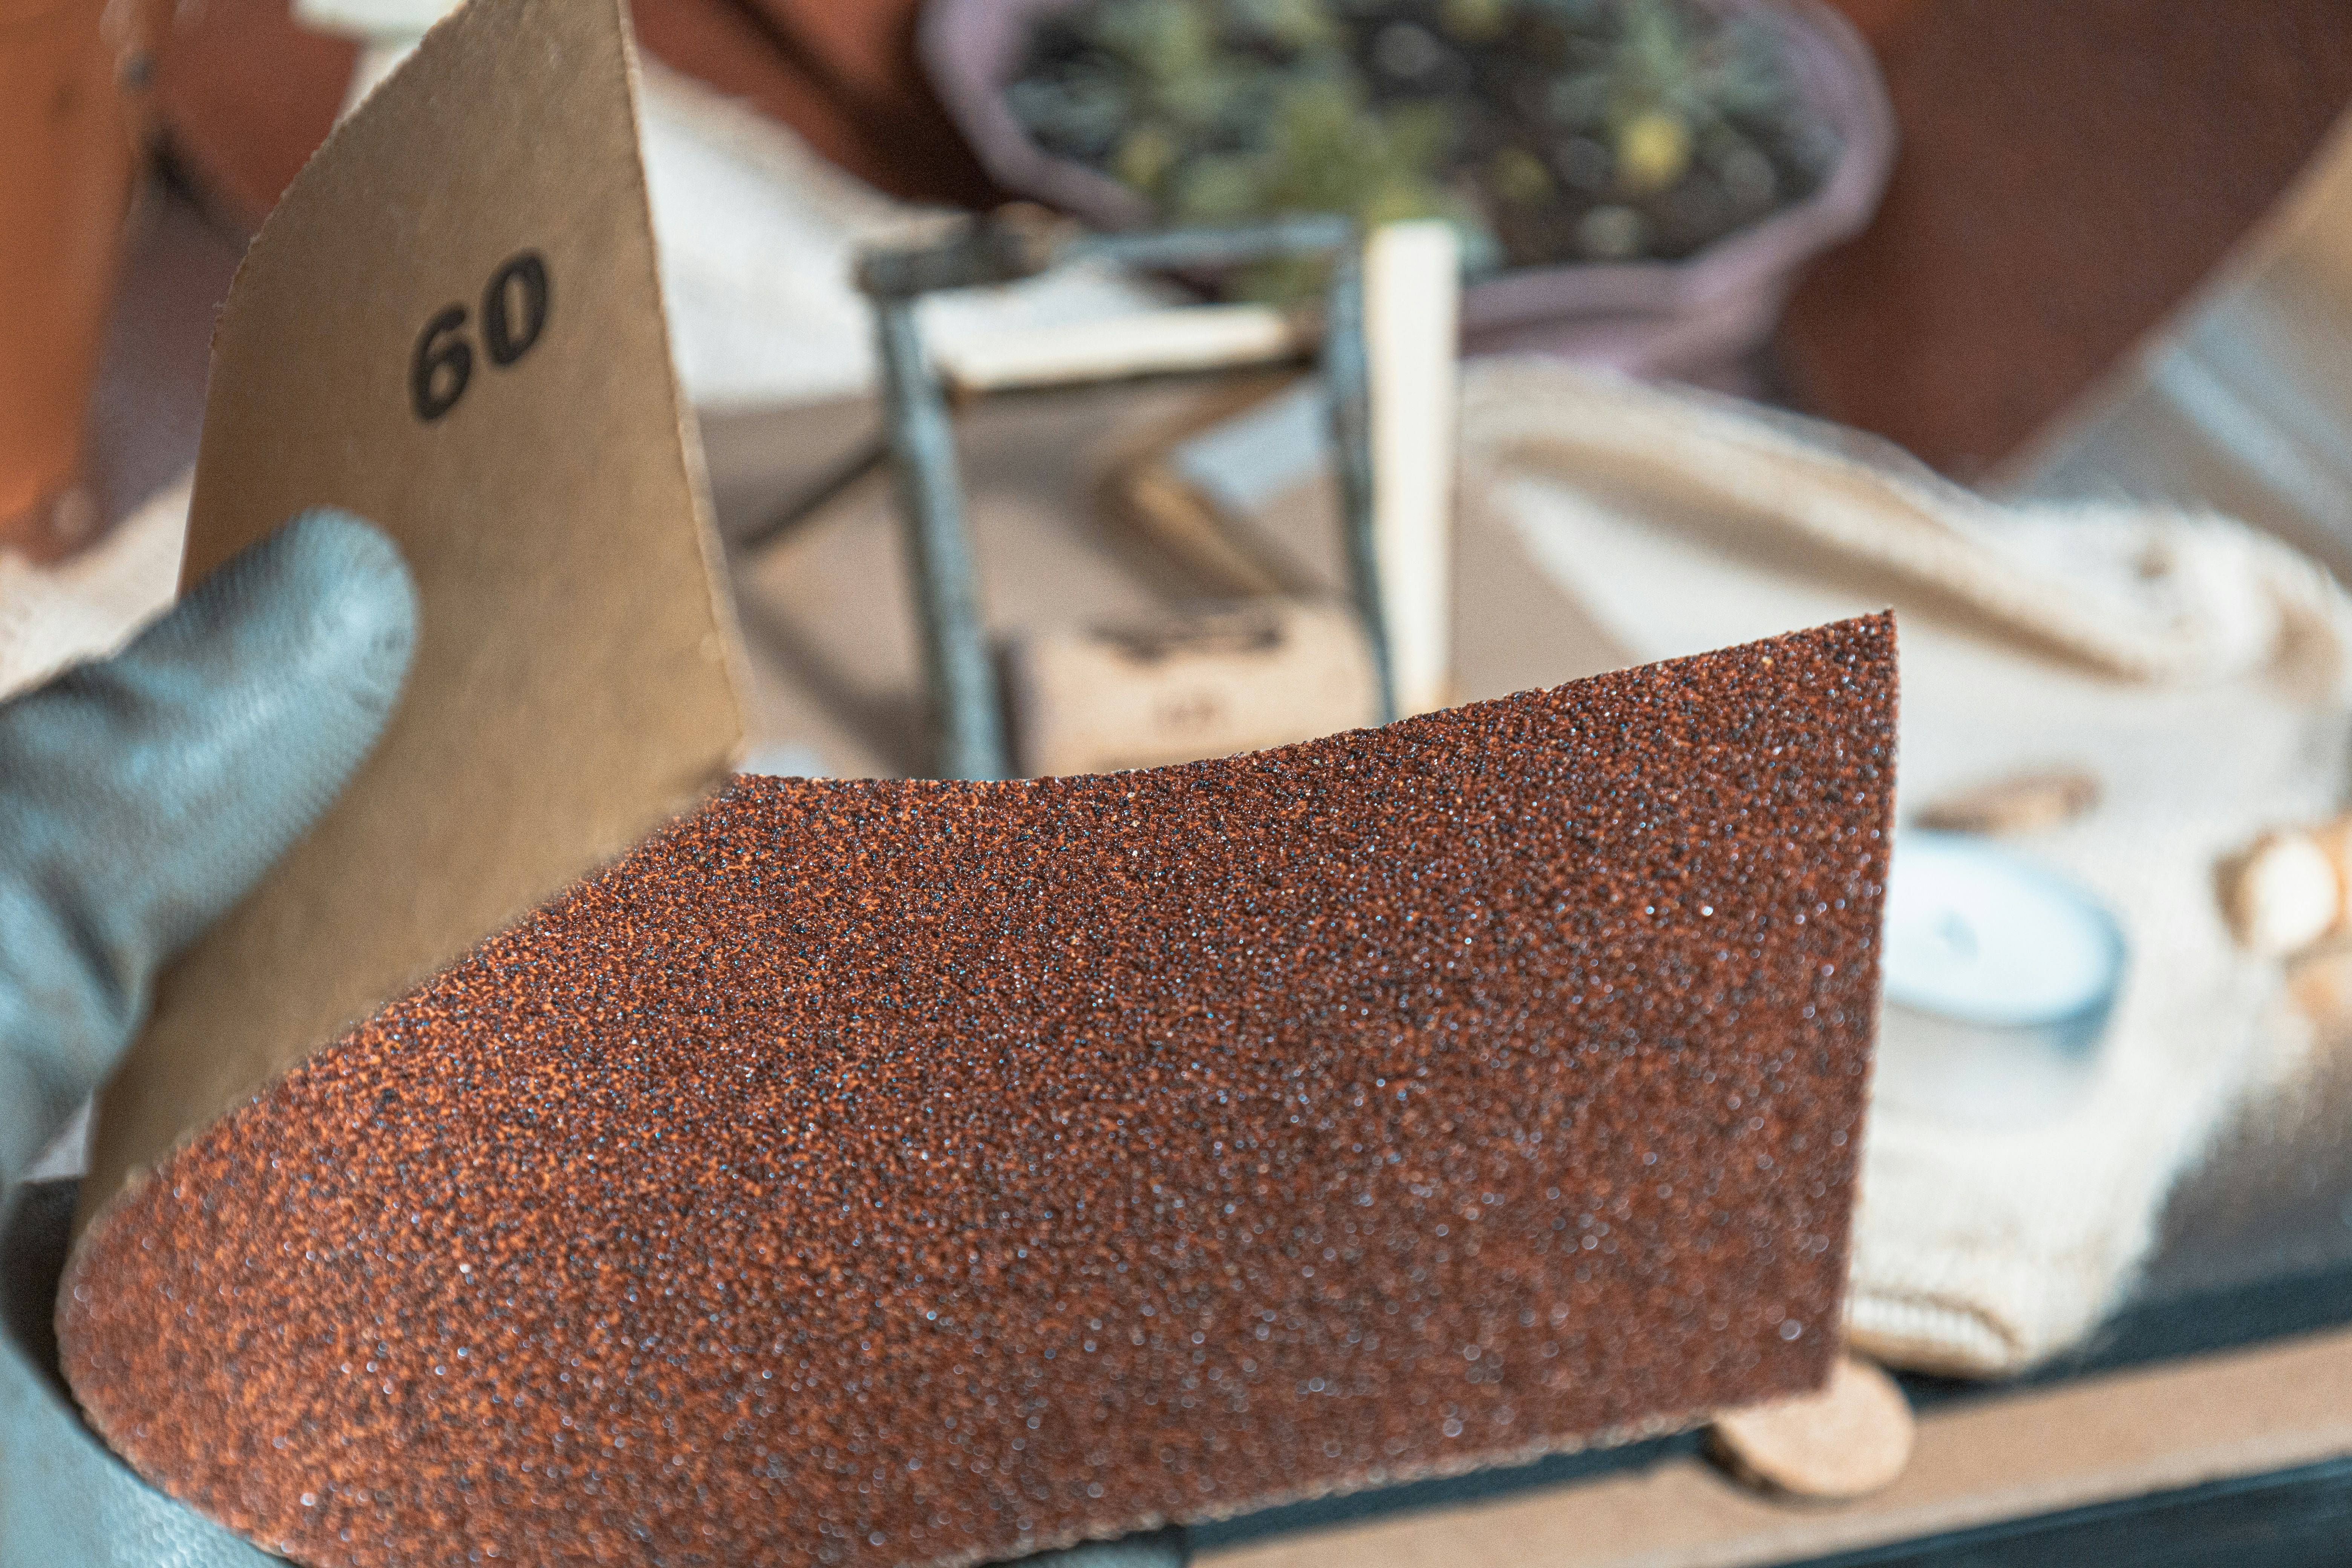
Grit refers to the size distribution of particles present in sandpaper. Numbers represent grits, corresponding to the size of abrasive grains per square inch. Grades categorize the size ranges, describing how coarse or fine the materials are.
This chart illustrates the ranges and grades of sandpaper grits.
|
Grit Range |
Grade |
|
24-36 |
Extra-coarse |
|
40-60 |
Coarse |
|
80 |
Medium |
|
100-120 |
Fine |
|
150-220 |
Very fine |
|
320-360 |
Extra-fine |
|
400-600 |
Superfine |
|
800 or higher |
Ultrafine |
The number corresponds to a mesh-like sizing standard. The lower the number, the coarser the grit. To put things into perspective, 40-grit paper means the abrasive particles could pass through a sieve with 40 openings per linear inch.
The most common sandpaper numbering system in North America came from the now-defunct CAMI. It merged with three other organizations in 1999 to form the Unified Abrasives Manufacturers’ Association, which has regulated the standard since then.
Europe has a different numbering system established by the Federation of European Producers of Abrasives (FEPA).

Grades indicate textures. Each texture has a purpose, which is why products from one classification are unsuitable for tasks meant for others. For instance, you must use fine-grit sandpaper to buff out shallow marks in wood before polishing.
This sandpaper grit chart shows every grade’s most common use cases.
|
Grit Range |
Grade |
General Applications |
|
24-36 |
Extra-coarse |
Heavy stripping Hardwood sanding |
|
40-60 |
Coarse |
Sanding of deep gouges Wood paint removal |
|
80 |
Medium |
Corrosion removal Light stripping Finishing preparation |
|
100-120 |
Fine |
Surface leveling Drywall sanding Light sanding of painted surfaces before applying new paint Removal of scratches left by coarse-grit sandpaper |
|
150-220 |
Very fine |
Scuff-sanding of finishes, such as lacquer and polyurethane, between coats Surface smoothing Finer smoothing between coats |
|
320-360 |
Extra-fine |
Finish sanding before polishing |
|
400-600 |
Superfine |
Wet sanding Bare metal polishing Polishing of finishes on wood and metal |
|
800 or higher |
Ultrafine |
Ultrasmooth polishing of bare metal, metal finishes and wood Final finish |
The varying textures of sandpaper can help you determine whether a piece is coarse or fine enough for the job by touching or looking at its abrasive side. CAMI and FEPA standards are consistent with each other only up to 220 grit, a reason to avoid taking numbered labels at face value.
In addition to analyzing the textured surface, check for P before the number. This prefix is part of the FEPA labeling convention and can help you tell whether you’re using CAMI-numbered sandpaper.

Materials have different levels of surface hardness. Engineered stone, porcelain and others on the high end of the spectrum are more scratch-resistant, while those on the lower end, such as knotty pine and poplar, are more prone to wear.
If your sandpaper is too coarse for the job and the material, you may inadvertently damage the surface. If the product is too fine, you may not accomplish much due to weak abrasive action.
Using a grit that matches the application is a given. If you pick the wrong kind, try another that bears the closest number. Move up or down, depending on your goal.
Scrubbing with the correct grit can still damage the object if you apply too much pressure or work on the same spot for too long. Clean the surface frequently to remove any debris that may scratch the material.
Grit is as important a factor as the abrasive substance, backing material, coverage density and flexibility when selecting the most appropriate product for your project. Keep these charts in your back pocket to decipher grit numbers when comparing sandpapers.